Well, I thought I'd get this done sooner. Then again, I can say that about virtually everything I do. Maybe if my brain worked in a little more linear fashion. But no. My life is one big tangent on a diversion. Anyway...I left off at the horns. Just a little more sculpting after that. I crumpled some newspaper and added cheeks. Then I used the shell of a little paper mache ball and some masking tape to fashion a couple of ears. I realize I was a little hard in my new video (Great Paper Mache Tutorial-Part 4) on blue tape. But it deserves it. I know it's not meant for paper mache. That's okay. But I've done a lot of painting in my house. I've given it many a try thinking I could mask off some molding and not get paint on it. But never, not once, has that tape worked. Never. Pull if off and it looks like a monkey painted the room. I hate it. Same with the green tape. And that frog tape (I think they call it that). Has ANYONE ever used that tape successfully? Okay, no more tirades. But I do love the regular beige masking tape. As I've said in my books I'd marry it if I wasn't already married. And if it was a person.
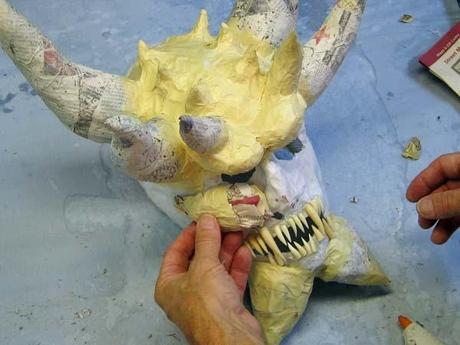
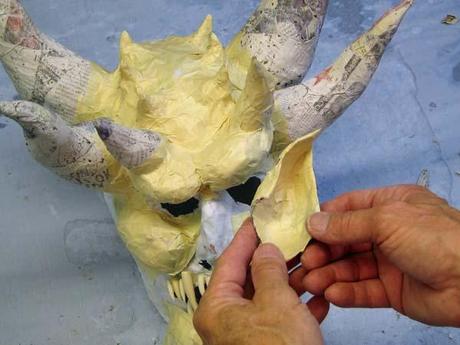
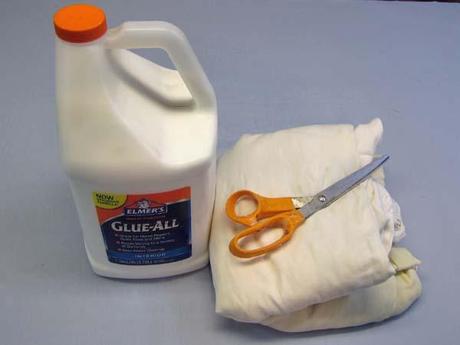
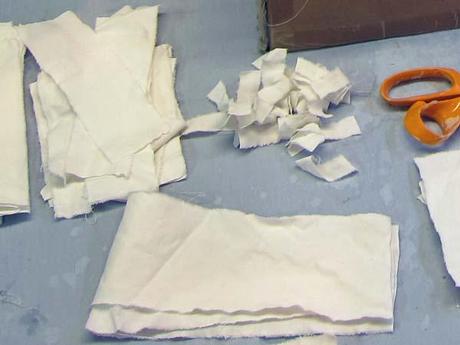
I added a pointed nose. Seems to make sense for this guy. I added a photo of my "cloth mache" materials. Now let me clarify something. Of course the French word mache (with the symbols that I'm too lazy to find on my blog program) doesn't apply to cloth. It's obviously not "mashed" or "chewed" cloth. Then again, the kind of paper "mache" I use, the traditional one used in classroom, has nothing French or mashed about it either. I know that some people do use versions of mashed paper. They can be put off by the term cloth mache. It doesn't matter. I dubbed the process cloth mache many years ago. And that's what it is. And I just want to say that I still like Elmer's glue (that's not an ad....I don't do ads). It is more water soluble that PVA. It seems a little easier to work with. But any white glue will work fine. I buy it by the gallon. It costs me about $12. And I love OLD bedsheets. Look carefully at the one in the photo. It is gold to me. Soft, old. Lovely. If you look closely you'll see it has yellowish stains. I have no idea what that is.
And in case I haven't said it enough...I tear the sheet into various sized strips. Tearing gives you two sides that will lay flat. I fold the strips and pull off the strings. Then I cut them at the folds with scissors. I showed this in Part 2 of the mask tutorial. I like to start with the eyes when I cloth mache. I just dip strips of cloth in the glue, fold them and then put them on like you see in the photo. I always play with the lids for quite a while trying to get the attitude I want.
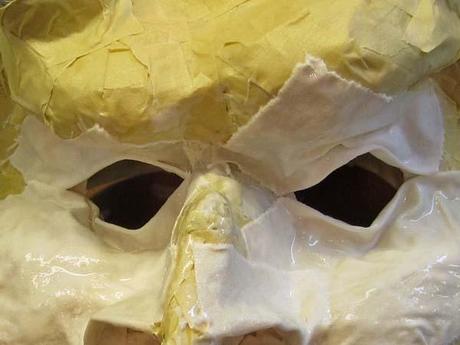
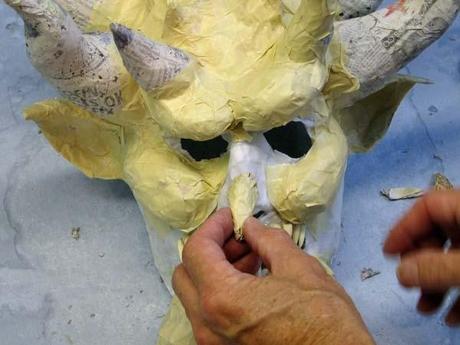
Next, the nose. I stuff a piece of square cloth into the nose and then add pieces on top. Sometimes I do the ears next, but this time I wanted to do the mouth. This is just a bigger version of the eyelids. I take a strip of cloth and fold it. Sometimes I fold it a second time if I want thicker lips. Three times if I'm making an Angelina Jolie mask. I know, I've used that joke a dillion times. But someday she is going to see it on her Google Alerts and write to me.
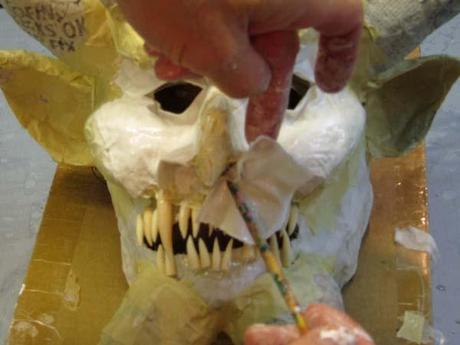
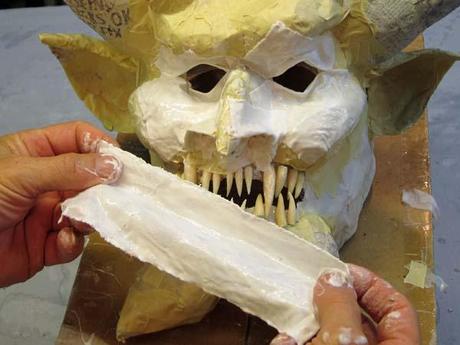
I like to put that little wrinkle under the nose. It's called something (I know the slang, but there is a real name too). The mask looks nice with it. I generally add one more fold to the bottom lip than I do to the top. It probably doesn't make any difference, but it feels like I'm making a more natural mouth that way. Of course there is nothing natural about this mouth.
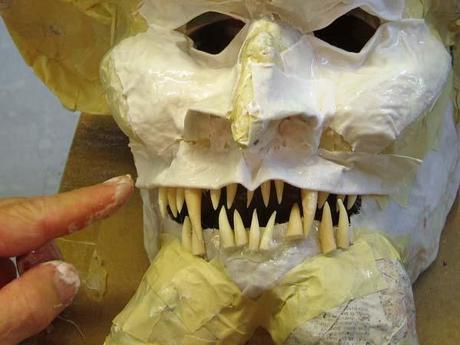
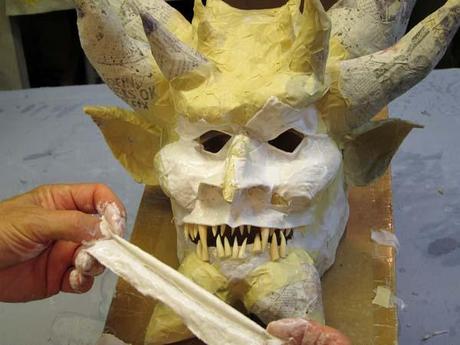
I'm going to stop here. I'll tell you about the horns next time. I think they worked out very nicely.
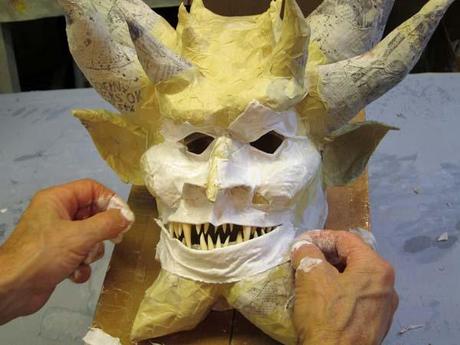
Thanks as always for stopping by. And I have to say that I know my videos are getting stranger by the minute. Instructional videos just seem to need ...something. Otherwise they are sooooo slow. That's my excuse anyway.
Take care. Make art. It's good for the brain.
Okay, before I leave, one last tirade about my stupid blog program. If you look at my blog you'll see that the text extends much further across the page than my photos. But I can't put two photos together that are any larger than the ones you see. You can't see it, but the workspace I use is smaller, and if I make the photos any larger the second one pops underneath the first one. I'd like these photos to be bigger. But I don't want single photos all the way down the post. The post would be six feet long if I did. It bugs me. I'm tired. I should go to bed. That's something I could write on Twitter. But who would care that I was going to bed? Can someone explain Twitter? I don't get it. I have an account. But I don't know what I could write in one sentence that anyone would care about.
Okay. I'm done. I should Tweet that.

