I do wonder if people are still interested in masks after Halloween. As you know, I missed my deadline for these paper mache tutorials big time. Although....you could say that these videos are intended for Halloween 2014! Yeh...let's do that. (Of course now that I said that I will be a cursed and I won't get these finished by October.) Anyway, if you are still interested, I posted the "Great Paper Mache Mask Tutorial- Part 3" today. All of a sudden this post seems a bit redundant. But that's okay.
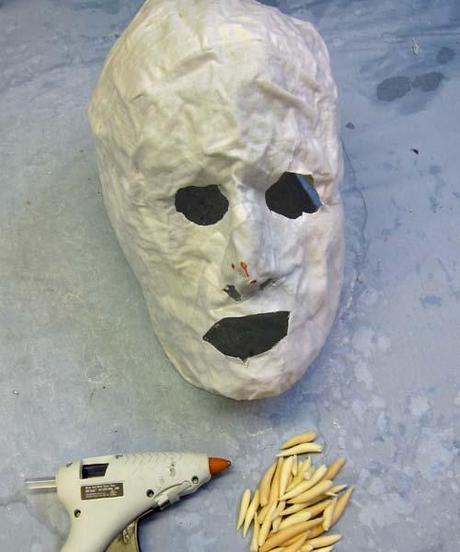
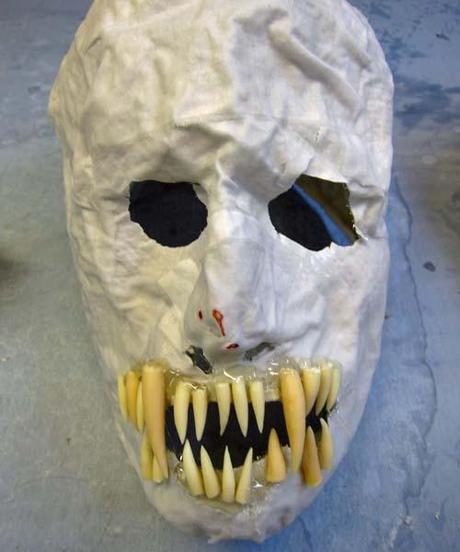
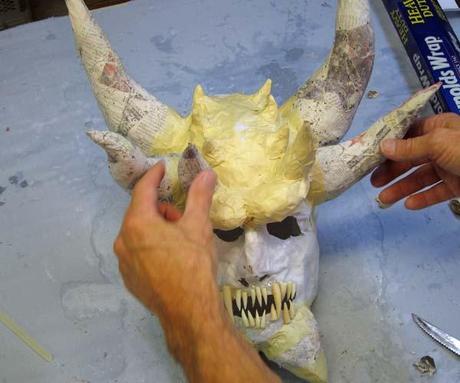
I left off with this cloth mache armature. First, I cut the holes with my knife and scissors. Again, those little wires will prick you if you aren't careful. I'm not. I have lots of scratches and little puncture wounds. In fact, I have them in places that didn't get close to the mask. Go figure. Anyway, I made holes for my eyes, my nose, and my mouth. Then I got out my trusty glue gun and added some teeth. Lots. Long pointy ones this time.
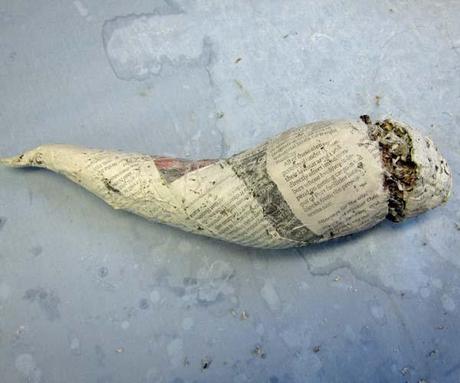
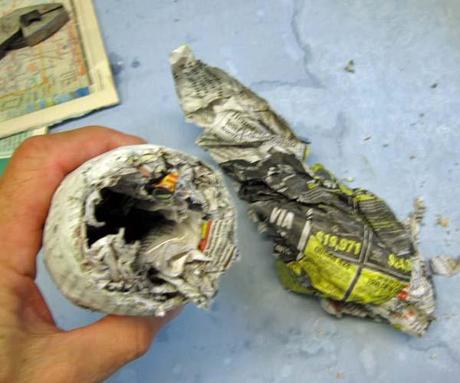
As I mentioned in the video, for a mask, weight is really important. So even with these smaller paper mache horns I cut off the ends and pulled out as much paper as I could. You can't really get a shell that's too thin. Remember, this gets a skin of cloth mache. That will make them very strong again no matter how thin the walls of the horns get. So have at it.
When I was done I attached the bigger horns with hot glue. Speaking of redundant...I always follow hot glue with masking tape. I think I use more masking tape than I need. I've been told that a number of times. But this is America. We are trained to use too much of everything, right? In fact, if you want to know a secret, if the masking tape doesn't hold well, I put hot glue under it. How's that for neurotic?
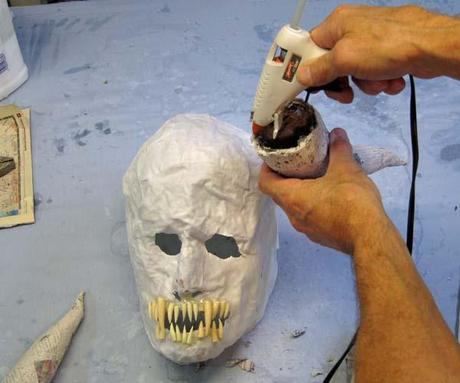
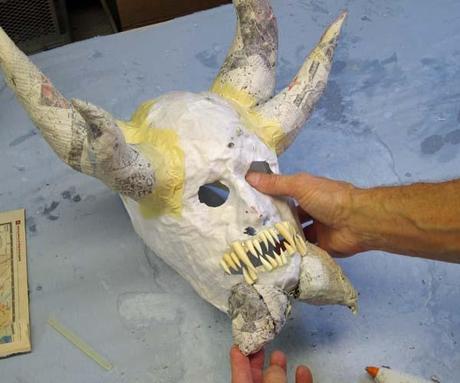
I decided I wanted a double chin on this guy. I really mean, two chins. So I cut open one of the extra little paper mache balls I had and used the shell, half on each side of the chin. I like the effect. From this point forward I sculpt primarily by crumpling pieces of newspaper and adding masking tape. These features are too small for more paper mache, although I have left over pieces of shell I will use if they are handy. I made some thick brows above the eyes by crumpling paper. After that I decided to add some more smaller horns, a couple of rows over the top of the head. I used aluminum foil for these. Every so often I like working with aluminum. It works really well for some details like small horns. In fact, you can use sheets of aluminum for the initial armature. You can press it over your face just like I did with the wire mess. You can get a nice impression that way. I know that some of you out there do that.
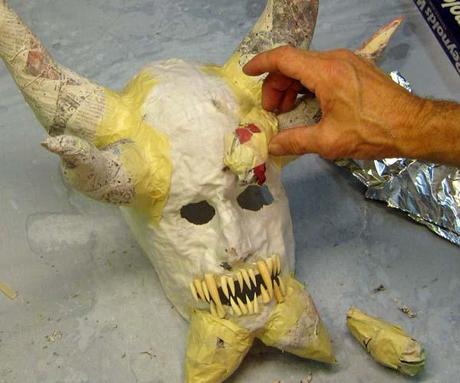
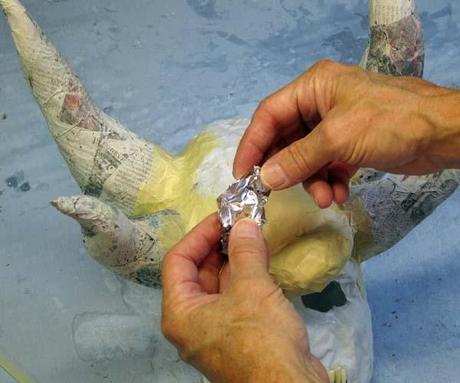
So I fashioned little horns out of aluminum and hot glued them onto the top of the head. Of course I covered them with masking tape. More is better. Right?
I'm going to leave it here. I'll show more sculpting soon. Thank you for stopping by. Eddie and Max say hi. Please, if you have any questions or comments or suggestions or critiques, post them. I know that many of you are successful mask makers.
See you soon.
Dan
PS. Did I mention I'm making a dog? Haven't done that since the Blues Hound.

