But there is just more work that needs to be done on these body parts.
But first, the answer to the math question I posed last time. Believe it or not, you could raise the rope over 8 feet in the air! You could easily walk under the rope, with someone on your shoulders (a short person). This would also be true if the question had been about wrapping a grapefruit instead of the Earth. The answer would still be 50 divided by pi, no matter what are were wrapping. Math is cool. Isaac got the answer first. I sent him a little prize.
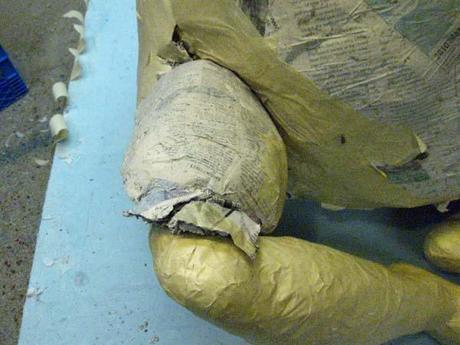
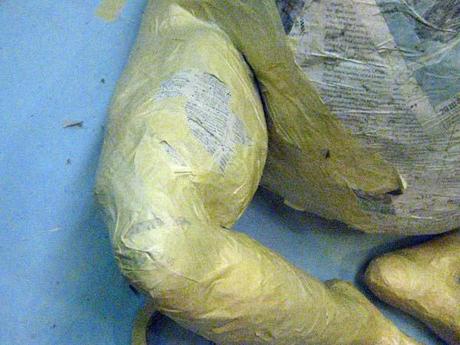
Okay, back to paper mache. As happens many times, I make some appendages, put them on, and then hate them. I miscalculated on the legs. They were too small. Even though most of the legs will be under a robe, I couldn't stand knowing that the proportion of the legs was off. So I cut open one of the extra paper mache balls I talked about last time, and put half of the paper mache shell on each thigh to make them bigger. I didn't show it, but I ended up doing the same thing on both calves. That's why you make a bunch of extra paper mache balls! For thigh and calf emergencies!
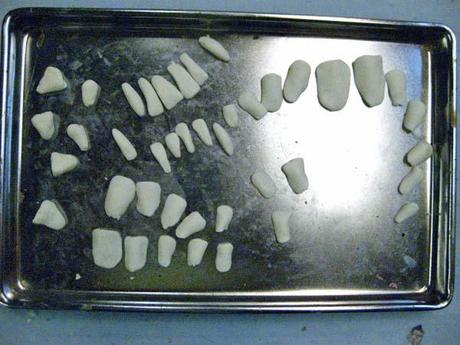
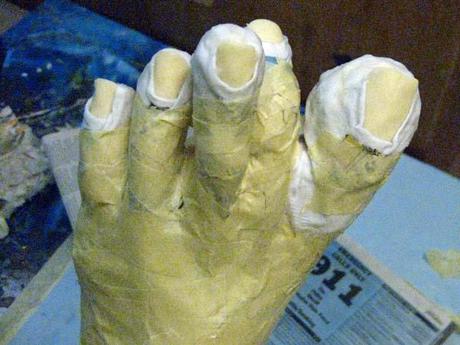
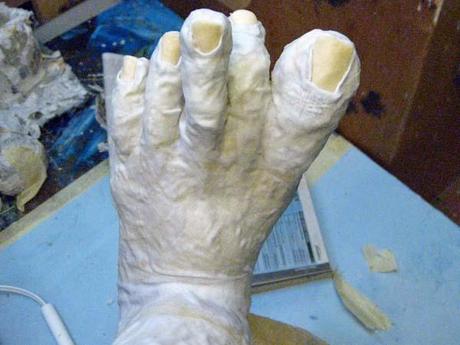
Now that he had feet and legs, it was time to make some toenails (and fingernails and teeth). Again, I used Fimo to make these. Did I mention that Fimo degrades over time? After a few years they tend to break easily. This bothers me a lot. I'm looking for better material. Any suggestions? I hot glued the toenails onto each foot.
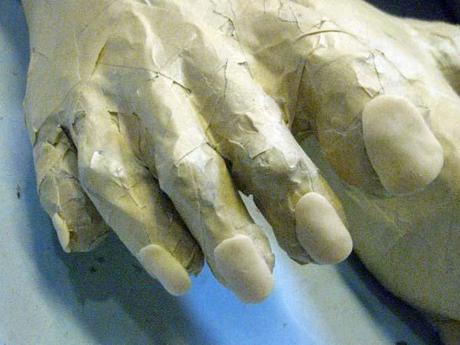
I decided to do some cloth mache on the bottom half of the Buddha. I start be wrapping each toenail with a piece of cloth dipped in Elmer's glue. Then I added various sized pieces of cloth to cover the entire foot. Then I cloth mached the legs and the rest of the lower half of the body. I realize that I may be getting a bit too granular in my entries. You've seen this process many times by now.
While the lower half of the Buddha was drying, I made his hands. Again, I modeled them after my own hands. They are a tiny bit bigger.
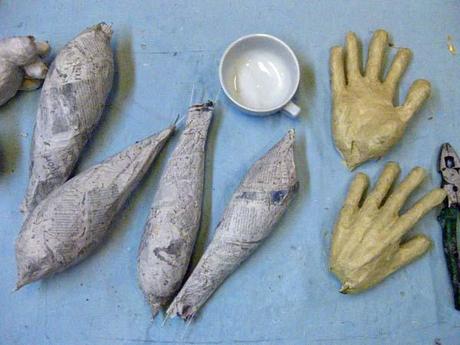
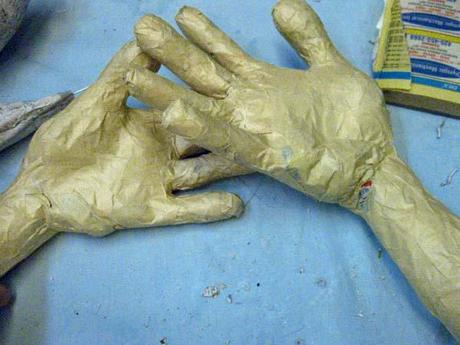
I put the hands onto the arms and then attached them to the body. I used another paper mache ball (cut into two shells) to make some shoulders. Since he is a coffee drinking Buddha (hence, the Jo in the title), I put the cup in his hands for the first time.
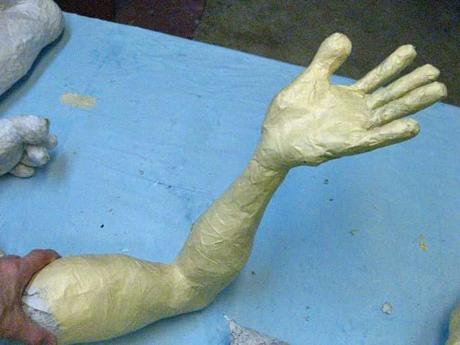
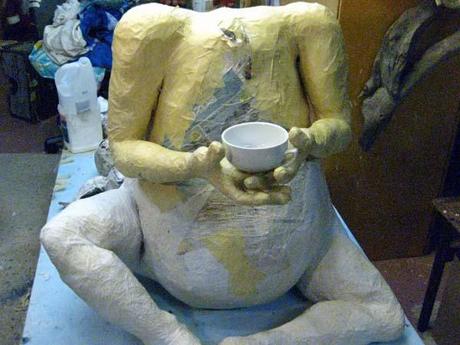
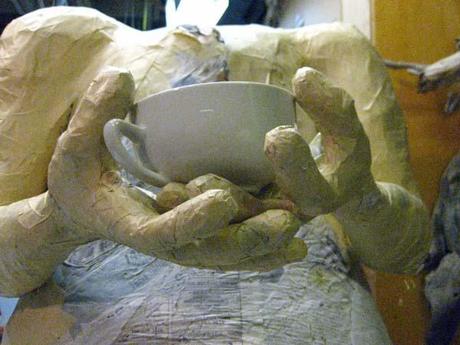
There are lots of adjustments to make. Getting the hands just right around that little cup took some time.
This is it until next time. My wife asked me if I'd give up two weeks of my summer (from making art) to do a few house projects. Of course I said I would. She started a list. The first thing on the list was "paint the interior of the house (yes, the entire house)." It goes from there. Just thought I'd let you know. I've finished that task. Mu studio looks like a bomb hit it. I have a great idea for my next project. I'll tell you about it sometime.
Stop by again. Take care

