Sunlight is a magical elixir — bringing more light into a room will actually make you feel better. It’s true! Scientists have studied the effects of sunlight on our psyche and as long as we’re not burning our skin we just can’t get enough. No special light bulbs even come close to imitating sunlight on a large scale, like in a room. But large mirrors are a fantastic way to multiply the amount of light in a room.
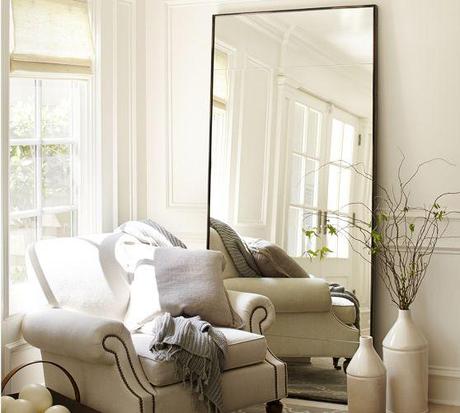
Pottery Barn
The secret to using large mirrors correctly is to place them in a spot that reflects the view out the window. Never use a mirror placed opposite something you don’t enjoy seeing – reflecting clutter will up your anxiety because you appear to be surrounded by even more of it!
An added bonus of a mirror in a shared family space is that it can be a great way to encourage indoor movement for your children. Think about placing small moveable furniture or no furniture in front of your mirror so that your decorative piece can double as a dance studio, a place to make silly faces, or a doorway to a secret world… 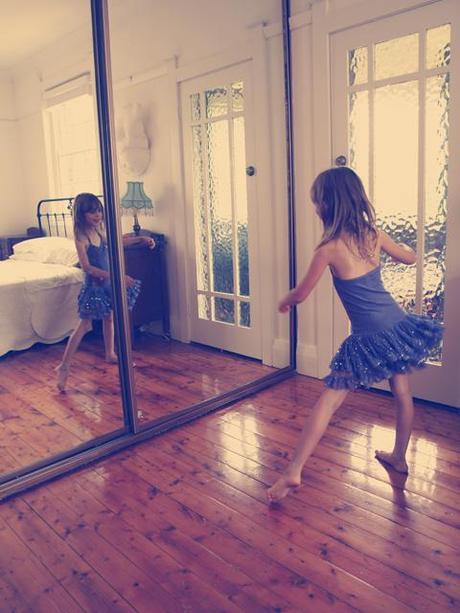 kitschbitsch.com
The Design
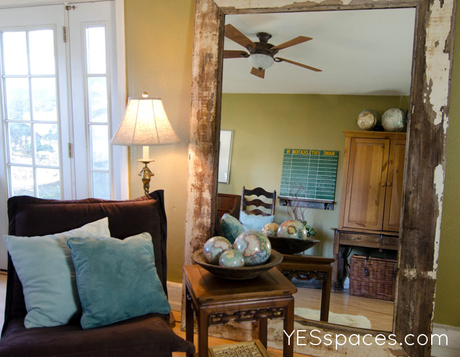
My design was inspired by one single trip to my local Habitat ReStore – (the thrift store for Habitat for Humanity, they are all over the country, I have even visited some in very small towns I was passing through). Usually I find one piece of something somewhere and then start a project page with materials and keep looking/collecting until I have a complete design. But on this particular day I found a couple of 4′ x 6′ mirrors that had been removed from a motel. They were in perfect condition so I immediately put a hold tag on one and headed over to the reclaimed wood section of the store.
I was able to find some great distressed solid wood siding. (See the materials section for things to consider when choosing reclaimed wood). I carried various pieces of lumber back and forth across the store in my dress clothes and heels (yes, I am that person) to lay them next to the mirror to be sure they were the scale and length I was looking for. The width of the wood is important to the overall affect of the mirror. As beautiful as the Pottery Barn photo is at the top I think the narrowness of the frame makes it look inexpensive and you don’t want that.
Once I had all these pieces at home in my garage studio, then I figured out how in the world I was going to put them all together and I realized that I would have to build the mirror in place because once it was framed, it was never going to fit into the back of my vehicle again!
The Materials
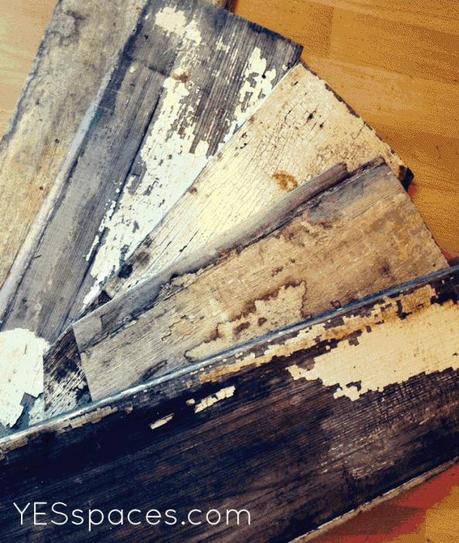
- Re – claimed house siding – four boards of varying lengths all longer than 8′ (for $1.50 each you can’t beat that!) If you have young children make sure your wood does not have any lead paint bits that could come loose. You can buy a lead testing pen to make sure you are buying something safe. Alternatively, choose wood from something like an outdoor fence without any paint residue. Also inspect the back side and then the ends – though my wood looks old the wood inside is still fresh and strong, no dry rot or pest damage, not old, brittle, or breakable.
- One large mirror – the one I found is 4′ x 6′
- One sheet plywood cut to be 6″ wider than your mirror and 8″ longer
- Finishing nails
- Clear satin polyurethane
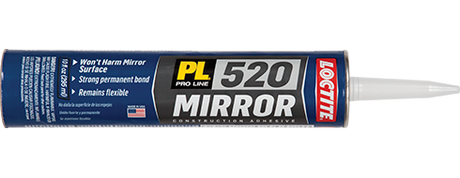
- Glass and mirror adhesive
The Process
The trickiest part of this entire process is getting the measurements of your plywood and frame lengths. Because we are building a large scale mirror, the frame material should be large scale as well 6-8″ wide would be ideal. When you make an angled corner you need to add the size of the width to the length on each side – as you can see the outer edge is much longer than the inside edge. So if your frame is 4′ wide and your framing material is 6″ wide you need to buy 48″+ 6″ + 6″ = 60″ or 5′ lengths for the top and bottom. Figure the same way for the sides. Have the hardware store cut your plywood to the size of your mirror plus 3″ on each side and the top and 5″ longer on the bottom.
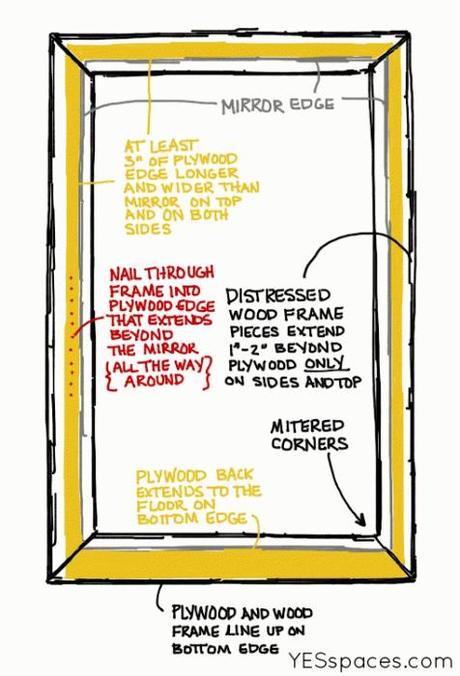
Place your cut plywood on a flat surface where it can sit undisturbed for 48 hours while the adhesive cures. Paint the edges and the back black so it disappears if you catch a glimpse of it from the side. Using a caulk gun apply the adhesive in small dollops (watch the video to see the spacing) then with some help lift the mirror over the plywood lower it into position and with a measuring tape make sure you have centered it correctly, sliding it into position before the adhesive starts to set.
While the mirror is curing cut one end of the bottom edge lumber at a 45 degree angle. Lay it in place and mark for the other side, then cut that angle as shown above and on the video. I nailed my bottom trim piece into place because I wanted the frame to line up with the bottom of the that way the new plywood would bear the majority of the weight of the mirror, rather than the older wood.
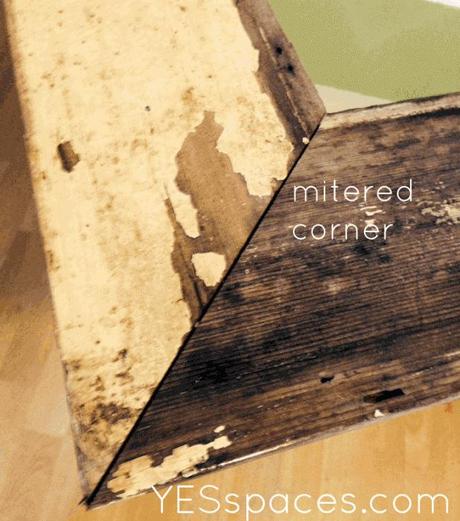
Once I had that piece in place I cut the end of the side piece, laid it in place lining up the corner with the bottom piece and marked for the top angled cut. I repeated this on all three sides. When these three pieces were all cut I made whatever adjustments I needed and nailed them in place. Use a nail set if necessary to hide the nail heads. I did not use any kind of hole filler as it would have ruined the look of my wood.
My final step was to clean the wood thoroughly and remove any loose pieces of paint. Then I coated the frame with satin polyurethane to seal in the paint and protect the look.
Watch the video if you are confused about any part of this process, or comment and I will respond!
The Outcome
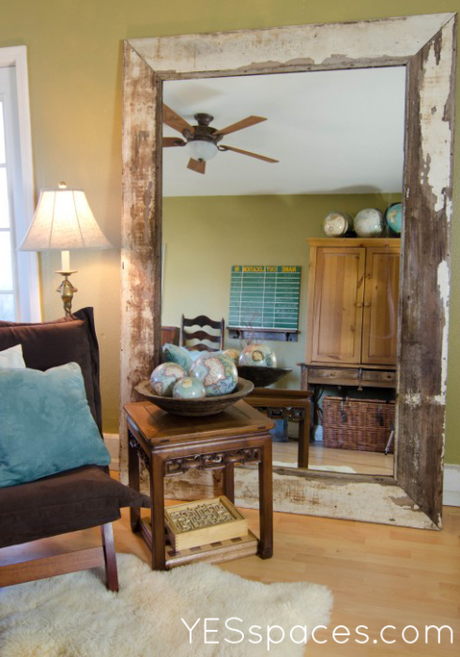
I am thrilled with the look and size of my mirror. It brings a ton of light into the dark end of my beach house game room. Now when I walk down the stairs I can see right out the window. I’m loving it!
The Budget
$6.00 – Re-claimed wood cedar siding
$20.00 - Habitat ReStore mirror (4′ x 6′)
$15.55 - 3/4″ Plywood sheet
$7.89 – Mirror and glass adhesive
$2.49 – 1 1/2″ finish nails
$0.00 – I used clear sealer I had on hand, but if you have to purchase this add approximately $5-8 for a small container
TOTAL: $51.93

This project was Week 3: we will be adding a new video to our YES Spaces DIY page every Thursday for the next 49 weeks! And based on your input we will have directions and when needed measurements and plans here every week as well. So be sure to subscribe here and over on YouTube so you don’t miss anything! I am currently cooking up all the projects and simultaneously pulling together our MESS to YES makeover schedule for the year so if you have projects or spaces you are struggling with and would like some inspiration let me know and I will try to tackle as many as I can here this year.

If you want a beautiful, artistic home contact YES Spaces today! I would love to talk to you about your family and your space!
Visit our YES Spaces DIY channel to see videos of other family friendly projects!
Connect with us on Facebook for the “How To” behind some of today’s most popular design ideas!
View our Pinterest Boards for my curated design inspiration!
Watch our MESS to YES Home Makeover!

