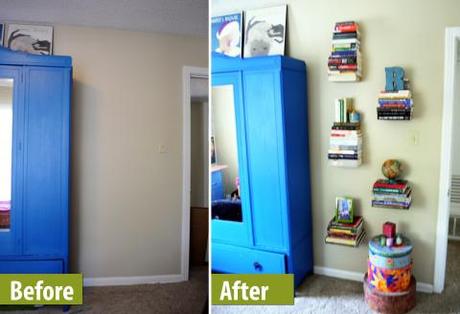
I was first introduced to floating bookshelves a few weeks ago during our trip to Mexico, and I fell in love almost immediately. A way to store books without buying more furniture?! Sign me up. Discovering this magical storage trick couldn’t have come at a better time either because Bro officially took up residence at the doodle house this week and we have been dumping furniture like crazy to make room for his arrival. Efficient storage solutions just became priority one.
Before we got started, I had to do my due diligence (AKA Pinterest research) to make sure I was truly down with invisible bookshelves in all their forms. My journey was fruitful.
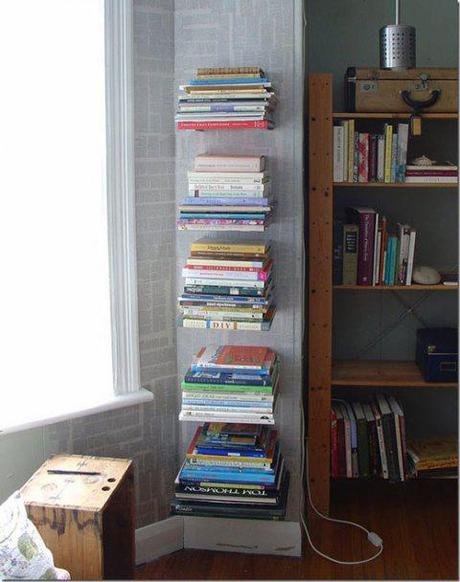
Exhibit A (Floating done right.)
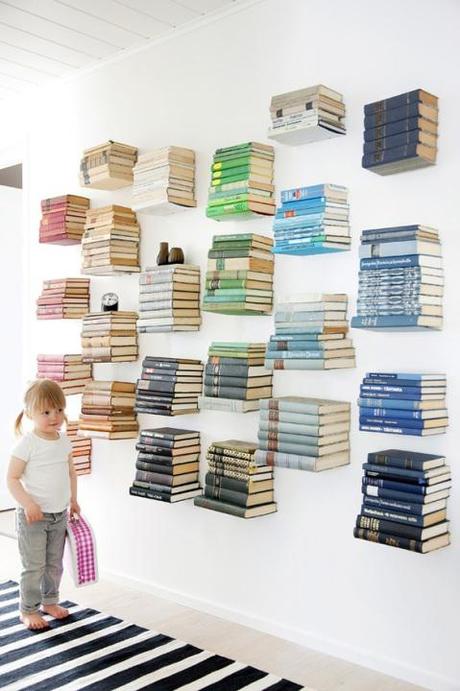
Exhibit B (Floating shelves for the obsessive compulsive.)
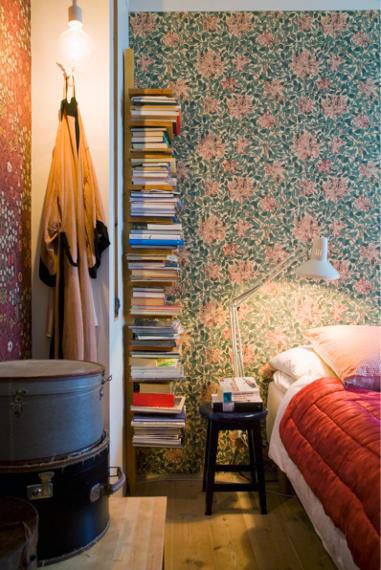
Exhibit C (Not quite invisible, but definitely a barely-there bookcase in close quarters.)
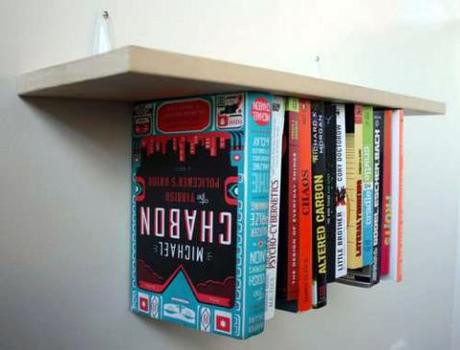
Exhibit D (Upside down book shelf…that’s just silly.)
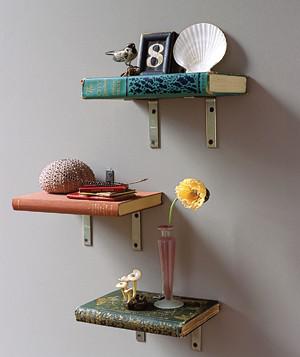
Exhibit E (Shelves made of books—cute, but not a high volume shooter.)
Exhibit A was definitely the end goal. But how? Gravity seemed to be working against us, but my internet research showed two possible solutions. The first, was to purchase special brackets from Umbra.
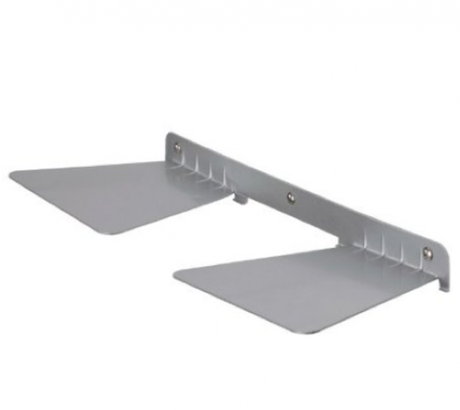
Easy to install, but at $15 a pop, it seemed a little steep. I had a hard time justifying spending $75 on something “invsible.” The other option, from Instructables, was significantly cheaper but involved destroying a book to make it happen. Cheapskates we are, we went the $20 route and opted to sacrifice a book for the greater good, which looks a little something like this.
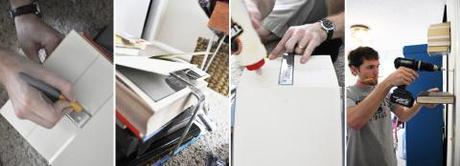
- Step One: Cut a section of the book out with an exacto knife. We traced the bracket to get the most accurate shape.
- Step Two: Place the bracket into the section you have just removed and screw it into the pages.
- Step Three: Use wood glue to secure the back of the book to the newly applied bracket. Best to let it dry over night.
- Step Four: Secure to wall with wood screws. Make sure to locate studs before attaching.
Care for a cheeky video more accurately explaining the process? Click here.
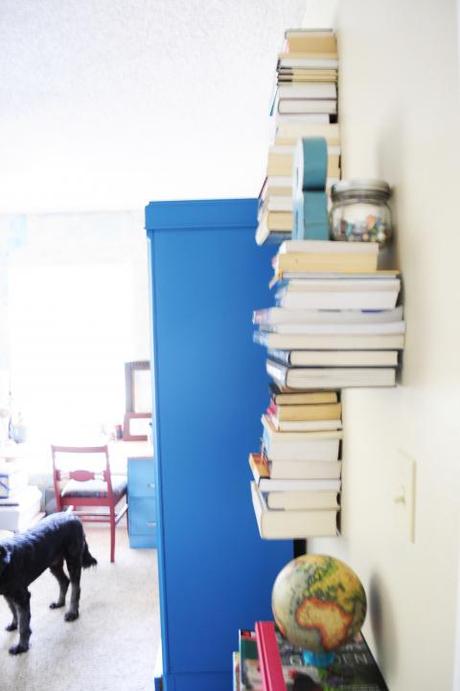
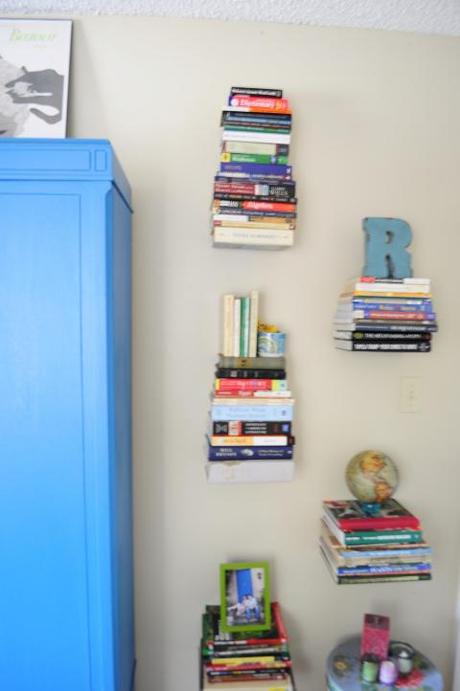
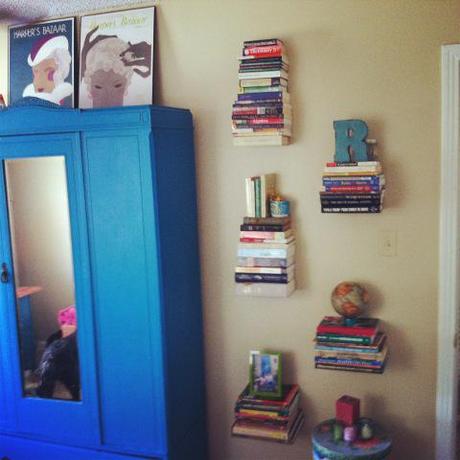
So, $24 bucks and 24 hours later, we had ourselves an invisible book shelf.
