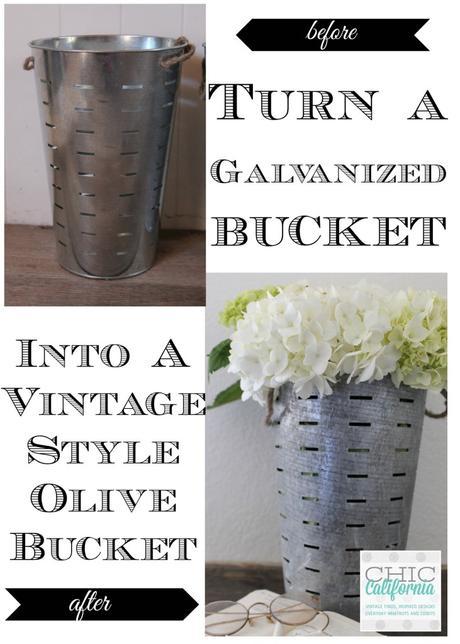


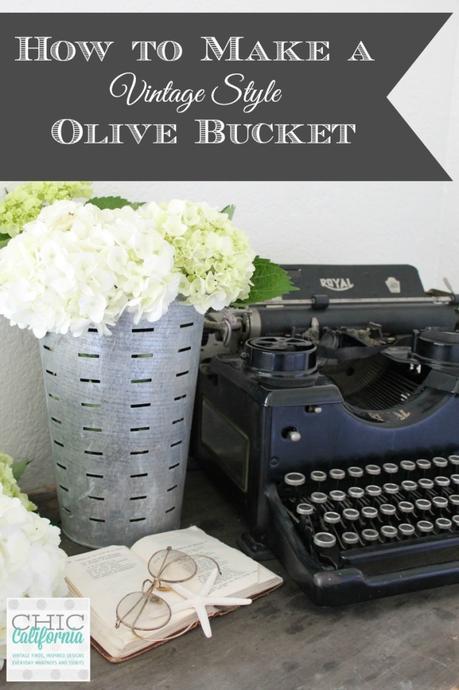
How to Turn a Galvanized Bucket into a Vintage Olive Bucket
Everytime I walk into Target, I pay a fine. You know what I mean. You go in for one thing and leave with $200 worth of stuff you “need”. Most often you even forget to buy the thing you actually needed. I promise myself I will be strong. That I won’t let it happen to me….again. Well Target, you win. I didn’t even make it past the dollar bins on my last trip before I found something I needed. Luckily for me the fine was only $3 each for these galvanized faux olive buckets. Somehow, they jumped into my cart! But when I got them home they looked way too shiny and new. I had to find a way to make new galvanized buckets look old.
Here’s what the buckets looked like when I brought them home.
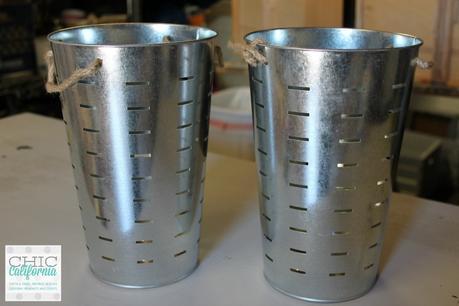
Way too shiny and new! The first thing I did was knock off that shine.
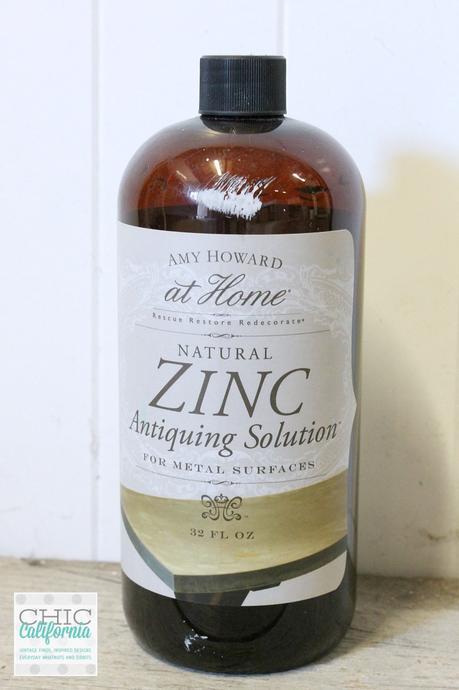
I used Amy Howard Natural Zinc Antiquing Solution on a rag that I wiped all over the bucket. This takes the shine off and is supposed to give it an antique zinc look. Truth be told, I haven’t had that much success with it. When I was done, the buckets still needed more antiquing. So if you can’t get your hands on this product, don’t sweat it. I don’t think its going to make or break your project.
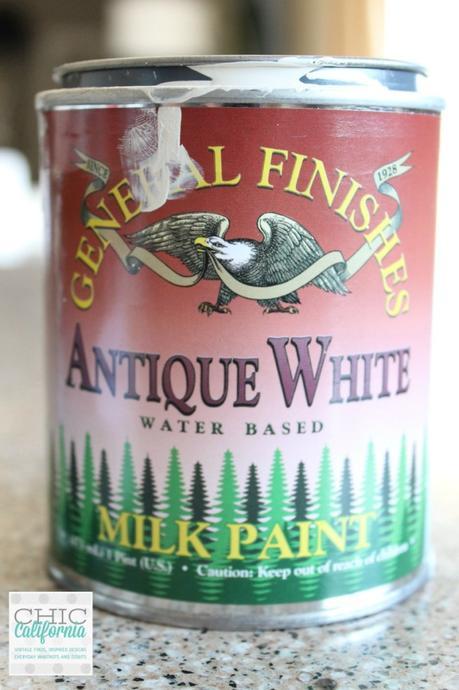
To add more patina to the buckets I used General Finishes Milk Paint in Antique White. Don’t get confused about this type of Milk Paint and the Sweet Pickins Milk Paint I usually use. The General Finishes paint is an acrylic paint. It won’t get chippy like Sweet Pickins does. You can also use craft paint or chalk paint to get this patina effect. I actually just dipped a crumpled paper towel into a little bit of paint and pounced the paper towel onto the bucket. I added more to the seam and top and bottom edges of the bucket where you would naturally see that patina on a vintage bucket. When I got a bit too much I just used another paper towel to rub some off before it dried.
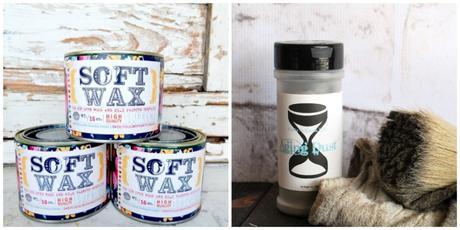
Now I had the patina but it just wasn’t dirty enough. Enter Sweet Pickins Soft Wax and Aging Dust. I put a dab of wax on a paper towel and then a dab of aging dust and again pounced it on the bucket until I got just enough dirt and grit on.
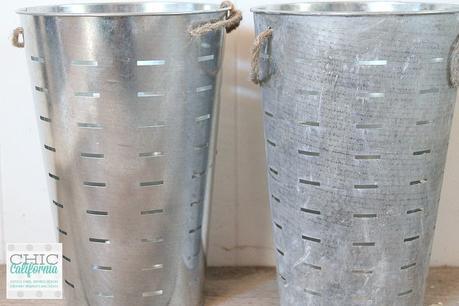
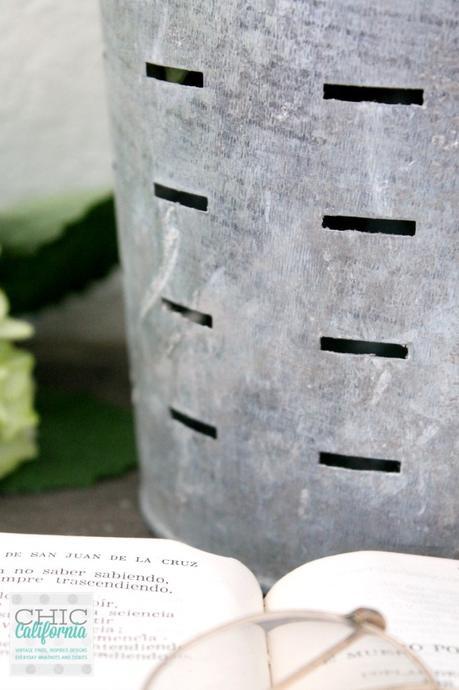
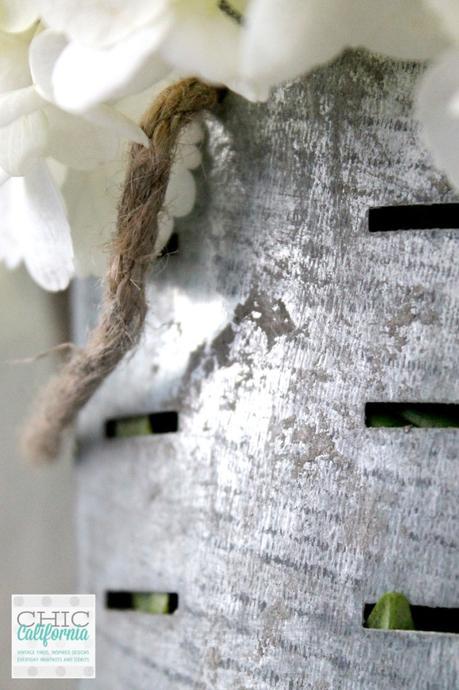
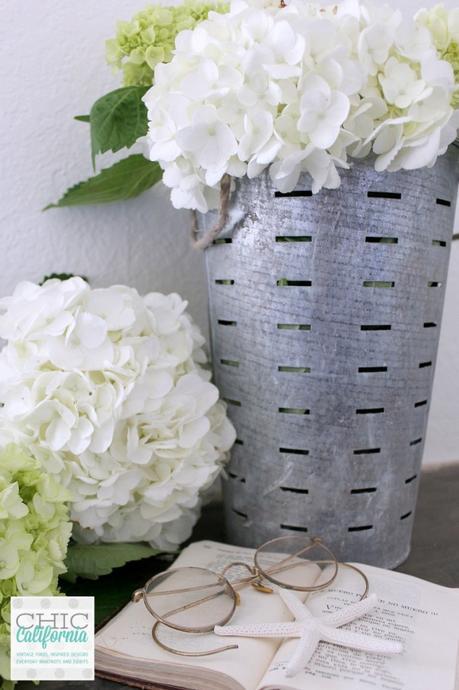
Here’s a side by side so you can see the difference between the new version and my vintage patina version.
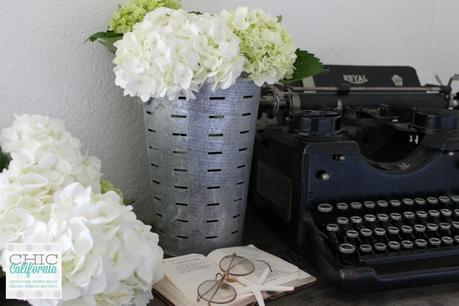
Did you like this project? Please feel free to Pin this project to your favorite Pinterest Board or Share on your Social Media page.
