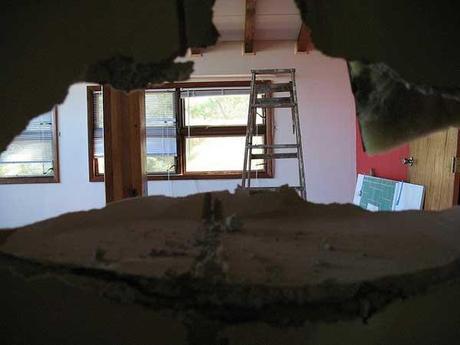
Some people remove their bathroom vanity themselves but not all can do it without ripping the entire wall out. Removing your bathroom cabinets without leaving a gaping hole in the wall is possible and I’m going to show you how.
To do this, you’ll need to remove all mounting screws and cut a line in the caulking that attaches backsplash (if applicable). If done correctly, the bulk of the problem should not come from the vanity itself but rather from the backsplash. Not to fret, I have an easy trick that will help you remove your backplash and vanity without ripping out the wall; a 2×4!

CC)
The Secret to Removing a Vanity Without Putting a Hole in the Wall
People put holes in the wall for 2 reasons; they don’t remove all of the mounting screws attaching the vanity to the wall OR they rip out the backsplash. For mounting screws, you can pry the vanity away from the wall and insert wood shims. Then, peak behind the vanity to see if you can locate the remaining screw(s). You can also use a flashlight and get underneath the vanity and look for screw heads that you may have missed.
Backsplash is held in place with caulking and contracting adhesive. You have to be very delicate when removing these pieces. What you can do is use a pry bar to peel the backsplash away from the wall. Be careful not to pull so hard that you break the backsplash. Place a soft cloth on the tip of the backsplash to prevent chipping of the edges.
The key to removing backsplash without putting a hole in the wall is to use a 2×4. Place a wooden 2×4 between the pry bar and the wall. This will distribute the leveraging pressure across a wider surface area to keep you from poking holes in the wall with your pry bar. For stubborn backsplash, I’d recommend getting an even larger piece of wood; a 2×6 or a 2×8 might work better in these instances. These larger boards disperse the pressure across an even wider area and can prevent damaging drywall in your bathroom.
I wrote a post about using the 2×4 trick to remove baseboard moulding without damaging walls. You can check it out for more information. You’ll use the same technique and there are more visuals that might be helpful.
To Do Prior to Cabinet Removal
- Disconnect Plumbing - Begin by turning off the hot and cold water shut-off valves that are located beneath the sink. Then you can disconnect all the plumbing below your sink.
- Removing Backsplash – Use a razor knife to cut through caulking between the top of the backsplash and the wall. Do the same for sidesplash.
Tips to Removing the Vanity
Try reducing the weight of your vanity by removing doors, drawers, and accessory items that you may have left inside. This will make it easier to lift up your vanity when it’s time to pull it away from the wall.
Remove the mounting screws from your vanity. Screws are typically located in the corners and along the top and bottom of your vanity. If your vanity is placed in the corner, there should be mounting screws holding the side of the vanity to the wall as well. Be sure that you remove all mounting screws so that you won’t rip out the wall when pulling your vanity out. If you feel any type of resistance, you should double check to locate the remaining screw that is holding the vanity in place.
Once you’re absolutely sure that you’ve removed every single screw holding the vanity to the wall, lift and pull the vanity away from the wall slowly. You’ll probably want an extra hand for this step. Be careful, take your time, and go slowly.
Conclusion
The only thing holding your vanity to the wall should be a handful of mounting screws. Aside from that, removing the backsplash will be your toughest challenge. It’s more than possible to remove your vanity without ripping out the wall, you just have to be patient and take the time to remove any screws/adhesive that may be securing your cabinetry to the wall.
Recommended Reading:
- How to Donate or Get Rid of Your Old Bathroom Vanity
- How to Install a Bathroom Vanity
- Dealing with Bathroom Vanity Water Damage
About the Author
Cheryl Khan is a designer and writer at , an online specialty site dedicated to retailing fine bathroom furnishings. She has extensive knowledge about all the finer details that go into planning the perfect bath renovation project and is an expert on all things bathroom! Send her your bathroom Q’s on twitter @SuperInteriors!
