The ultimate step-by-step guide on how to balance radiators
If you have hot and cold spots on some of your radiators or find that some radiators get warm whilst others do not, then your radiators need balancing.
Now don’t worry because it’s a pretty simple DIY job and in this step-by-step guide on how to balance radiators we’re going to give you all of the information you’ll need on how to get your radiators all fired up and back to their best.
What does balancing radiators mean?
Balancing radiators means adjusting the radiator valves to level the water flow and make sure your radiators heat up at the same speed.
If instead you find that your radiators are cold at the top, you should visit our Bleed A Radiator guide. Or, if you have radiators that are cold at the bottom, you may have a build up of sludge, and should check out our How To Flush A Radiator guide instead.
How to balance radiators
If you are a decent enough DIY-er, simply follow the bulleted steps below to balance your radiators. But if you’ve never been around a heating system before, check out the full guide and you’ll have those radiators balanced in no time.
- Turn off your heating
- Open all your radiator valves
- Turn the heating back on
- Record how fast each radiator heats up
- Turn your heating off and allow it to cool
- Turn the heating back on
- Adjust the first radiator to heat up
- Take your radiator’s temperature
- Take the temperature of the pipework
- Check each radiator on your list
What is the difference between bleeding & balancing radiators?
Balancing radiators
When you balance radiators, you allow more water to flow to the colder radiators and restrict the flow from the radiators that are too hot.
For example, if the radiator in the kitchen heats up quickly but the one in the lounge takes forever, then your radiators need balancing.
Bleeding radiators
Bleeding a radiator means letting the trapped air out of the valve with a radiator key.
If your radiators make noise when the heating is coming on, or if your radiators have cold patches at the top, then they need bleeding.
Do you need to bleed or balance your radiators?
You will do a better job at balancing your radiators if you have bled them first because you will get a more accurate temperature reading.
So, if your radiators are not working properly and you’re unsure whether you need to bleed or balance your radiators, do both! But, make sure you bleed them first.
Balancing radiators in 10 steps
What tools will you need to balance radiators?
- Radiator bleeding key
- Lockshield valve adjuster or adjustable spanner
- Screwdriver
- Digital thermometer or multimeter with a thermometer function
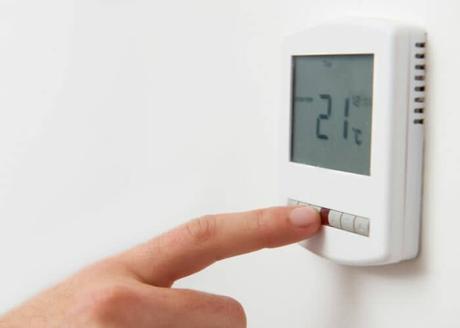
Step 1. Turn off your heating
Make sure all the radiators have been bled (here’s a guide on how to do that). Turn off the central heating and let the radiators cool down, until they are completely cold.
Step 2. Get to know your radiator valves
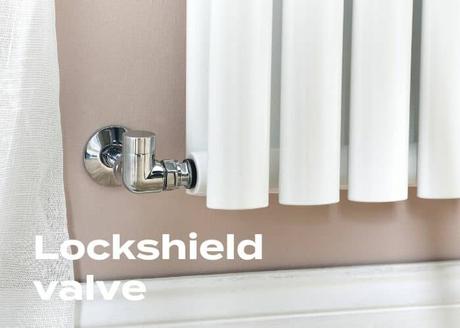
Find and familiarise yourself with the valves on your radiators. This is a lockshield valve and will usually have a push-on cap, or a cap that is secured with a screw through the top of it. Remove the cap altogether.
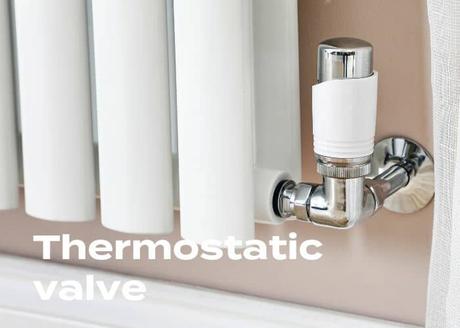
Many modern homes will have TRVs – Thermostatic Radiator Valves – attached to most of the radiators on the opposite side from the lockshield valves. A TRV should always be fitted to the inlet on the radiator and the LSV to the outlet.
Step 3. Open all your radiator valves
Open up the valves on every radiator in the house by turning them anti-clockwise. Thermostatic valves or older wheel-head valves can be turned quite easily by hand but the lockshield valve will need a plastic adjuster or a spanner to open it.
Step 4. Check how your heating system heats up
Once all of the valves have been successfully opened, turn the central heating back on and take note of the order in which the radiators heat up.
Radiators nearest the boiler will often get hot first and, if you have a large home with lots of rooms and radiators, it might be an idea to employ a little help to ensure you get the job done properly.

Step 5. Turn off your heating again and allow to cool
Turn the heating off and wait for the radiators to cool down – this may be a good time to practice some yoga or something.
The reason for doing this is because you’re attempting to balance the flow of water and heat through your system.
When you take the temperature of your radiator and valves you’ll be making tiny adjustments. To get the desired effect, it is best to do this from a standing ‘cold’ start.
You close the first radiator’s valve and then open it gradually until you have reached the desired temperature.
If your radiators are not balanced, it will be harder to achieve the desired temperature if they are already on.
Step 6. Go to the first radiator to heat up
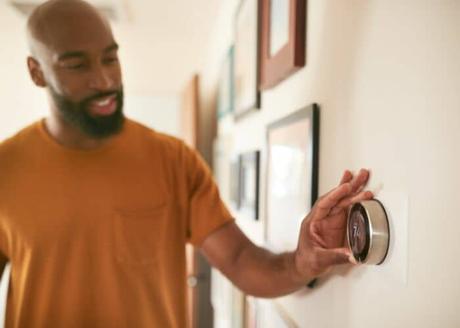
When the radiators are cool, turn the heating back on and go to the radiator on your list that began to heat up first.
Turn the lockshield valve clockwise on this radiator until it is closed and then open it again by quarter of a turn.
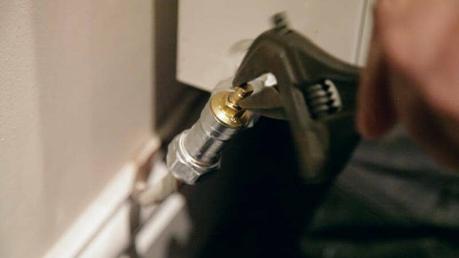
Step 7. Take your radiator's temperature
When the radiator is nicely warmed up, take a temperature reading at the pipework leading to one of the valves.
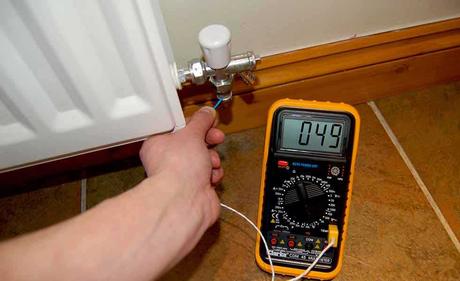
Step 8. Take the temperature of the pipework
Next, take a temperature reading at the pipework which leads to the valve on the other side of the radiator, gradually opening the lockshield valve until there is a 12°c difference between that, and the temperature reading from the previous step.
It’s important to ensure that you leave a couple of minutes after each adjustment to the radiator valves in order to allow the temperature to change.
Please note: The temperatures in these images may not necessarily be relevant to your radiator – just ensure there’s a 12°C difference in the temperatures you record at opposite valves, that’s what is important.
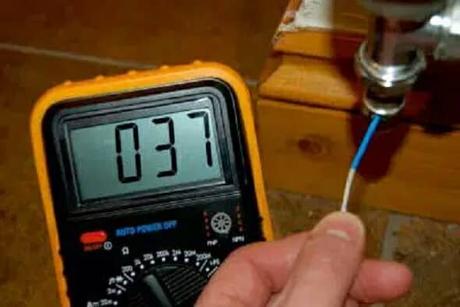
Step 9. Check each radiator on your list
Now, check the rest of the radiators in the order on your list. Generally, the further the radiator is from the boiler, the more the lockshield valve will have to be opened. In order to balance your radiators correctly, you may have to have the lockshield valve opened fully at the final radiator.
Step 10. Sit back and relax
Sit back, relax and enjoy the warm and comforting glow of your newly balanced radiators.
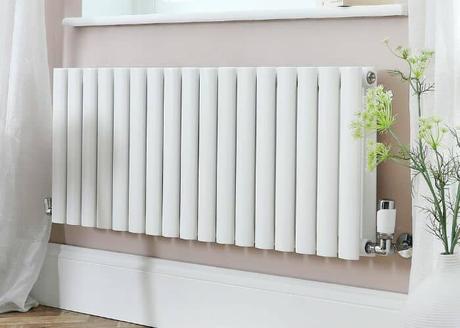
Can't balance your radiators?
If you are still suffering with balancing problems or having issues with radiators not heating up properly after following the steps shown then you may have a weak pump and or sludge in the system that is restricting the free flow of hot water around the system.
Check the water coming out when bleeding the radiator, if it’s black then that’s a sign of sludge in the system.
Another telltale sign is cold spots on the bottom-middle section of the radiator. If you suspect your system is blocked up then you may need to add some sludge remover to the system.
Allow this to circulate as much as it can for around 3 days before draining the system completely and then add inhibitor to stop any further corrosion.
Homecure Plumbers – Plumbing, central heating and boiler services based in London –Visit Website
Now it's time to balance your radiators
And there you have it, all the information you need to bring some balance to your radiators and your home heating.
So now you know how to balance a radiator why not let us know how you got on when you did it yourself or if you’re a bit stuck and need to ask any other questions, feel free to leave a comment below or visit us on Instagram, Facebook, Twitter and YouTube.
All the very best for balancing your radiators.

