How to Antique Finish a Frame
This week we have been doing a lot of posts that revolve around pictures and framing. Today we are going to work on applying an antique finish to this frame. You have probably seen this picture in a couple of posts already, but are you ready to make one and finish it like this?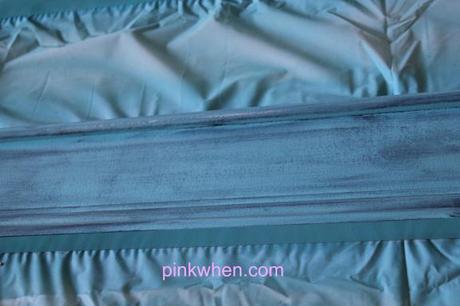 Antiqued blue picture frame with Valspar paint in Peacock Blue and Black Kiwi polish To finish this frame as above, you are going to need these supplies:
Valspar Spray in Peacock Blue
Fine 220 sand paper
Kiwi black polish and applicator
Cloth
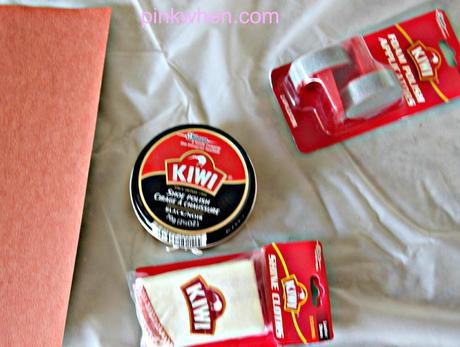 Supplies Take your frame and place a good coat of paint all over, and make sure you are in a well ventilated area. Having a fan also helps! Allow to dry, and repeat the process again. Once you have a good second coat, allow to dry overnight.
The next morning, when your paint is all dry, take your 220 fine sand paper and rub all over the frame, going with the grain. You can see in the picture below it pulls up some of the paint and you can see some of the white primed areas underneath. This is perfect!
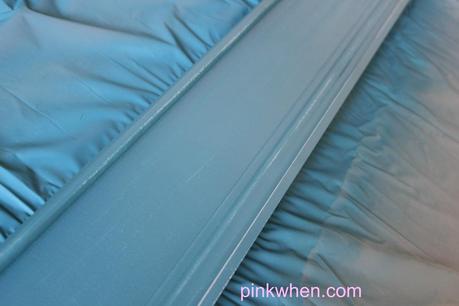 Take the 220 sandpaper and rub with medium pressure over the board Once you have the board nice and sanded, it's then time to add your polish. Take your black Kiwi polish and applicator, and rub along the board with the grain. The polish will adhere well in those spots and start giving it that "antiqued" picture frame look we are going for.
If you get a little too much in one spot, use your cloth and remove some of the polish. Reapply and smooth as often as needed to get the look you are going for.
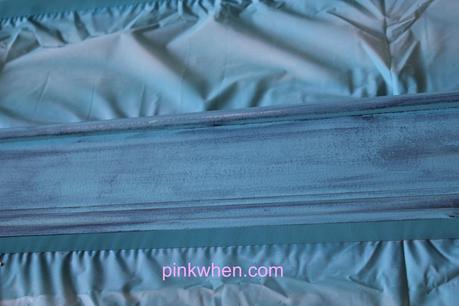 Apply the polish to the frame and smooth with a cloth until you get your desired look Once you have created the perfect look, allow the frame with the polish to dry. About one to two hours. Once this is dry, you can then move your frame and use it! Not a lot of steps to antique. You can also go to the local Dollar Store and buy frames to paint, sand, and antique to give it a whole new look. Try this technique out, it's simple and quick, and that's a big bonus for my busy calendar.
 If you have been following this series of posts all week, you know how to build a frame, and now how to antique finish a frame. You've seen it before, but this is what the final product looks like! (See below)
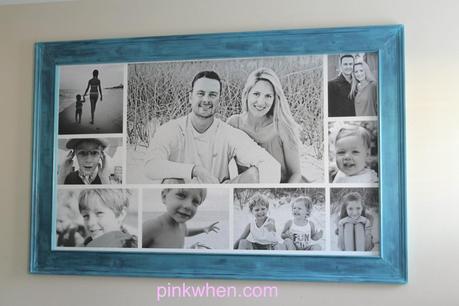 Final Antiqued Blue Picture Frame I hope you have enjoyed this series on pictures and framing this week. Remember, you have all week to get a WeMontage like the one above at 50% off with promo code PINKWHEN !
