How to make homemade sprouted ragi flour and ragi porridge popularly known as ragi kanji/kuruku with the homemade ragi flour? Let’s see today in this post.
Have you read our ragi cake with chocolate sauce? Ragi or finger millet has a distinct taste with amazing health benefits. It is a rich source of calcium, protein, carbohydrate, fibre, thiamine and iron.
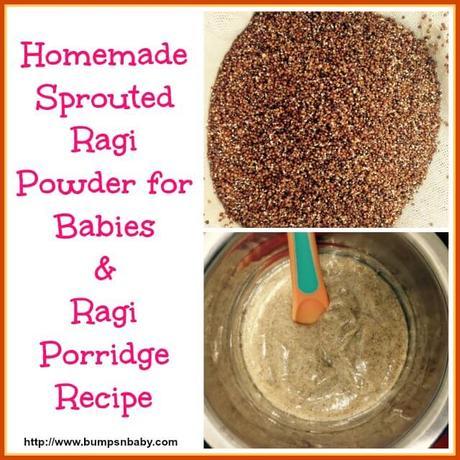
The other names of ragi are panjapullu/kooravu/kora (Kerala), kelvaragu (Tamil Nadu), mandika/ragi (Karnataka), taidalu (Andhra), and nachni (North India).
Benefits of homemade sprouted ragi flour:
Ragi is low in fat and helps to keep the body cool. Sprouting ragi increases the Vitamin C levels in it which in turn helps in easier absorption of iron.
The other benefits of ragi are as follows.
- High nutritional content:
Ragi flour is recommended as a weaning food for babies because of its high nutritional content. It prevents malnutrition and provides adequate amount of energy too.
- Easily digestible:
Ragi is non-glutinous and non-acidic. So it’s easy to digest. It is a good laxative too.
- Feels full when consumed:
Ragi contains complex carbohydrate and glucose is released very slowly into the blood without overloading. Thus it keeps us full for a long period of time.
- Curbs appetite:
Ragi contains tryptophan, an amino acid which helps to curb appetite. Hence ragi porridge is a very healthy dinner for babies.
- Builds immunity:
It is ideal for pregnant mothers and helps build immunity to the baby in the womb.
- High calcium and iron:
It is good for lactating mother due to its high calcium and iron content. It improves the production of blood too.
- Maintain blood sugar levels:
The fiber content in ragi lowers cholesterol and help to maintain blood sugar levels. Mothers having gestational diabetes can use ragi/ ragi products instead of other grains as it will help control their blood sugar level.
Are you ready to prepare ragi flour at home? Come let’s start.
Step by step instructions to make homemade sprouted ragi flour:
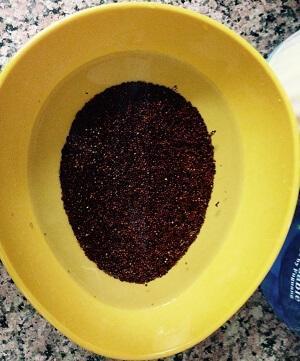
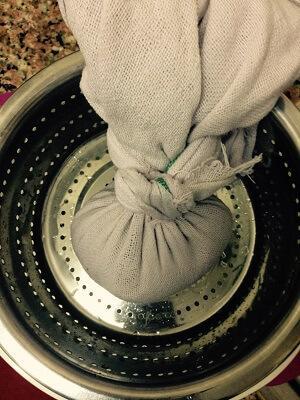
Wash ragi seeds thoroughly and soak them in drinking water overnight. Drain out all the water in the next afternoon. Take a perforated utensil and line it with a clean white muslin cloth. Put the drained ragi seeds over the cloth. Tie it up and place it somewhere undisturbed in your kitchen for at least 12 hours (I kept overnight). Next day you can see all the ragi seeds with tiny white sprouts on their top.
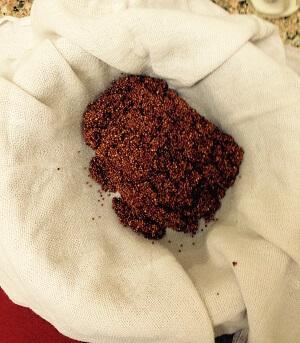
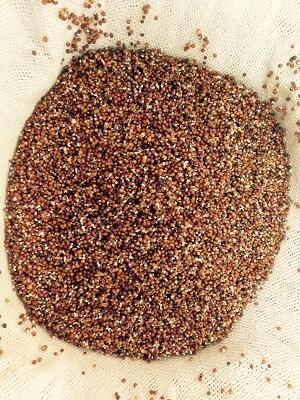
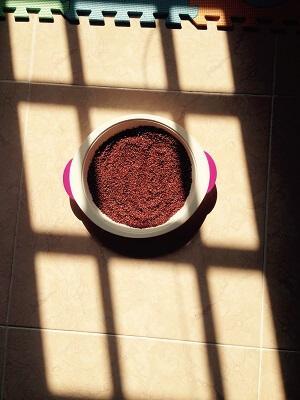
Spread those sprouted seeds in a clean mat or a plate and dry it under sunlight or under fan for few hours till it is completely dry. As I am staying in flat I kept them under fan plus partial sunlight (you can see in the pic below). Heat a large non-stick pan or kadai. Add the dried ragi in it and roast on a very low flame and get it lightly toasted. Cool it down completely.
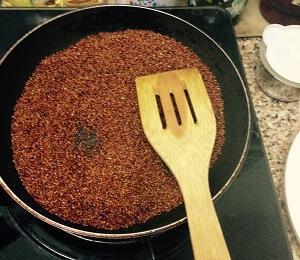
Put roasted ragi seeds in a blender. Add little (1/4 tsp) ginger powder and elachi powder to it. This step is completely optional. Powder it. If the quantity is large powder by giving it to a flour mill. I have done it in my mixie as I took less quantity.
Keep an eye on your mixie not to get overheated. If then wait for a while, allow it to cool down then you can proceed.
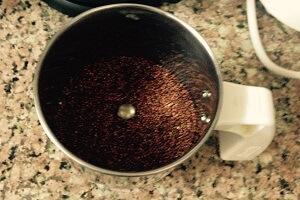
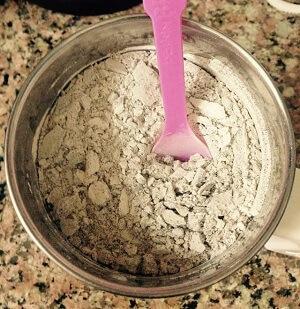
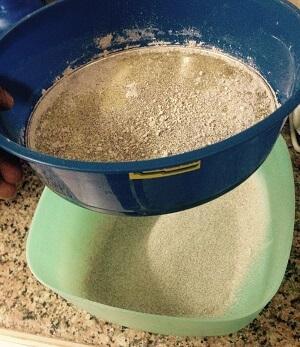
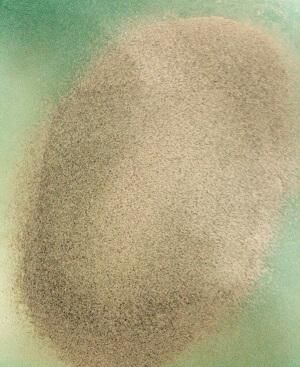
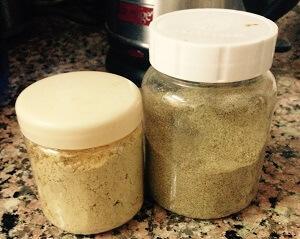
Now your ragi powder is ready. Allow it to cool. Put it in a fine mesh and sieve. Store it in an air tight container.
Preparation of ragi porridge with the homemade sprouted ragi flour:
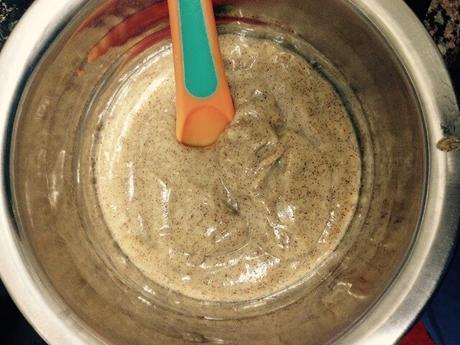
- Take 2 tablespoon of ragi powder in a small pan and mix in a little water (¼ cup or less than that) without forming any lumps.
- Add more water and keep it on low flame stirring it continuously
- When the mixture turns thick, add jaggery syrup or any other forms of sweetener like date syrup, kalkandam, panamkalkandu/palm sugar or regular sugar.
- Add ¼ cup milk and cook well for another five minutes.
- Add 1 teaspoon ghee and switch off.
Notes:
- Shelf life of ragi powder is quite good so it will be fine outside room temperature for two to three months. If the quantity is high and you want to preserve for a long time say 6 months, then you can keep them in refrigerator.
- If your child is less than one year, skip the 4th step and add more water to cook it. If your baby is on formula, add prepared formula at the end after switching off the stove.
- If the child is one year old and above, you can even use almond powder, cashew powder or dry fruits powder to the porridge.
You will for sure feel happiness along with a little pride while you prepare the porridge with your own ragi powder and feed your little one.
Do you use the homemade sprouted ragi flour for your little one? Is there any variation you add to the whole preparation? Please share with me in comments.
