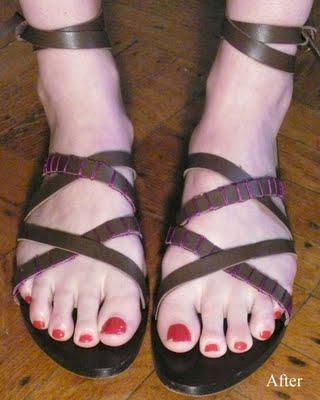
Kat has been asking me to do a guest post for this excellent blog since it’s inception. Or, perhaps before? Truth be told, I am not a natural re-do-er. I’m pretty good at my day job- designing women’s shoes, but I like to work with raw materials, and create, well, from the ground up. It’s harder for me to start with an existing product, and alter it to fit my specifications. But Kat’s inspiration and enthusiasm got me going. As did a trip to my local Housing Works Thrift Store. As I was browsing the well-stocked racks, among the little old ladies of Brooklyn Heights, I spied some excellent raw materials. Beautifully made Bally sandals (with some serious design flaws) for only $5. Perfect:
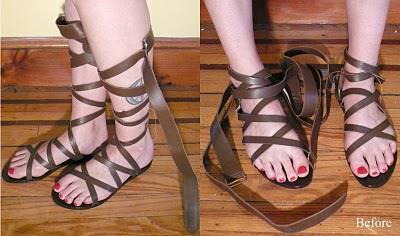 I’m already 5’9” tall and don’t really need any extra height, so I like a super flat sandal. This Bally pair fit the bill. The toe shape was perfect, and flattering, and the leather straps were soft and wouldn’t rub.But what is with all of those straps? Perhaps I missed the point of the original design, but…. I couldn’t figure out how the hardware for the closure was supposed to work. And why did the width of the straps suddenly get wider at the top? Strange... To make matters worse, the straps themselves were coming apart, and the strengthening tape that gives the straps some strength was fraying. Not so pretty.
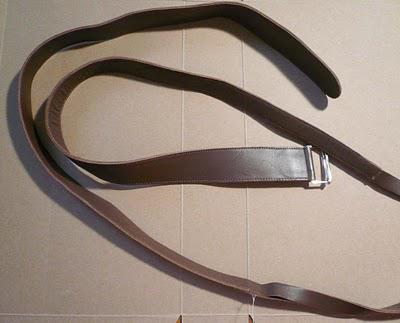
So, I cut the straps shorter, just below the strange additional part just above the stitch line.
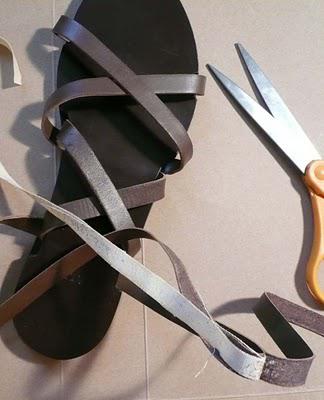
Then, because I happen to know that the white, fraying strengthening tape is much more necessary for the straps that go across your foot, and not so necessary that straps that wrap around your ankle, I decided to cut it out, where it was starting to separate and start to fray.
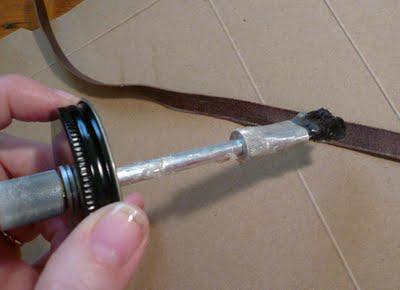
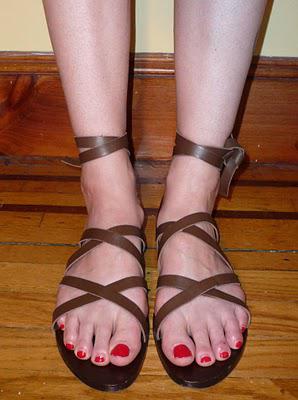
At this point, I had already improved the sandals enough to wear them out in public without being stared at strangely:But I thought I could do a little bit better- jazz these babies up a bit. Inspired by some of Kat’s previous projects, I pushed forward.
But I’m a minimalist at heart. Studs and hardware are not really my thing. How could I add a bit of detail to these guys, and still create a pair of shoes I’d want to wear? I started to doubt my worthiness of being a We Can Re-Do It guest blogger! I was starting to think about throwing in the towel.
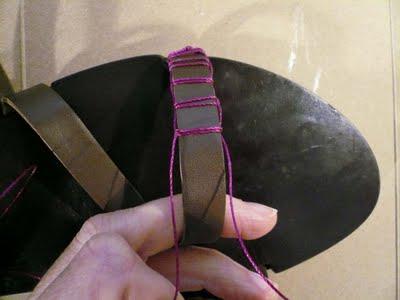
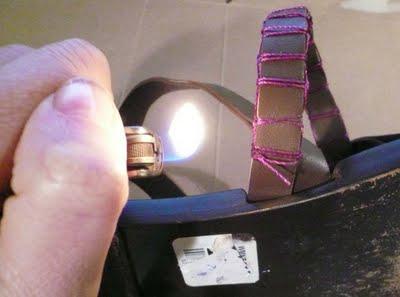
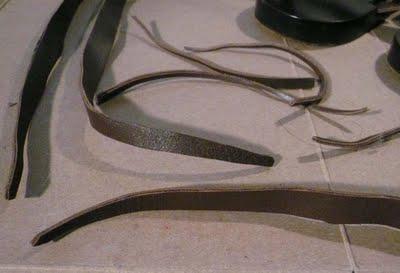
Now, the only thing left to do was to neaten up the end of the straps that would wind around my ankles, and tie into a neat knot. Rather than leaving the straps cut raw at a 90 degree angle, I thought that the knotted straps would be more secure if I tapered the straps at their ends. You can see in the photo that excess that I removed from both sides of the straps, in order to create a thinner, tapered end to each strap: Straps fixed, and (not too much) adornment applied, I am totally ready to wear my new sandals!
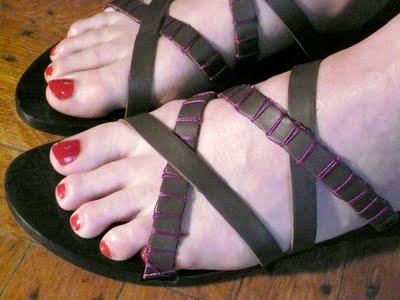
The improvements here are subtle, but I’m really happy with the results. I’ve taken a pair of strange and somewhat useless sandals and given them new life.
As it turns out, even a doubter like me really can Re-Do It!

