As I mentioned in my last post, I was recently challenged to find a piece of furniture and use Annie Sloan Chalk Paint® to give it a new lease on life.
Having chosen my paints (Florence and Emperor’s Silk) and waxes, I soon found myself a piece of furniture to upcycle—a small white bedside table from Gumtree.
It had a wooden top and the base had been roughly painted white. They wanted $40, I gave them $25.
I hoped that with a little TLC, the drawer would make a handy storage piece for inside my front door; somewhere to drop my handbag and my mail each afternoon.
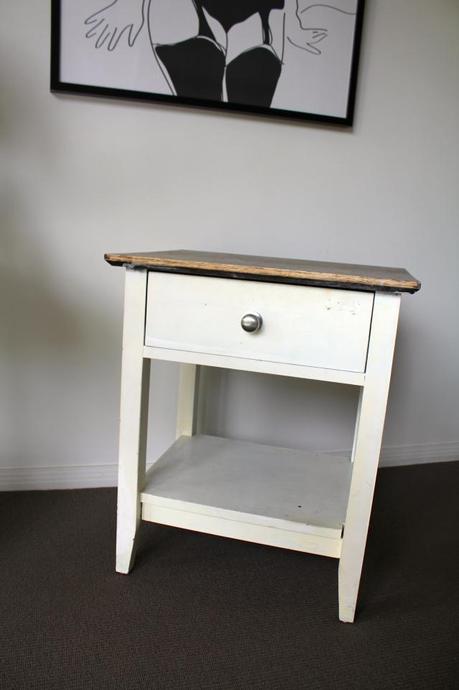
The ‘before’ picture.
After weeks of procrastinating—mostly because I was a little intimidated by the fancy paintbrush I was sent by Annie’s PR team—I suddenly decided to just throw myself into the deep end and hope for the best.
The beauty of Chalk Paint® is that it has been made specifically for painting furniture, floors and walls—giving them a completely matt, velvety finish.
It also sticks to just about any surface … including skin.
I know this because less than an hour later, I was crawling through my lounge room on my knees as my hands, feet and tights splattered in turquoise paint.
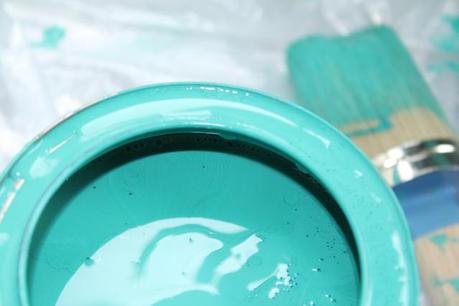
Given that rest of my lounge room is fairly neutral with cream walls and couches, I chose to start with the Florence paint in the hope it would give the room a pop of colour.
In my (completely unprofessional) opinion, the best part of Chalk Paint®—aside from the lovely colours—is that you don’t need to use a primer or sand down your pieces to their original wood. That’s right … NO PRIMING OR SANDING!
So, after putting down a plastic drop sheet and armed with a screwdriver and a paintbrush, I cracked open my can and started painting.
Having previously never really painted anything other than my toenails (and the unicorn), I wasn’t sure how thick to apply the paint and my first few attempts looked a bit crap but I eventually got the hang of it.
If you’re looking to give it a go yourself, there are video tutorial’s available from Annie Sloan which show how easy it is to apply to the products, or you could do what I did and just cross your paint-covered fingers that it all works out.
Here are my tips on how to refurbish a piece of furniture using Annie Sloan Chalk Paint®.
1. Clean your piece. Before I began I did wipe my piece over with a damp cloth to get off any dirt or dust (as it had been sitting in my spare room for a couple of months). I also gave a very brief thought to sanding down some built up paint from the last dodgy paint job, but in the end decided it just added to the charm.
2. Start painting. As I mentioned, I wasn’t sure how thick to apply my paint in the beginning, but this was all part of the fun. I used Florence all over the piece (after taping up the drawer’s handle with painter’s tape). I also went for a bit of a mismatched hand painted effect by painting in both vertical or horizontal stripes.
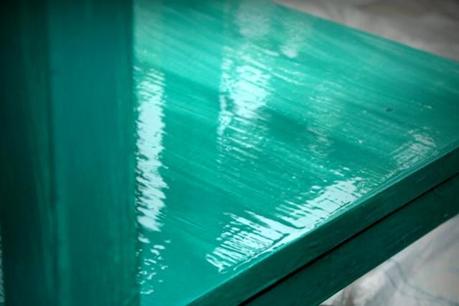
3. Wax on. Wax off. After leaving my paint to dry overnight (and cleaning my Annie Sloan brush) I used the same brush to apply the Dark Wax (this wasn’t really planned, I didn’t realise I had both dark and clear wax to choose from). I also applied it with a rather heavy hand, to give it an aged look. Once finished, I used a clean cloth to rub in the wax and remove the excess. The wax absorbed into the grain of the wood, giving it the vintage/antique look I was hoping for.
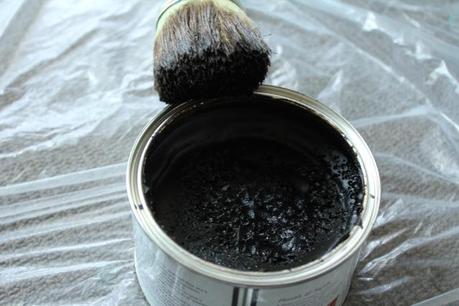
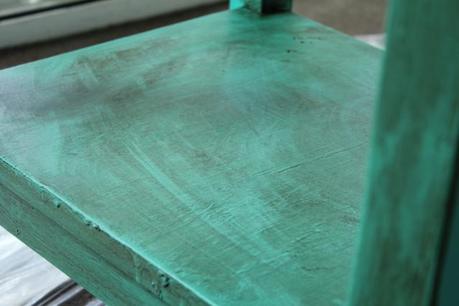
Wax on, wax off.
6. Distress not mess. If you’re looking for a more distressed look you can gently sand down the areas you wish to so the original colour shows through. Annie advised me this can work really well when you’re painting over un-painted wood but given I was painting over white, I chose not to sand it back.
7. High and dry. Leave the wax to dry overnight and then you can buff it with another soft cloth to make it shine. I chose not to buff mine too much as I was after a matt finish.
Finally, the wax will take about a month to cure and while you can use the piece in this time (I am already using mine), it can still sustain water marks, scratches etc. But if that does happen, just re-wax the area that has been affected and it will be as good as new!
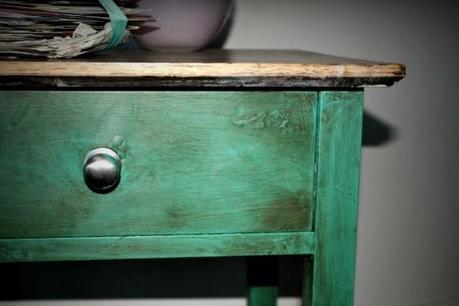
The finished product.
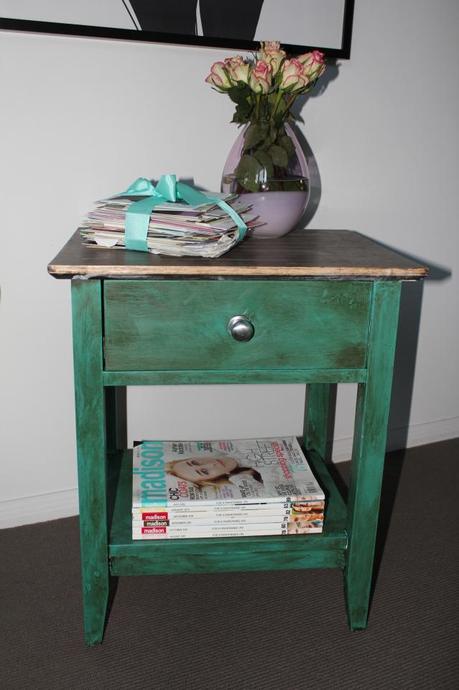
To find out where you can purchase Annie Sloan Chalk Paints, visit click here.
Editor’s Note: This is a sponsored post brought to you by Annie Sloan Chalk Paint however all opinions are 100 per cent the author’s own.
