We took a close look at the other large painting we have hanging in our living room. And we found out that with a little wood and a staple gun we should be able to make it work!
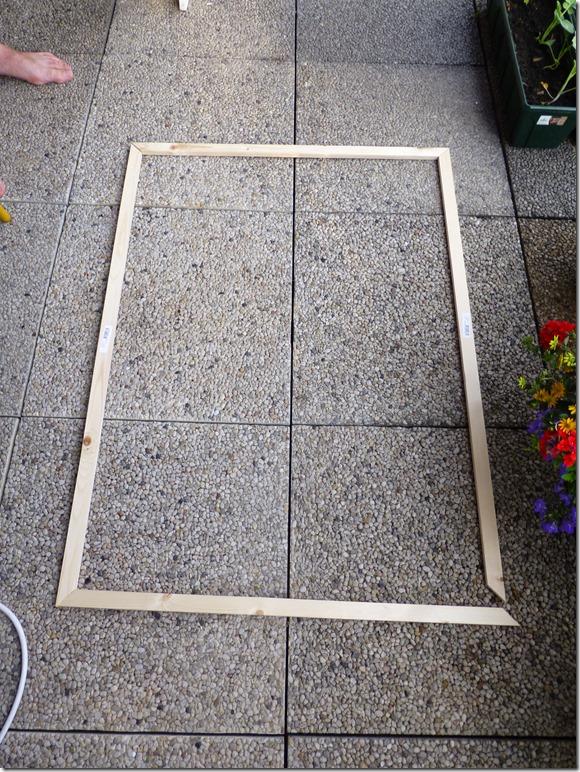
First we measured the canvas and bought a strip of wood (cheapest one I could find) that was long enough for all four sides. Then we cut it up into pieces making sure we had a 45 degree angle on all ends. It’s easiest to use one of those 45 degree sawing help thingies (ours is from an Ikea package I think). Then we put our to be frame in the right shape.

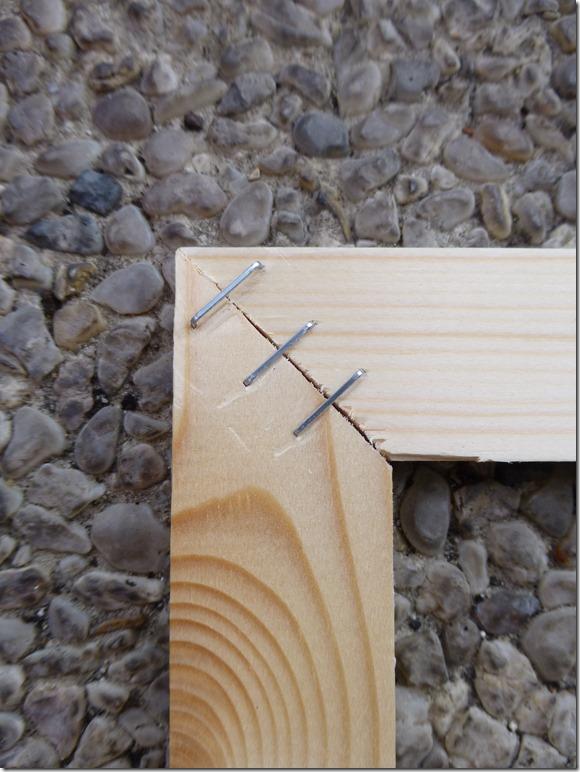
Then Tom stapled the corners together (note the 45 degree angle). The staples needed another whack with the hammer to secure them. Because we have quite a large frame we turned it over so Tom could also staple the corners on other side.

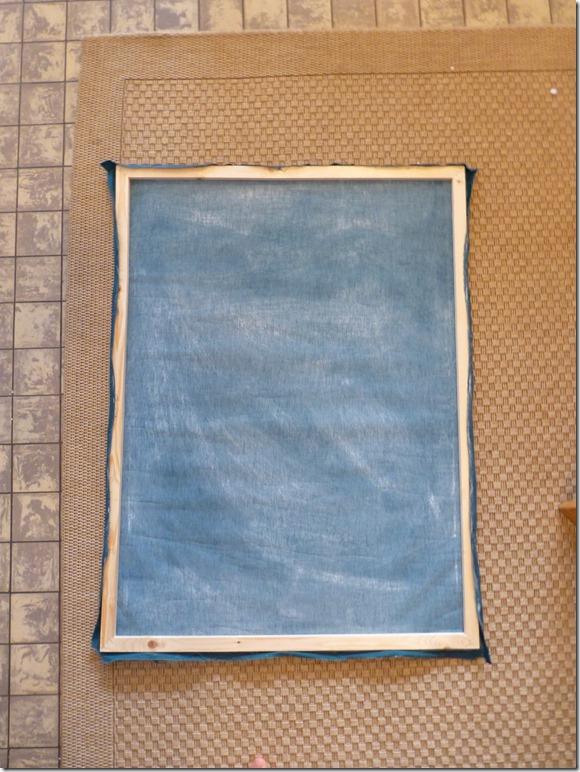
We then brought the whole frame inside and placed it on the canvas. Tom started stapling the canvas to the frame while I pulled the canvas tight. This project definitely is a two man job. To be sure the painting was on straight (and tight enough), Tom first put in a staple on the left side, then the right side, the top and the bottom. Doing this we noticed that the frame (probably because of the cheep wood) would bend inward a little when we pulled the canvas. We used this to really get it tight! Finally we stapled the whole canvas to the frame and hung it up in our hall!


(sorry, the lighting is pretty poor in our hallway)

