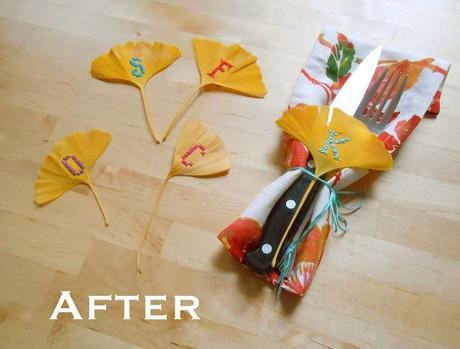
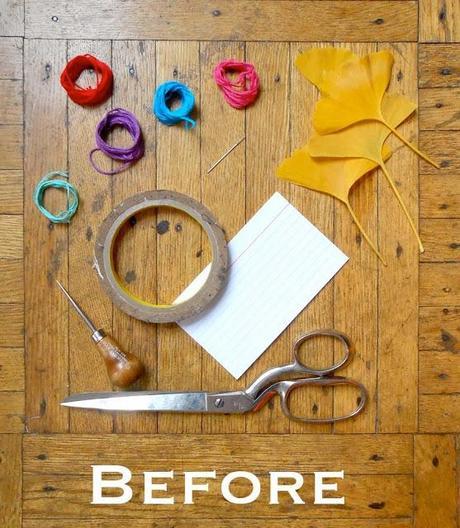
What you'll need:
-index card -double stick tape
-1 leaf for each person -awl
-embroidery thread and needle -scissors
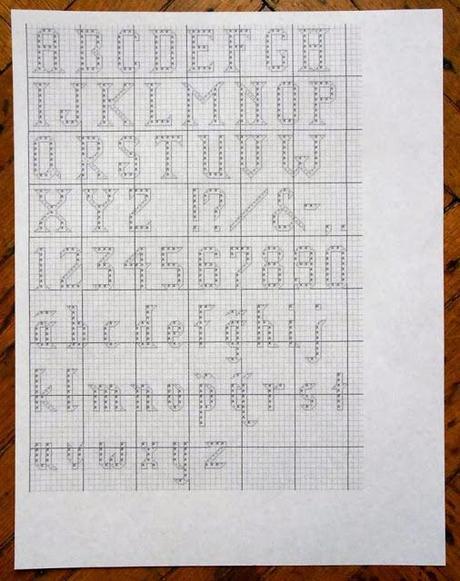
Step 1: So the first thing needed to get going on this is a cross stitch alphabet pattern. (I found a lot of great ones here.) Pick your favorite and print out. The one I chose appropriately enough was the "Thanksgiving" stitch. It's 9 stitches high and I enlarged it an extra 35% before printing out.
Step 2: Place your index card on a self healing mat (or if you don't have one, use a magazine). Place the letter you will need over the index card.
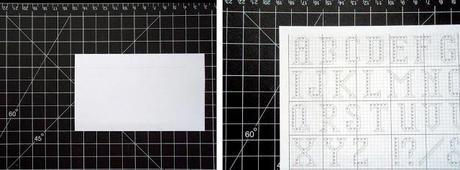
Step 3: Press an awl through the paper at each point of the letter where you will need to make a stitch.
When you pick up the pattern paper, your letter will have been transferred onto the index card.
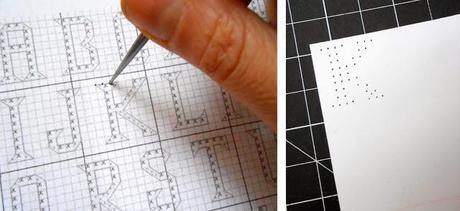
Step 4: Cut out from the rest of the index paper.
(Repeat steps 2 through 4 until you have an initial for each person at the dinner.)
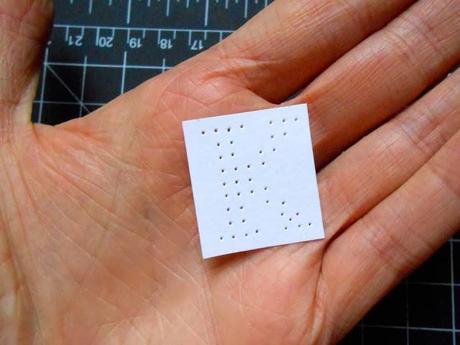
Step 5: Put a piece of double stick tape onto your letter and stick to the backside of the leaf.
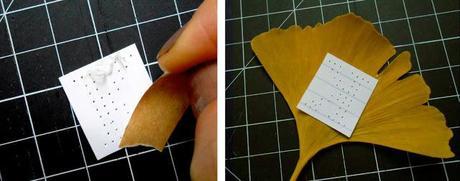
Step 6: Lay the leaf on your mat, good side down, and press the awl through each of the holes.
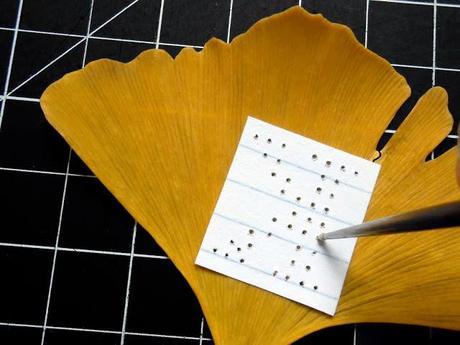
Step 7: Now you're ready to stitch. Separate 3 strands of the embroidery thread and thread your needle. Start on the back and gently stitch through each of the holes. (If you're feeling a little rusty on your cross stitching skills, check out this great how-to on Mochimotchi Land.)
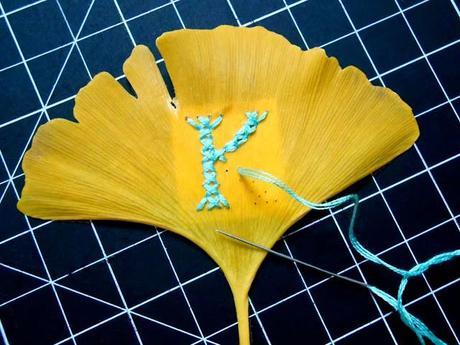
Keep going until you have one made for everyone coming!
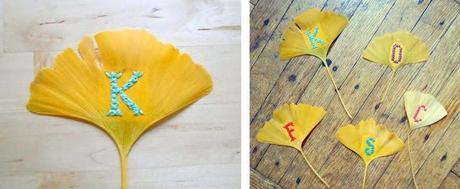
*You may want to note that if you'd like the leaves to look fresh, you want to do these the night before and have them in the fridge until the morning of. If you'll be too busy cooking not to do them a bit in advance, not to worry; they look great dried out as well:)
Hope that every one has a terrific celebration. I have a crazy amount of things to be grateful for this year! Not least of which is all of you who take the time to read this blog and reach out with questions and words of kindness. This has been We Can Re-Do It's most successful year yet. Many, many thanks for that:)
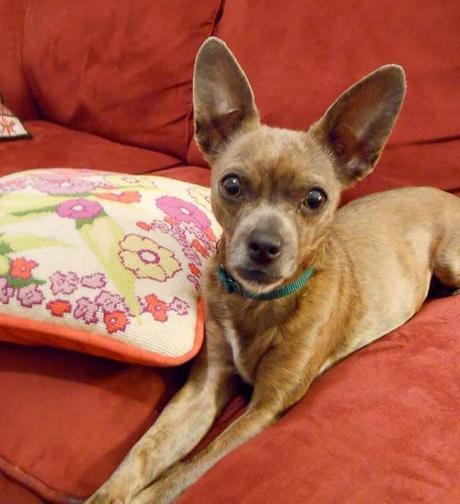
Oh, also I have this little dude to be thankful for! My sweet rescue pup, Sharker. Very grateful to Badass Brooklyn Animal Rescue for saving this hilarious beauty. We've had her for less than a week, but already it's impossible to imagine our household without her.
