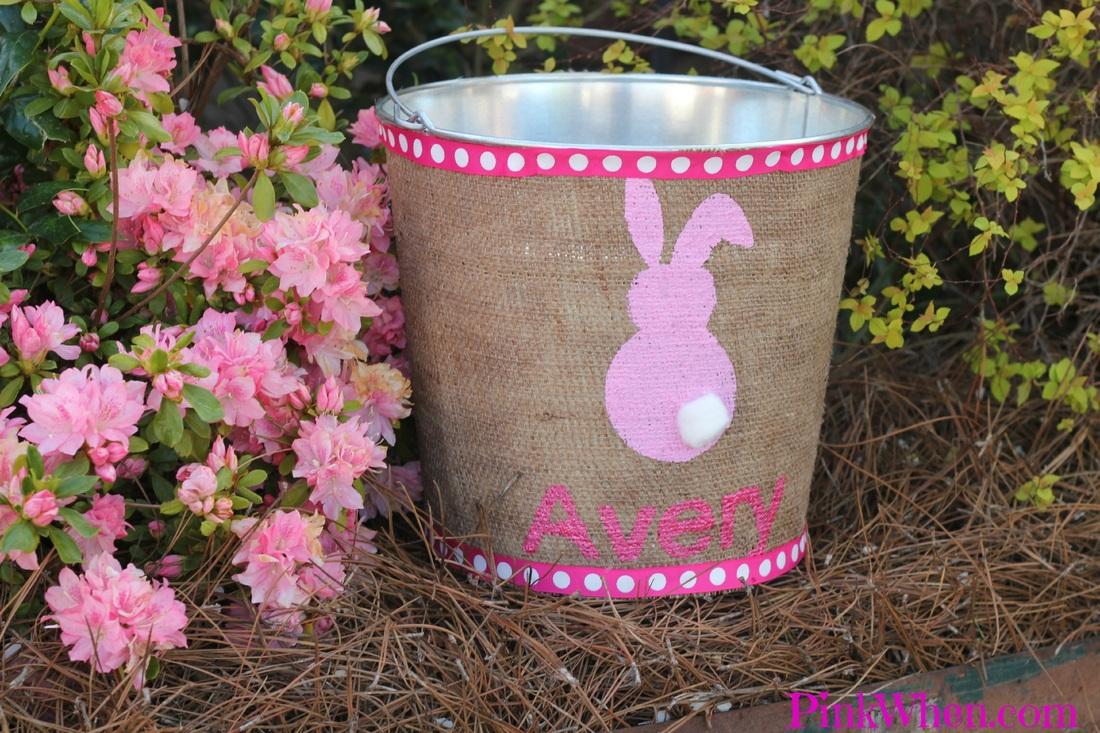
 How to make a Burlap Covered Pail
  This year I decided I wanted to make the girls Easter baskets rather than go and buy them. To me, making something unique and one of a kind for them is fun, and also a memory they and I can share for years. It's also Addy's first Easter walking and able to participate in an Easter hunt, so I decided it had to be something really cool!
 While browsing the internet to find some cool Easter basket ideas, I came across an Etsy store that is ALL burlap! Well, I think we all know I am having a Burlap issue lately, I cannot seem to keep myself from making things with it! I took one look at their Easter pails and almost fell out of my kitchen chair, they were selling them for almost $70 EACH! They are super cute, and super trendy, and maybe a year ago I would have actually purchased one. This year however, I am in the crafty bloggy business, so I took a step back and said, "I can MAKE that!" So, without further wordiness, here is the tutorial on how I made this cool trendy Easter pail!
First things first, gather your supplies:
- Metal Pail (can get at your local hardware store for less than $10 each in the paint section)
- Burlap (I have a ton of this from a previous purchase, so no cost here)
- Mod Podge (I have this on hand at all times, so no additional cost here either)
- Your normal crafty things such as scissors, iron, fabric paint, etc.
- Get your Silhouette machine handy if you have one, otherwise create your printable and print it out
Here we go!! Measure your burlap and circumference of your pails and cut the needed length and width.
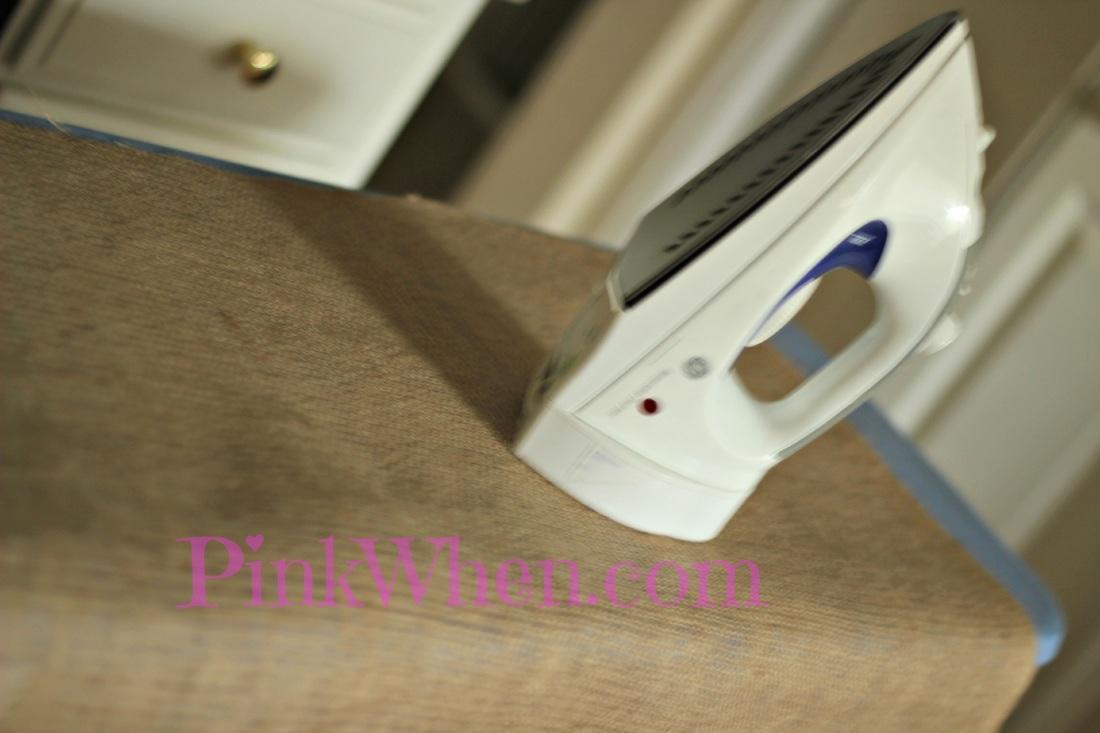
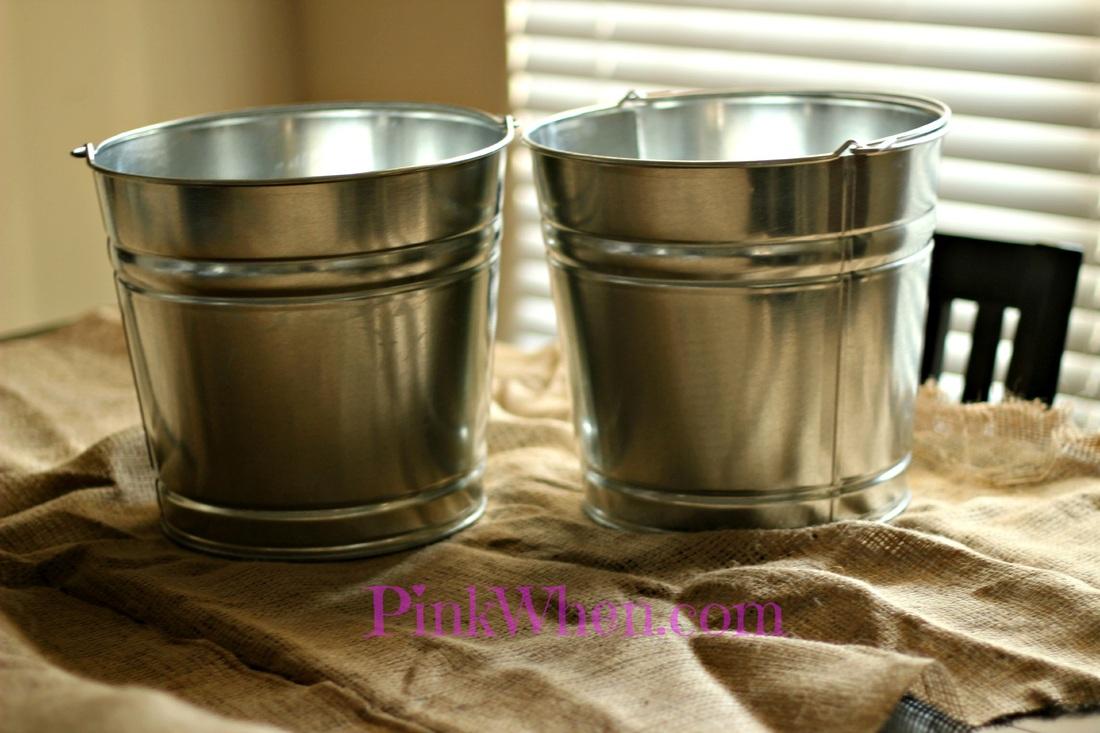 Burlap Covered Pail Tutorial Next thing is to make sure you iron your burlap to remove all of the wrinkles.
  Iron your Burlap Open up your Silhouette or other device and make your printable template to use. I am doing bunny rabbits and names to personalize these a bit.
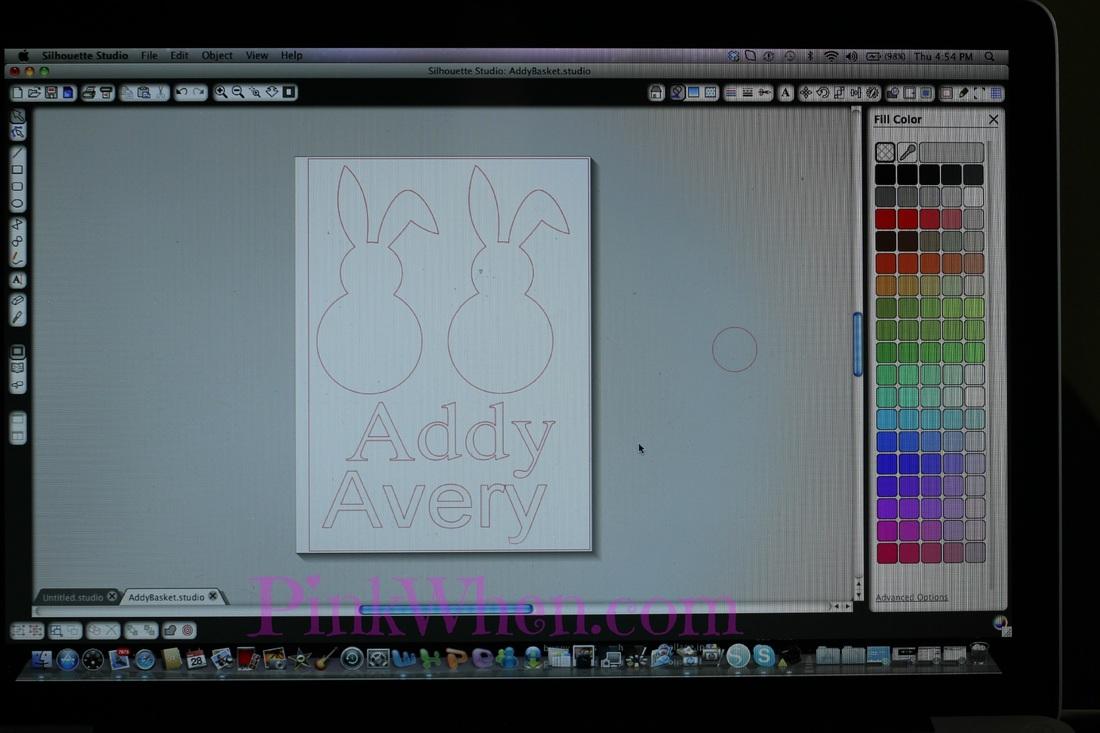 Print out your designs Take your Mod Podge and glue your burlap onto the pail. You will want to glue a little, pull and straighten the burlap, and then pull again. Continue this all the way around until you overlap at the beginning of your burlap.
 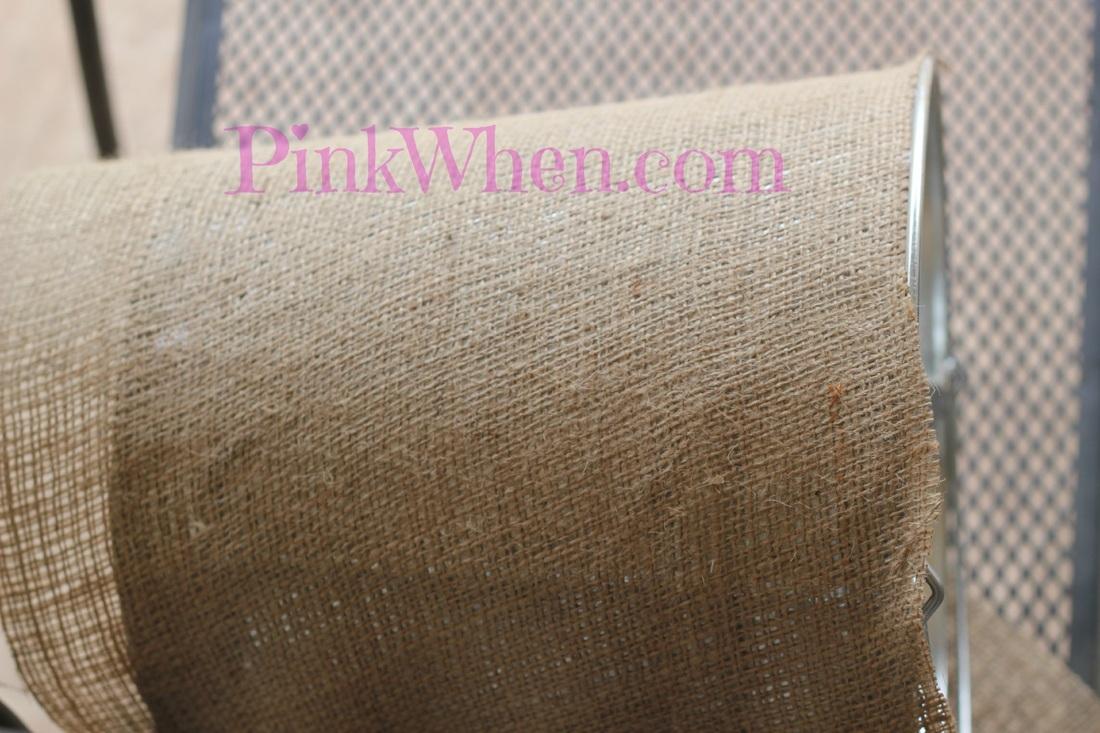 Cover Pail with Burlap Take your scissors and cut around the burlap until it is nice and secure, and as neat as you can get it.
 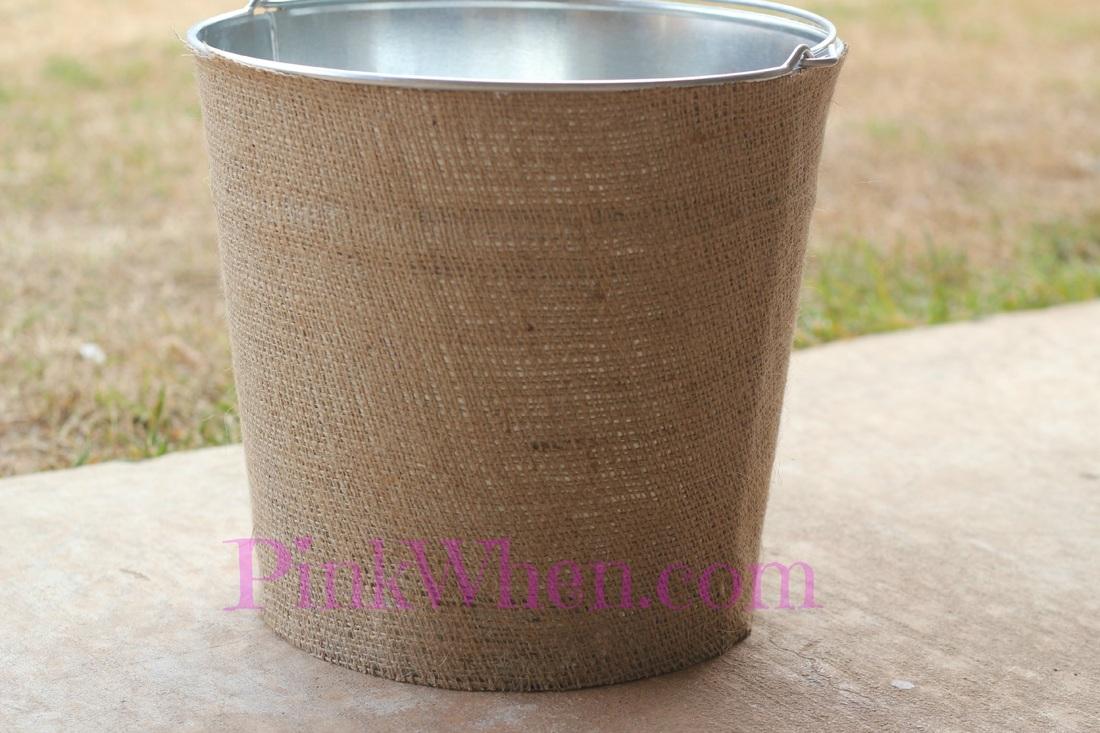 Cover Burlap with Mod Podge to Secure After this step, you want to add a coat of Mod Podge over the burlap again to seal it onto the metal pail and secure it. Let dry overnight.
Add your vinyl or your template over your pail and paint your masterpiece, let dry. Add any embellishments once the paint has dried.
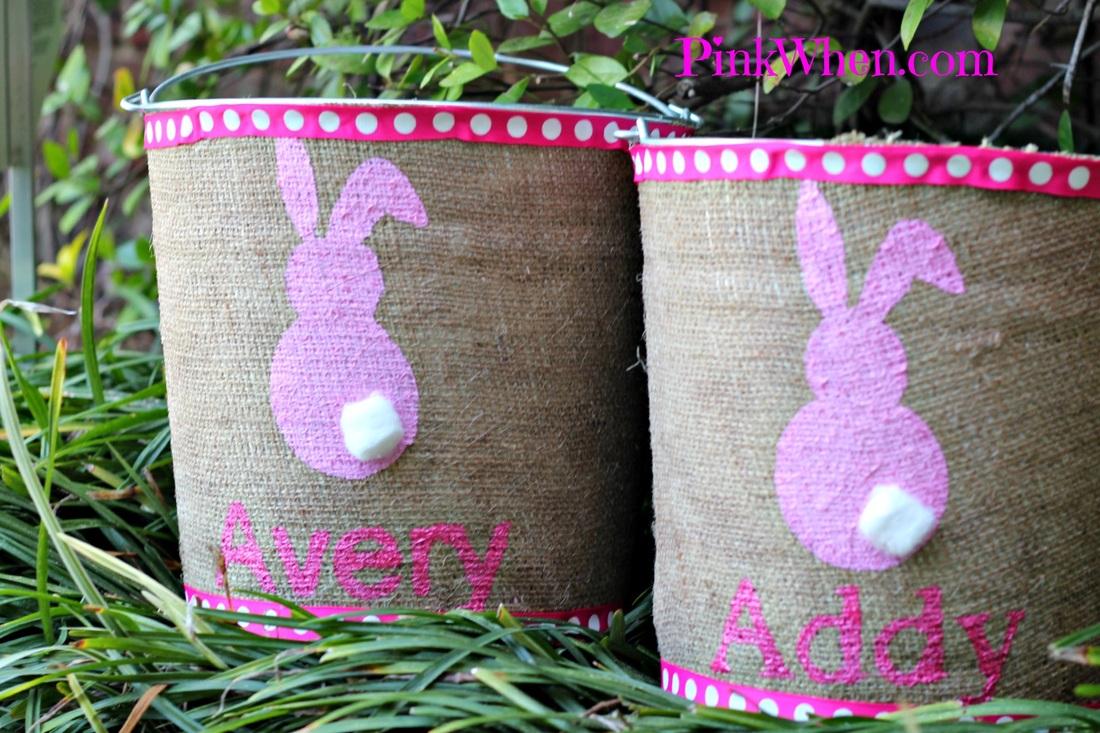 Burlap Covered Easter Pails Watch your little ones enjoy their new Easter pail! Addy should be able to put a LOT of eggs in this for her first Easter Egg Hunt.
 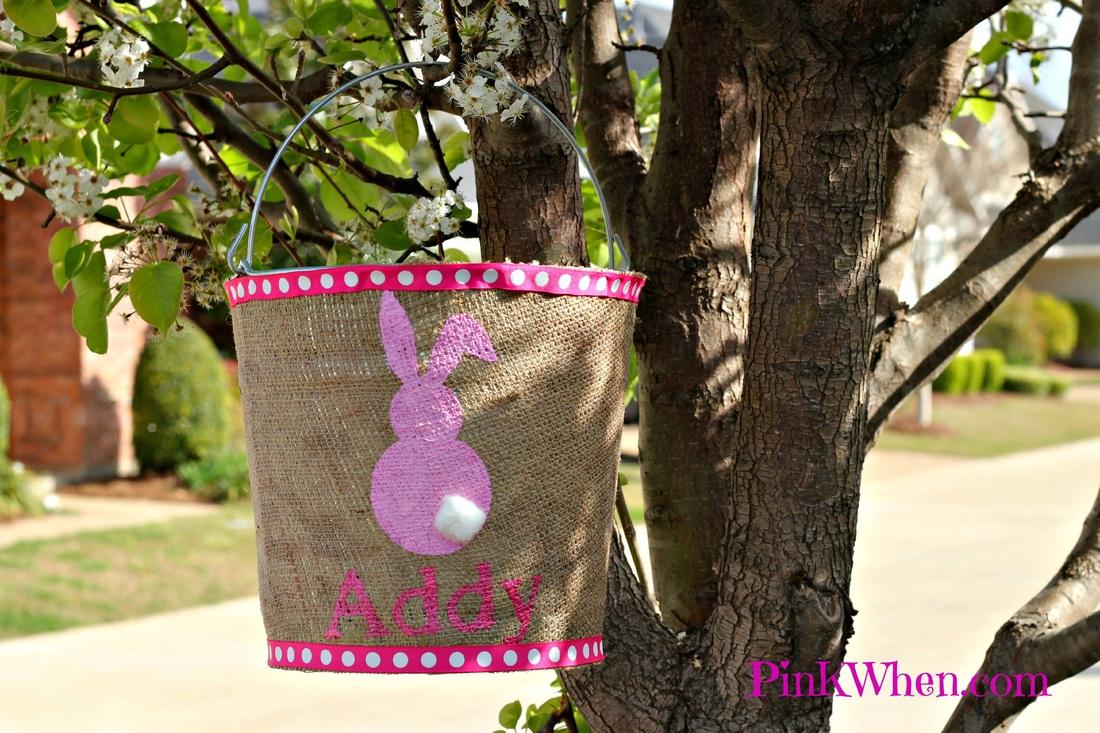 Burlap Covered Easter Pail
 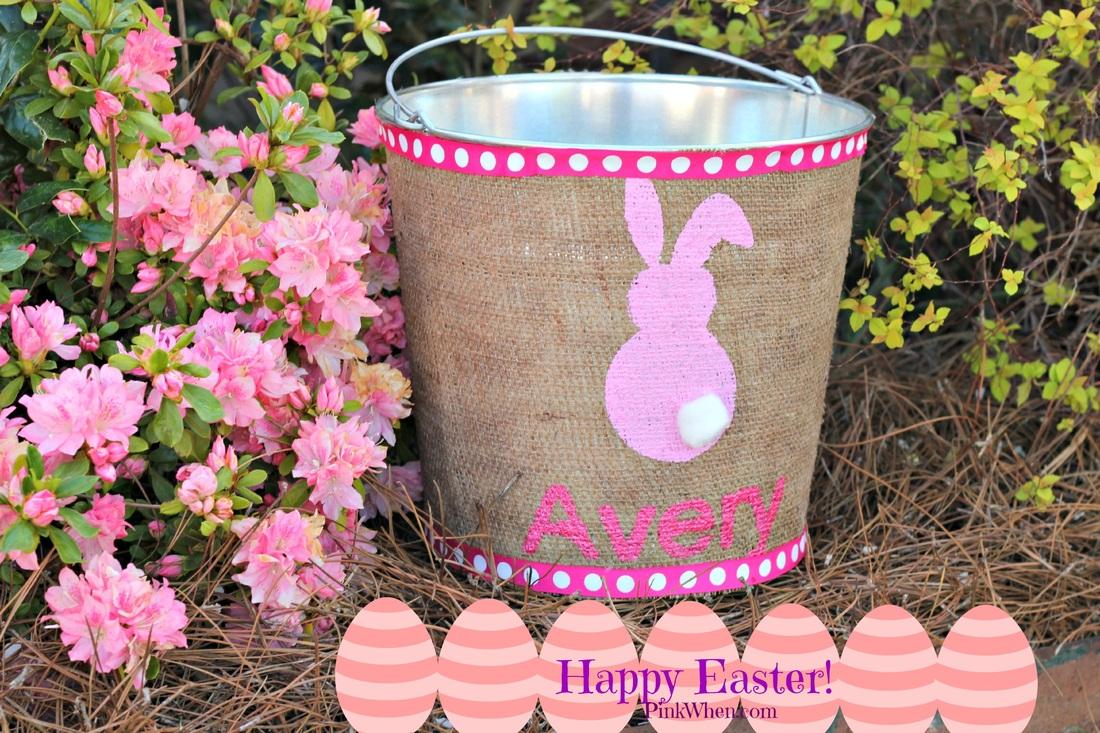 Burlap Covered Easter Pail
  I hope you liked this tutorial! Leave me a comment and let me know what you think. As always, if you LOVE it, then PIN it. Thanks for stopping in!
I hope everyone has a wonderful Good Friday and a Happy Easter! It's my birthday Saturday (29th AGAIN!) and with Easter on Sunday, I won't be back to the crafty business on here until Monday April 1st.
Enjoy your holidays and your families, and I will see you all again next week with another great giveaway!!! Who likes iPads???


