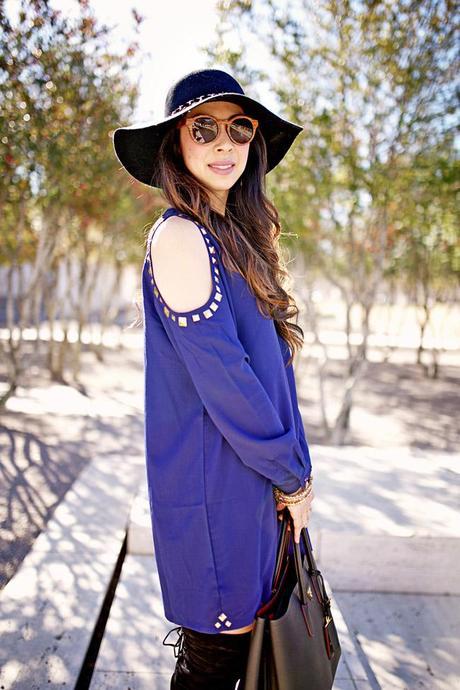
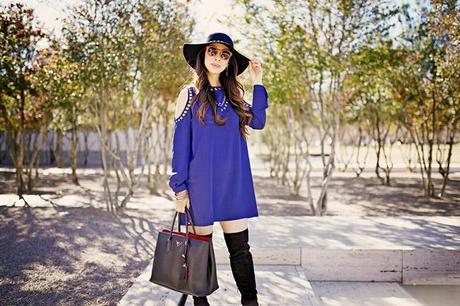
Photography by Angie Garcia
When Boohoo asked me to participate in a dress DIY, I thought, “Sure, I only have 5 million other projects to get done! Why not add a dress DIY to that list!” Honestly, I LOVE DIYs. It’s just been difficult to find time to get things done, but how could I refuse a FASHION DIY?! Mine are usually house projects. This framed chalkboard is last one completed and posted on the blog in 2011!
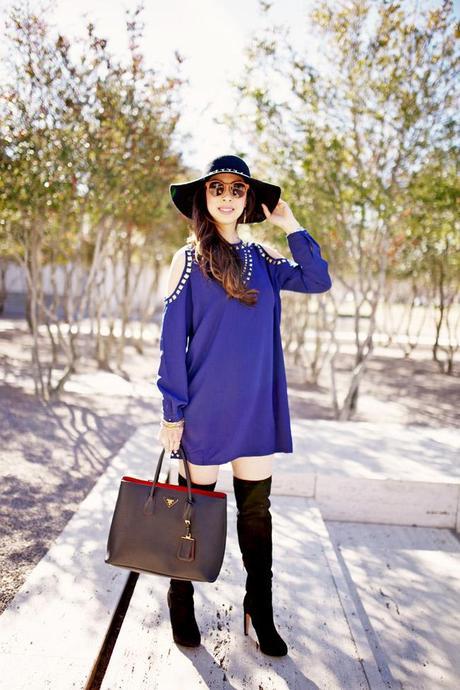
They gave me a choice of any dress, and I thought this open shoulder shift was fun and different! The fantastic thing about Boohoo is their prices are really reasonable. For example, this dress is $20 so you wouldn’t feel TOO BAD if you messed up the DIY!
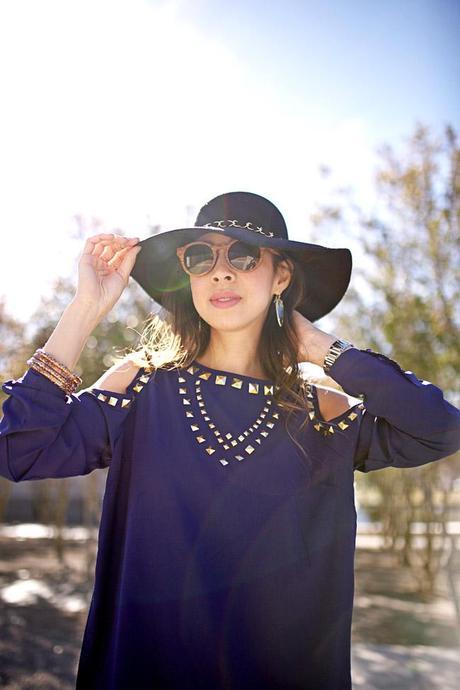
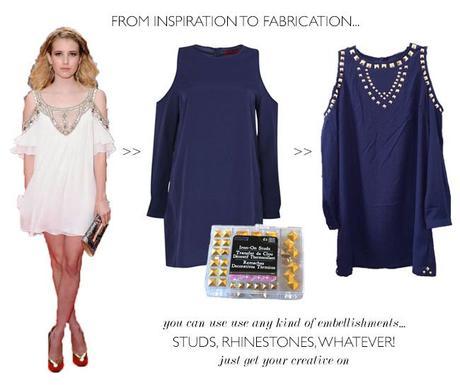
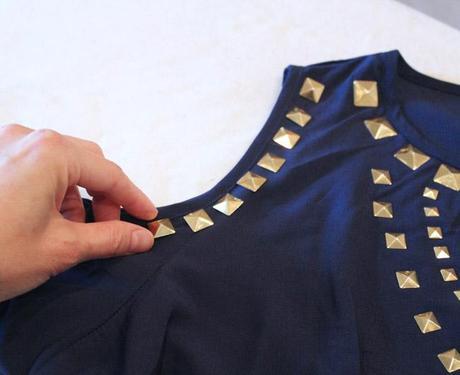
While exploring Michaels, I contemplated gold decoupage versus spray paint with stencils. Then I happened across some fabulous gold iron-on studs. Easy on. Easy cleanup. Done!
This DIY was super easy. It took me a total of maybe an hour to do. I would have been finished in one evening but I ran out of studs. FYI, buy 2 packs just in case!
ITEMS NEEDED
- dress {this one and this one would also be fun}
- iron-on studs {can’t find them on the Michaels website, but these and these seem very similar}
- iron
- kitchen towel {or something that is a thin cotton material}
- your imagination!
HOW TO
Come up with a design/pattern. I loved the dress on Emma Roberts so I went with a “loose interpretation”. Lay the studs on the dress in the pattern that you’d like. I started with one open shoulder at a time {ironed it}, then the front collar design {ironed it}, and last the studs on the side hem {ironed it}. Place the cotton towel over the pattern carefully so you don’t shift any studs. With the iron on cotton/linen setting, set it on the cloth for 15 seconds. Just leave the iron in one place. You don’t need to run the iron back and forth. {You should test the heat in an inconspicuous area first if you are working with synthetic materials because they can burn on this setting.} After you finish setting all the studs on the front, turn the garment inside out and repeat heat setting with the iron for 15 seconds at a time to ensure the studs are set.
And voila! You now have your very own “insert name here”-designed studded dress. It’s fun to put your own spin on things. So what do you think? Easy? Doable? I promise you it is… I don’t have time for anything difficult nowadays!
GET THE LOOK
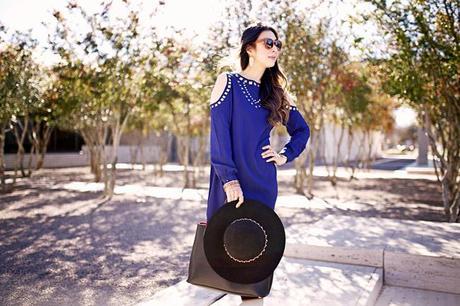
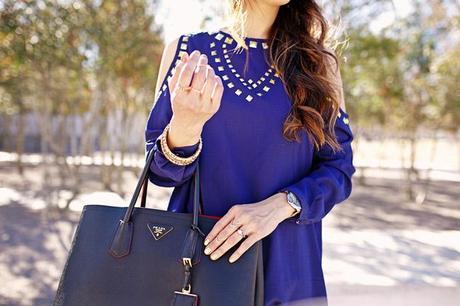
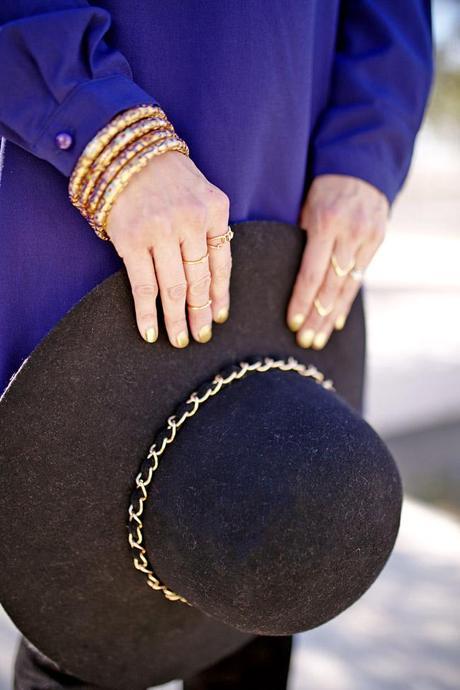
BOOHOO open shoulder dress c/o || MARCIANO hat {updated version} || KENDRA SCOTT skylar earrings c/o || VINTAGE bracelets || OUI ETSY, GORJANA linked midi, ROCKSBOX chevron midi rings {also available here} || SAM EDELMAN kayla boots || PRADA double tour bag || PTERYS wooden sunglasses || DEBORAH LIPPMANN Autumn in New York polish || TOM FORD pink dusk lipstick


