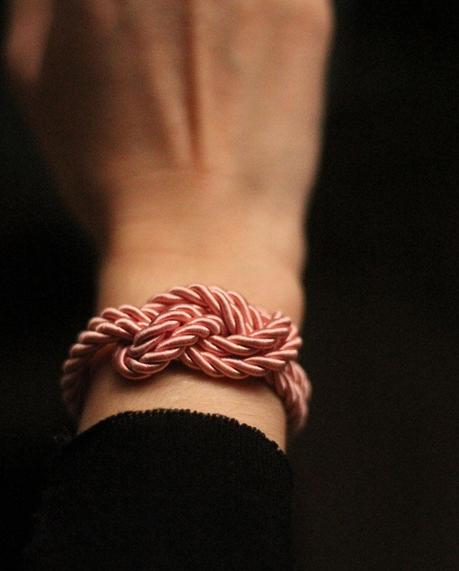
I love this kind of rope or cord, it’s luxurious and looks great on necklaces and bracelets. So, inspired by a pin on pinterest I set about making my own rope bracelet. It’s easy and doesn’t involve too much work, a great project to do in 20 minutes. The great thing about DIYing is that you can choose colours to correspond with your outfits and accessories, which is exactly what I did with my red version of this and my red Vivienne Westwood Melissa shoes.

1. You will need : About 70 cms of cord, embroidery thread, a button, super glue, a needle and thread, scissors and super glue.2. Secure the ends with super glue to prevent them from fraying.

3. Fold the cord in two and tie the knot following the image here, it’s a little like an “&” sign.4. Now cover the end, wrapping the embroidery thread around the end of the cord. Normally when the bracelet is on you shouldn’t be able to see it.

5. Attach the button, and fasten the embroidery thread with superglue again.6. Here use a needle and thread and super glue to attach the two sides of the cord together to make a buttonhole.
That’s it, until next time!


