We all follow a designed beauty regime for skin and hair care for mornings. But did you know, beauty regime for night is equally important. You need to hydrate and moisturise your skin in the night as well. It is one of the things you need to keep doing to avoid age from showing up. Does that mean you need to burn your pocket to purchase creams for the night? Not really. We will guide you through DIY Homemade Anti-Ageing Night Creams. They are simple to make with easily available ingredients and extremely efficient too.

1) DIY Homemade Avocado Anti-Ageing Night Cream
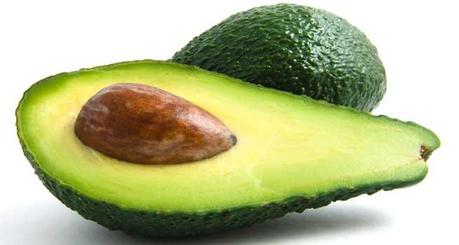
Avocado is a fruit blessed with nutritive value. It contains Vitamin A, B, C, E, K in addition to minerals like potassium, magnesium and many more. Avocado is highly used in beauty products and when applied topically benefits the skin naturally. Homemade Avocado cream is really easy to make.
What you’ll need:
Avocado
Eggs
Step by Step Tutorial to make Homemade Avocado Anti-Ageing Night Cream
Step 1: In a clean bowl, mash avocado until it turns into a smooth pulp
Step 2: In a blender add, eggs and the mashed avocado pulp
Step 3: Blend the mixture, into a smooth thick paste
It’s just an easy three step process. Your night cream is ready for application. Store in a clean container at a cool dry place. Apply this cream not more than two times in a week.
How to apply?
Apply the cream, just as you would apply any other cream and massage your face. Leave the cream on for ten – fifteen minutes, until it dries. Do not keep it on after it has dried. Wash your face with cold water.
Also Read – How Avocado is great for your Skin and Hair Here
2) DIY Homemade Beeswax Anti-Ageing Night Cream

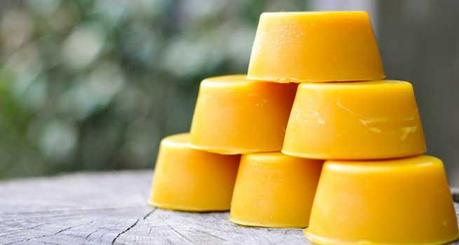
Beeswax, extracted from the honeycomb built by bees, has many benefits for your skin. It acts as natural moisturiser, keeping it baby soft and at the same time protects it from dirt, pollution, harsh sun rays, any ecological factor causing damage to the skin.
What you’ll need:
The following ingredients will make you cream, enough to last a month
1 teaspoon beeswax
1/2 teaspoon Shea butter
1 teaspoon coconut oil
Few drops of almond oil
Few drops of vitamin E oil
Clean bowl
Stirrer
Step by Step Tutorial to make Homemade Beeswax Anti-Ageing Night Cream
Step 1: Take a clean bowl, add water to it. On top of this container add another container, to make a double boiler
Step 2: In the top container add shea butter and beeswax
Step 3: Once the mixture starts melting, mix it thoroughly, stir it continuously and add coconut oil, Vitamin E oil and almond oil to the mixture
Step 4: Stir it thoroughly until all ingredients combine into a smooth cream
The double boiler will provide the ingredients; just the right amount of heat needed.
Once you see creamy textured mix, your Homemade Beeswax Anti-Ageing Night Cream is now ready for application. Store in a clean dry container.
How to apply?
In a circular motion, massage the cream on your face, starting with the jaw area to your cheekbones. Now cover your t-zone with the cream and massage all face areas gently.
Also Read – DIY Moisturising Citrus Hand Cream Here
3) DIY Homemade Yoghurt and Honey Anti-Ageing Night Cream

Honey and yoghurt, both are grandma’s favorite stocked products and serve as natural beauty enhancers. These beauty boosters act as multi faceted agents for your skin. They assist in the production of collagen and elastin, clearing pores, aid in removal of dirt and impurities and fine lines. They naturally hinder the appearance of wrinkles on your face, making your skin look young and healthy.
What you’ll need:
Honey
Yoghurt
Step by Step Tutorial to make Homemade Yoghurt and Honey Anti-Ageing Night Cream
It’s a simple two step process
Step 1: In a clean bowl, add yoghurt (preferably as fresh as possible) and honey
Step 2: Mix honey and yoghurt thoroughly to form a thick paste
Your homemade honey and yoghurt night cream is ready
How to apply?
Massage the paste on your face and leave it on until it dries completely. Make sure you massage gently and your T-zone thoroughly. Once it dries, wash it off with warm water followed by cold water. Dab a clean cloth to whisk the water away.
Also Read – Radiant Summer Skin with Simple Homemade Scrubs Here
