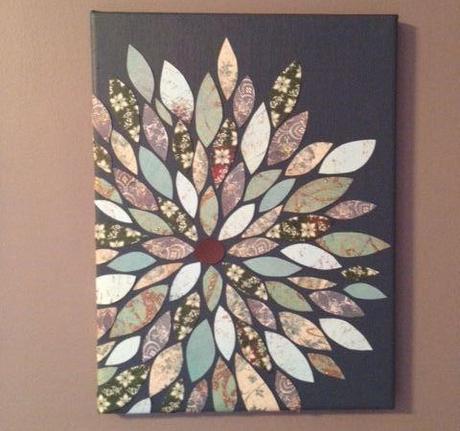
 flower wall art
The following project is as easy as it is spectacular in results, and I wanted to share it with you because I’m sure many are interested in how to create their own wall art. And we all know you can create quite amazing pieces with very small investments. The more creative and talented you are, the more impressive can the results be.
This DIY flower wall art project is also great because you can really personalise it and add your own touch of uniqueness to it, by choosing the type of materials you use, the color combinations, and the positioning of the various elements. What’s more, you can even create a series of paintings - a row of smaller ones for the lobby, or two-three large pieces to bring together the living room.
It takes just a few hours to complete this, perhaps a day overall if you allow the paint and glue to dry completely before hanging on the wall. I found this project on a blog, but I’ve tried and adapted it myself, and I think you’ll love working on it, since it’s both quite easy and fun, and was for me a very relaxing experience.
Before we get started, let me tell you what you’ll need to create one piece:
- 1 canvas print; you can order a blank canvas or print it in a background color of your choice, the size and number of canvases is up to you, and what you’re trying to accomplish.
- 1 tube of acrylic paint - you choose the color.
- 5-10 pieces of scrap paper; here, you can opt for one or two patterns, or as many as you like, and you decide how they will match, or contrast the acrylic paint.
- Glue gun and a few glue sticks
- A couple of foam brushes
- Mod Podge (this is optional, since there have been mixed results with this, so you may want to test it before applying it all over your completed piece. If you’re not willing to take the chance, just skip it.)
Now let’s move on to how you complete this lovely flower wall art. If you have a DIY room or a workstation, it’s perfect. Otherwise, clear up a table or the floor, and cover it in some protective material like plastic sheet, to avoid staining with paint or glue. Bring all your materials within reach, play some music you like, put on a pair of gloves, and get started:
Paint Your Canvas
The first step is to paint the first layer of acrylic paint on the canvas. Place the canvas on your surface, take one of the foam brushes, or a regular paint brush if you have one, and cover the entire canvas. Take broad strokes up and down, and make sure you brush over any excess paint.
Don’t overdo the first layer of paint, just make sure it covers the entire canvas. Now it’s time to let it dry completely, so set it aside, preferably in a dry, airy space.
Cut The Flower Patels
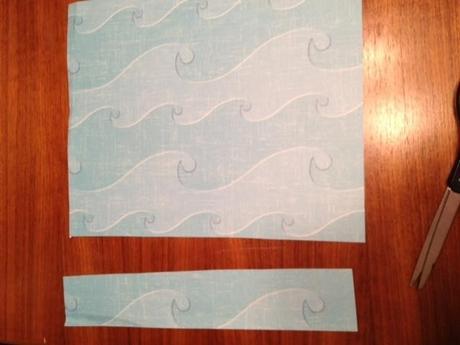
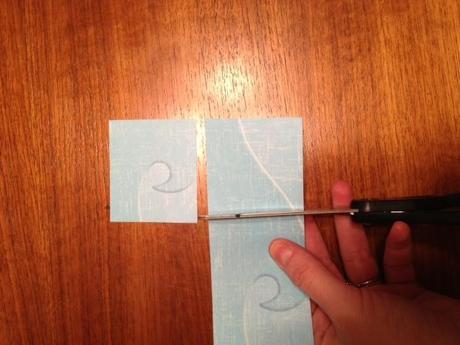
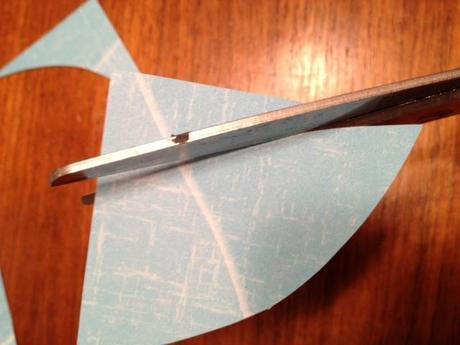
Clear out your work space, and bring the scrap papers you bought, together with a pair of scissors. After you’ve decided on the patterns you’d like for your petals, take your scrapbook papers and cut a few 2-inch strips from the edges.
Fortunately, you don’t have to measure these, since they don’t need to be perfectly symmetrical. Just do an eye measurement and cut down. If you’d like your piece to be more geometrical, you can go for the accurate measurements, but it won’t end up looking as natural.
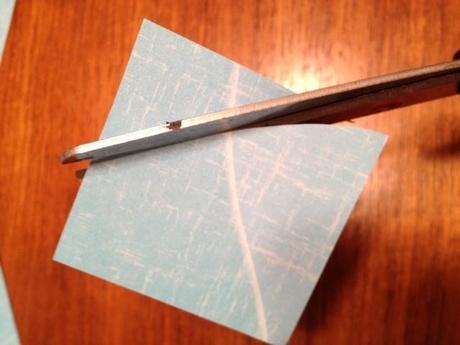
Now take the strips, and cut 2-inch rectangles, which you’ll also measure with approximation. When you’re done cutting these, take one rectangle, and start with the scissors cutting an arch from one corner to the other. Then you do the same with the other two corners, and you’ve got a petal! Repeat the same process with the rest of the squares.
You don’t have to worry about making all the petals the same size. Choose a distinct piece of scrap paper and cut out a circle, which will be the center of your flower and determine where the flower is focused.
Paint The Second Layer Of Acrylic
After making sure that the first layer of acrylic paint has completely dried, you can add the second one. Be more careful this time, make sure your brush doesn’t have excess paint on it, and repeat the same up-and-down broad strokes, on the entire surface of the canvas.
Make sure you cover the edges of the canvas as well, especially if you don’t plan on framing it. Now you must allow the paint to dry completely, which will perhaps take longer than the first layer.
Glue The Patels On The Canvas
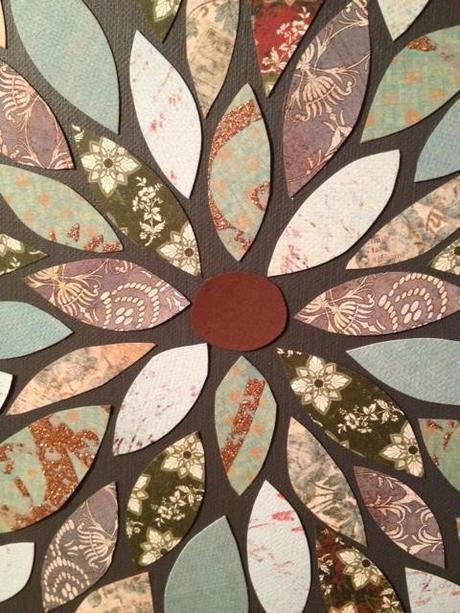
Bring together your canvas, the petals, and your glue gun, loaded and ready. Place the canvas down, and take the center of the flower. Decide whether you want it to sit smack dab in the middle of the canvas, or somewhere to the side.
Now take each petal one by one, and arrange them around the circle, as you see in the pictures. You can decide how close or far from each other the petals should be, and how to mix the different patterns.
Once the entire flower is well laid over the canvas, take the circle scrap of paper, dab it with the glue gun, then press it in its initial spot on the canvas. Do the same with the petals, starting from the interior outward, careful not to disturb the other petals. When some of the petals go past the edge of the canvas, bend and glue them over.
Add an even layer of Mod Podge (Optional)
If you’d like to add a glossy finish to your flower wall art piece, you can use Mod Podge. Just to make sure the results are as expected, you can try it on a separate canvas, and see how it looks. If you’ve never used Mod Podge before, this will help you get the hang of it.
Apply a thin, even coat all over the canvas, and allow it to dry for a while. Then, you can frame your canvas, or just hang it on the wall.
That’s about it, the way to make a really attractive piece of wall art for basically any room in your home. As long as you choose the colours and patterns to match the space you want to decorate, there’s no limits to what you can create.
Let us know how this turned out for you, and please post photos of your results in the comments section. I’d love to see what ideas you came up with!
