Gold and coral seems to be my color scheme of choice right now (too bad I can’t use it in the baby room), but I decided to use those colors as I prepared to make a new set of notecards. I got started with crafts back in high school by making cards with my sister-in-law, but card-making has been put on the back burner the past couple of years as I’ve learned to sew, and digital design has taken over. When I do get a chance to sit down and make cards, I try to get an assembly line going and whip out as many as possible, which is exactly what I did with these.
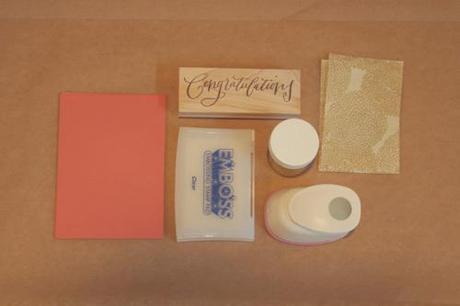
Here’s what you need:
: : notecards : : I used | this | in papaya
: : a stamp : :
: : coordinating paper : : I used | this |
: : embossing stamp pad, powder, and heat setter (not shown) : :
: : paper punch : :
: : some kind of adhesive (not shown) : :
* You can also just use a normal stamp pad and skip the embossing step, but I liked the way the gold shimmer looked.
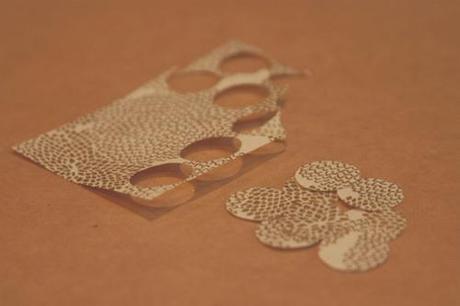
Use your paper punch to create a few circles from your decorative paper.
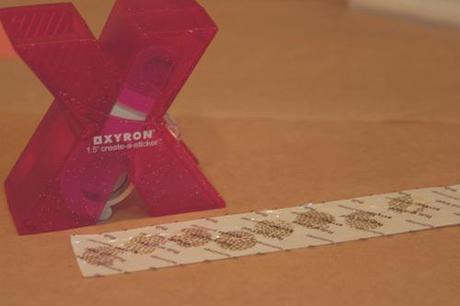
I like to use my Xyron sticker-maker so that all the edges stick, but you can just use a normal adhesive if you prefer.
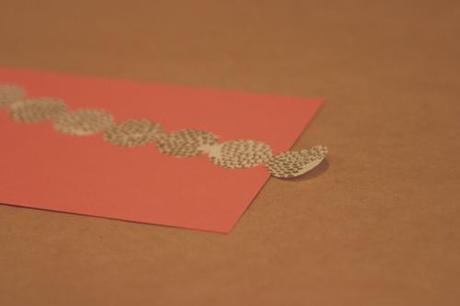
Lay out your circles on your card any way you’d like.
Stamp with your embossing stamp pad.
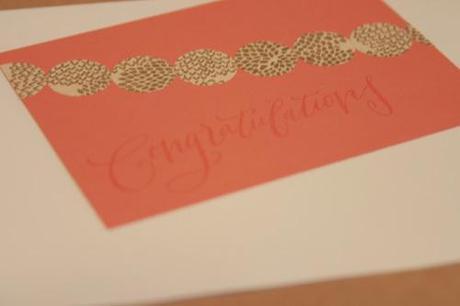
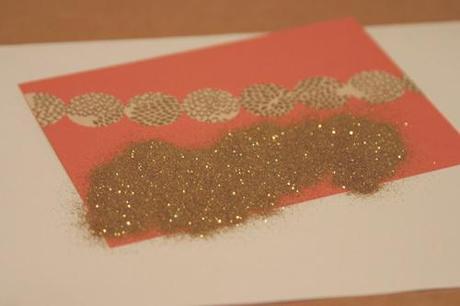
Cover in embossing powder, then set it with heat.
Done!
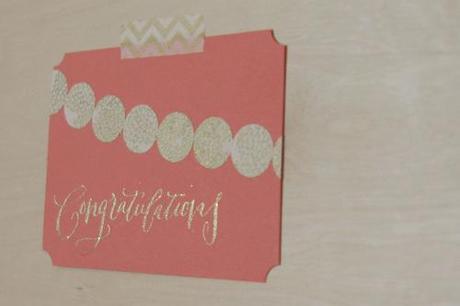
You can also punch the edges for a fun, decorative addition!

