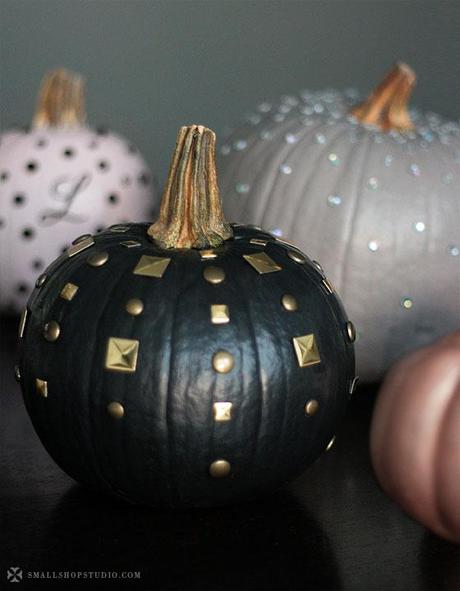
So basically, I’m never carving another pumpkin again.
Easiest pumpkin D.I.Y. ever…in just 2 steps…
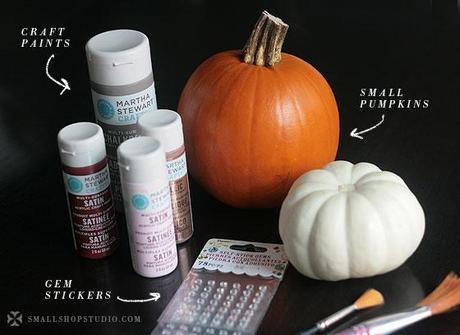
I’ve been seeing a lot of “no carve” painted pumpkins around, and really wanted to give it a shot, using my fall look as inspiration. So my daughter and I ventured to Michael’s yesterday without really knowing what we’d find. I already had black acrylic paint, and opted for Martha Stewart craft paints – chalkboard (gray), satin (ballerina pink and chipotle), and metallic (rose gold) to experiment with the different finishes. But we really lucked out with all the fun stickers they had!
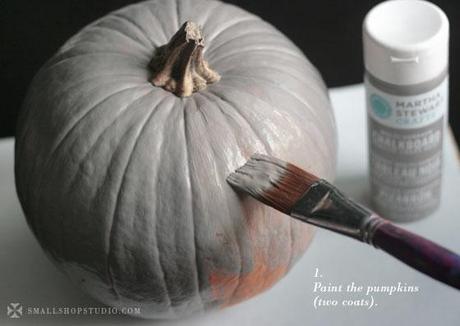
The chalkboard paint I think worked best — it’s flat with thicker coverage. I was bummed Michael’s didn’t have black, but this warm gray is quite nice! Leighton had fun painting hers pink (I applied the second coat to even it out). For all of them, it did take two coats so you do need to give yourself plenty of time to paint, let dry, paint, let dry.
Next was the fun part — applying the gems! Always start from the middle of your design and work your way around and out, to ensure you have even coverage until you run out of stickers. ;o)
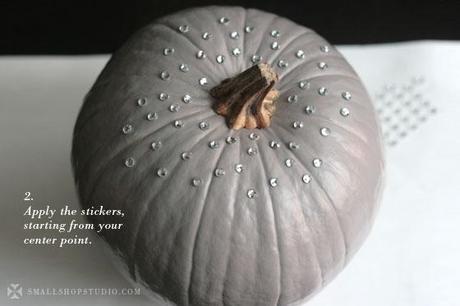
For the jeweled one, I knew I wanted the arrangement to be randomly clustered at top, with more spacing as you go down to give that “dripping” effect. It was a good one to start with as I didn’t need to worry about being too precise.
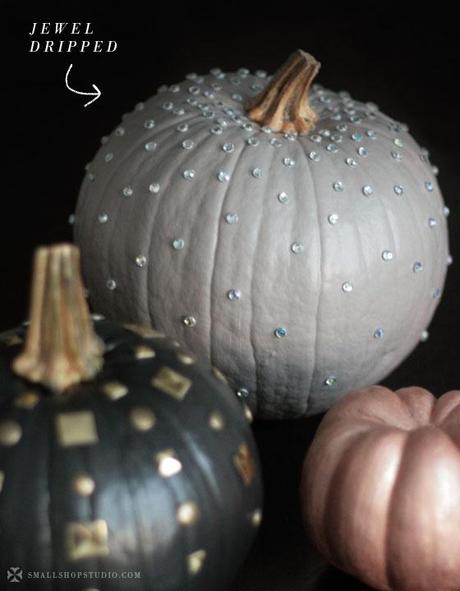
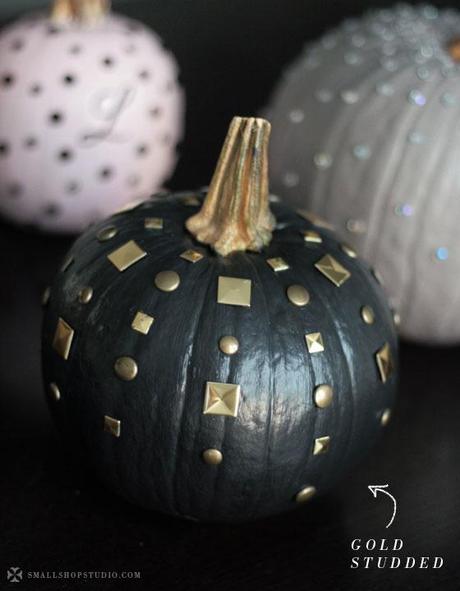
For the studded version, I wanted it to be more of a geometric pattern, so it took a little more planning. I based it on the number of studs I had (12 each of 4 types), starting with six evenly around the stem, and alternating out and down from there.
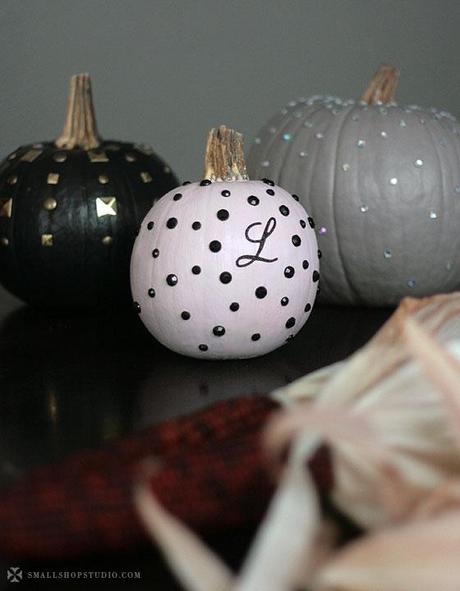
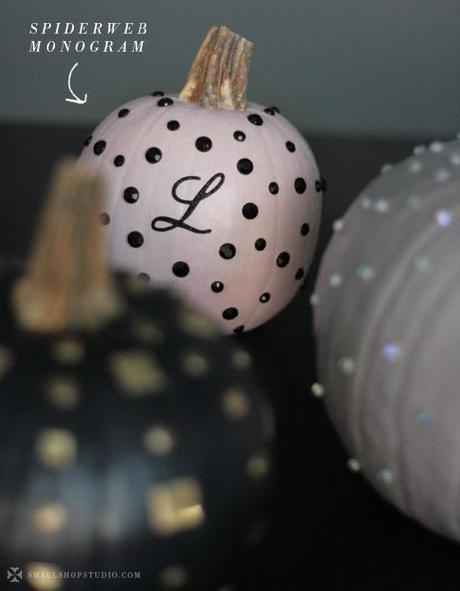
Because Leighton really really wanted a pink pumpkin, I had to get creative on how to make it more Halloween-y. To form the web, I started around the center “L” with 8 gems, and created longer strands from those spokes, adding in a few gems between to “connect” the strands. (She also had her own pumpkin that she proudly decorated with hot pink gems, of course!)
Kid and adult-friendly project, little mess, and some pretty at the end of it all that perfectly matches my fall palette! Success!


