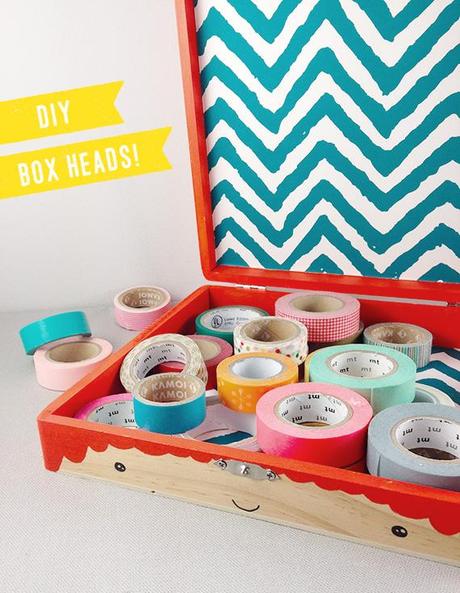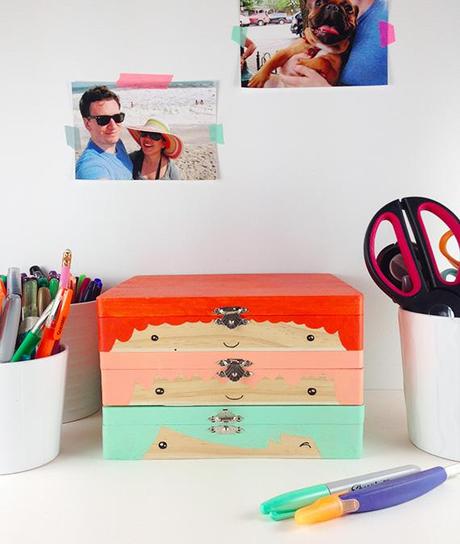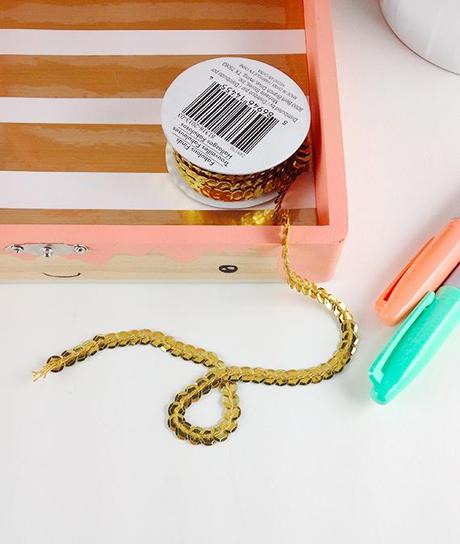
I bought these cheapo wooden boxes a while back, but I couldn’t figure out exatly what to do with them, so they’ve just been gathering dust around the apartment…until now! Inspiration struck last weekend while I was researching all things Japanese (we have a Tokyo vacation planned for this fall – please send me tips!), and I decided some kawaii style boxes were just what I needed to organize my craft supplies! I love how they turned out, and filling their little heads with washi tape and other doodads has been cracking me up.
Plus these boxes are super duper easy to customize – wouldn’t it be fun to make one for each member of your family?! Go crazy with it!

Here’s what you’ll need:
- an unfinished cigar box or any other wooden crafts box
- screwdriver
- acrylic paint
- pencil
- fine black marker
- 2 pieces of patterned paper, sized down to fit the inside of the box
- rubber cement

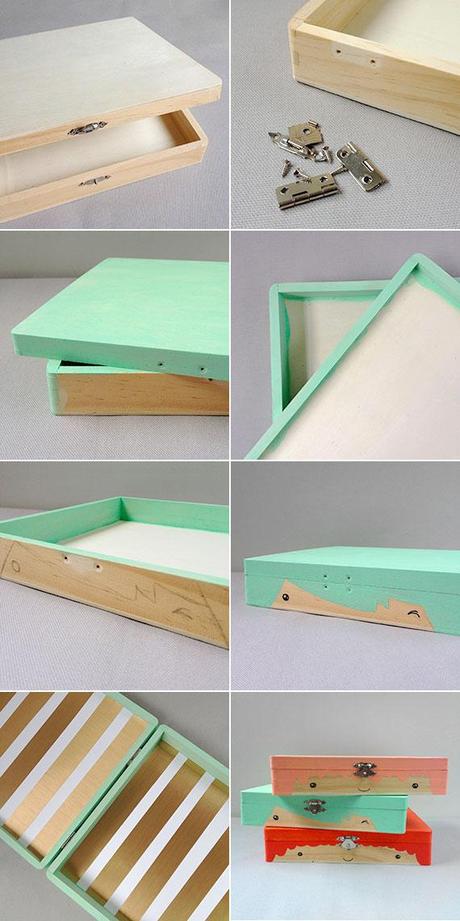
- Use a screwdriver to remove all the hardware
- Paint the entire lid with the “hair color” of your choice. Then paint the sides and the back of the lower half of the box and let dry – be sure to leave the front clear for the face!
- Paint the inner sides of the lid and box. Don’t worry about being too neat – we’ll be lining the insides with paper later on
- Very lightly (this is important if you’re using a pale color) sketch out the hair and face on the front of the box with a pencil, and then fill in the hair portion with paint
- Once all the paint is dry, trace over the eye and mouth with a black marker. Erase any stray pencil marks if necessary
- Screw all the hardware back in. Spread a thin layer of rubber cement on the unpainted insides of the box, and carefully line with your pretty paper
- Fill up that adorable head with some trinkets!


