Lately I’ve been searching for some new homemade baby gift ideas since I’m getting a little sick of burp cloths. Don’t get me wrong, they’re fun to give, but I feel like a little bit of a burp-cloth-making-machine and I wanted to challenge myself to take on a new project. So here’s my new project of choice:
Soft baby blocks perfect for little hands!
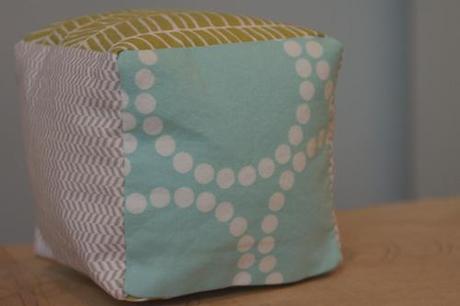
Although they look a little intimidating, they are surprisingly super easy, thanks to a technique I saw on Pinterest the other day and modified for this project. The best part is that no pins are required! What’s better than a sewing project that doesn’t require any pinning?!
All you need for this project:
: : fabric of your choice (you can choose a couple coordinating fabrics, or make 1 solid block)
: : fusible interfacing
: : sewing machine
: : thread
: : double-sided fusible interfacing
: : scissors
: : iron
1. Begin by cutting out your fabric. You’ll need 6 squares all together, and I recommend using a quilting template to make sure your squares are perfect (trust me, it makes it a lot easier down the road).
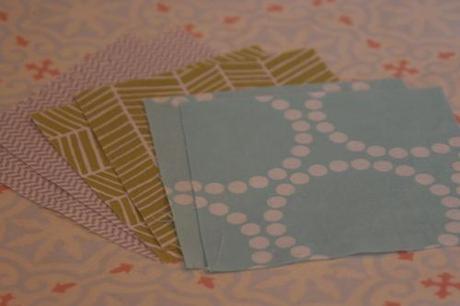
2. Lay your squares out on the fusible interfacing with the wrong side of the fabric facing the right side of the interfacing.
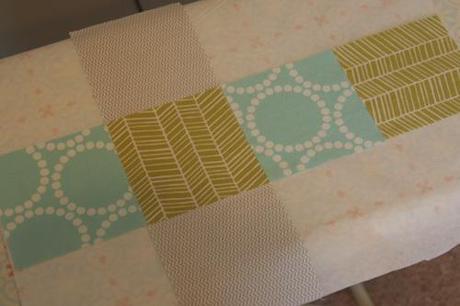
3. Make sure the corners of your squares are lined up perfectly, then iron the fabric to the interfacing. It’s best to just set the iron on one section and not move it around, but steam the area to adhere to fabric and interfacing, then pick up the iron and go to the next area. Be sure to get all of the seams completely adhered.
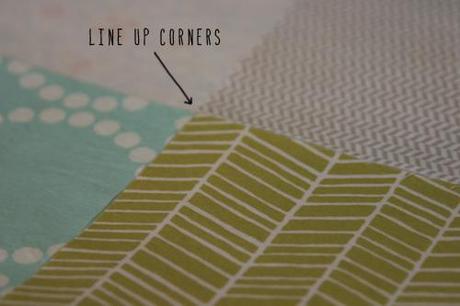
4. Once you’ve ironed everything together, trim away the excess interfacing as close to the fabric as possible.
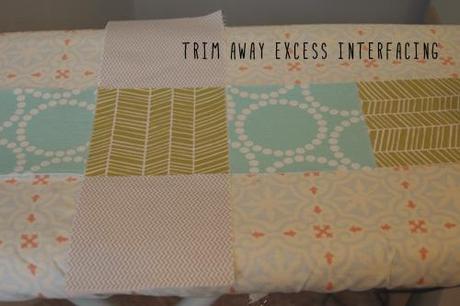
5. Now, you’re going to sew along anywhere that there’s a fold. It sounds confusing, but basically anywhere there are two fabric blocks touching, you’re going to fold them over:
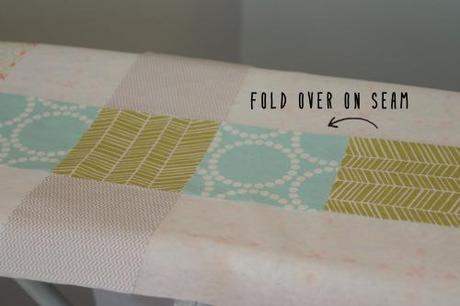
6. Sew a straight line along the back, with a 1/4″ seam allowance, like in the photo below:
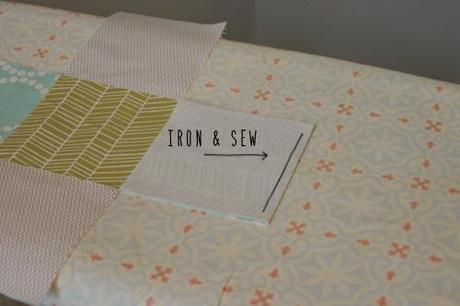
7. Once you’ve sewn the seam, open it up and use your iron to press the fold open. Now, you’re left with a perfectly straight seam that required no pins!
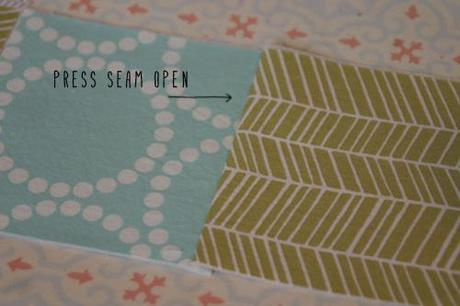
7. Continue this process for all sides where 2 blocks meet. When you’re done, you should have something that looks like this:
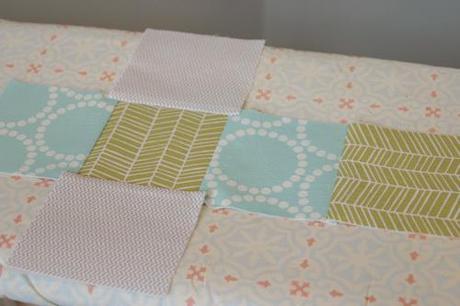
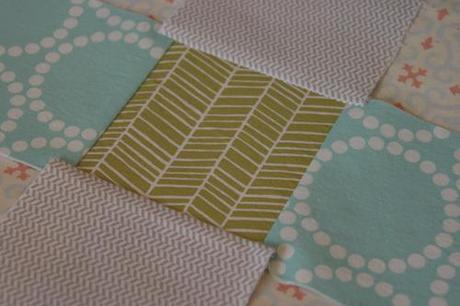
8. And a closer view for you:
9. Next, it’s time to start forming your block. Your block should look like the one in the photo below, so start be sewing side B and C, right sides together, leaving the same seam allowance. Next sew D to E, H to A, G to F, etc.
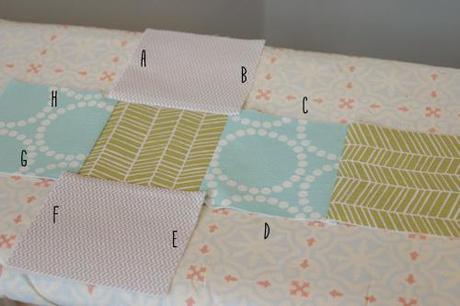
10. Don’t forget to leave your seam allowance. It will make sewing your corners much smoother as you get to certain pieces.
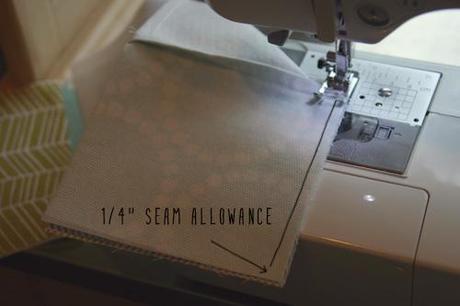
11. You can start to see your block forming!
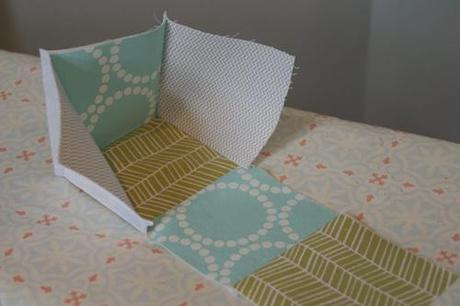
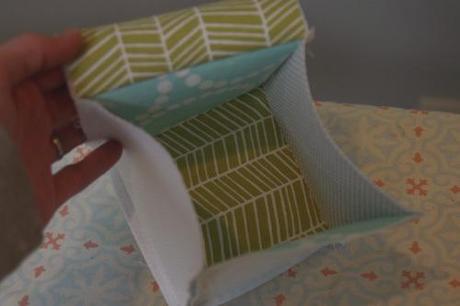
12. Finally, sew all edges together, leaving just one side open. I sew along the edges of mine, leaving about a 1.5″ opening, backstitching multiple times so that when you flip it inside out, it still stays intact.
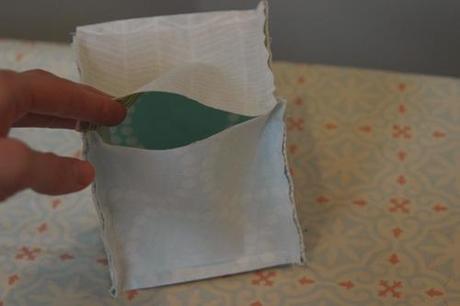
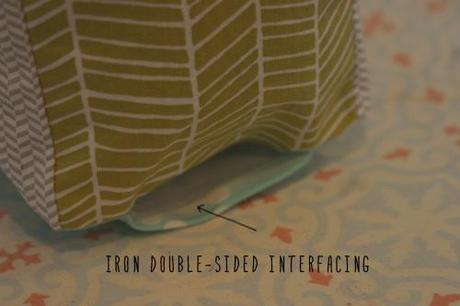
13. Next, comes my favorite part because I hate hand-stitching seams closed, and this saves me from having to do that! Measure your small opening (it can be a rough estimate) and cut a small strip of double-sided fusible interfacing to fit there.
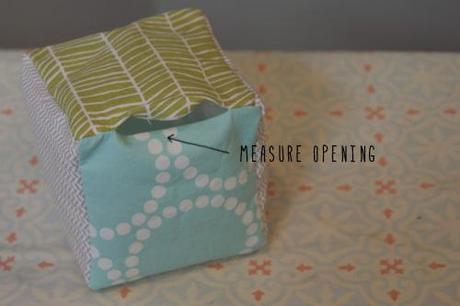
14. Peel and stick your double-sided interfacing, then iron. Peel the other side off, stick the opposite fabric on interfacing, then iron your block shut.
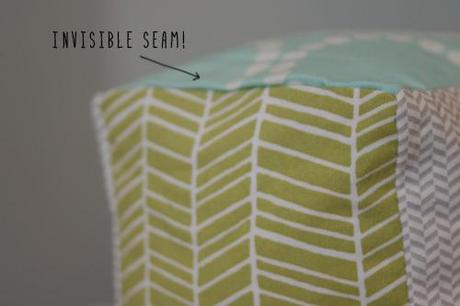
15. You’re left with a seam that’s invisible and looks like every other seam on the block!
16. Done!
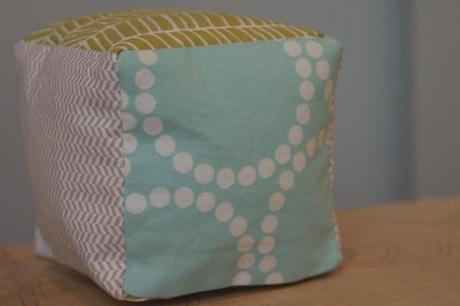
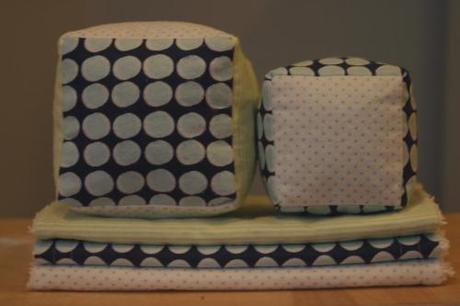
Here’s a set I made for another friend, using 5″ and 4″ squares:
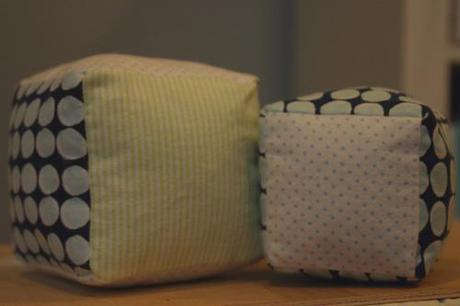
Whip up a few matching burp cloths and you have an easy, inexpensive homemade gift, made with love.
Or make a trio of blocks using 4″, 5″, and 6″ squares:

*I added appliques to these for my niece, if you’d like to do the same, I recommend adding them to the squares before you adhere them to the interfacing. You can also add ribbons to the seams so they stick up and give baby something to grab on to.
Have fun with them!

