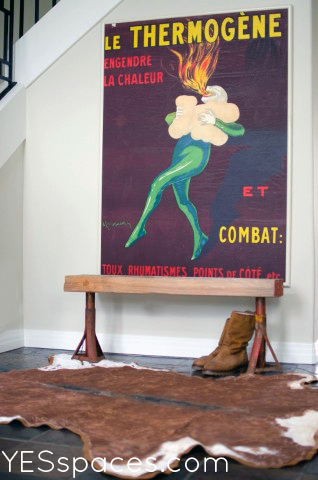
There is nothing I love more than a treasure hunt at my local Habitat ReStore for unusual items I can re-imagine.
And, there is nothing hotter right now than furniture made out of savaged industrial pieces.
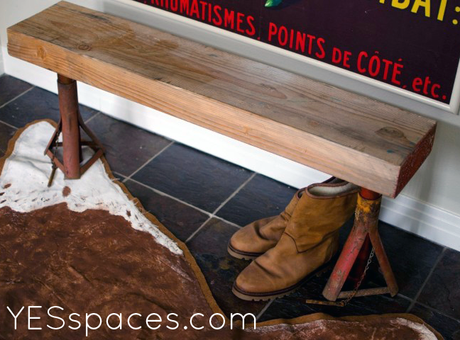
When I found both the vintage car jacks used in this bench and the piece of beam in one trip it was a good day! There is a large part of my garage devoted to pieces I found that are waiting for something else to complete them so finding everything I needed to make this fun little entry bench way pay dirt.
The Design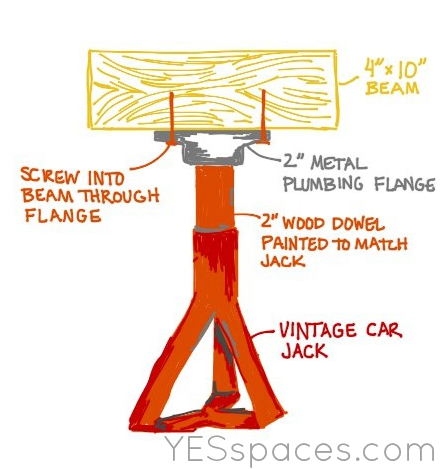
Originally, I thought I could use all of the metal jacks but they proved to difficult to attach to the wood in a way that was stable enough for seating.
So I used 2″ wood dowels that fit into the jack, painted them a rusty orange to match, distressing them slightly with some browns. I then found plumbing flanges that I could screw into the beam and that the wood dowels fit into perfectly.
The Materials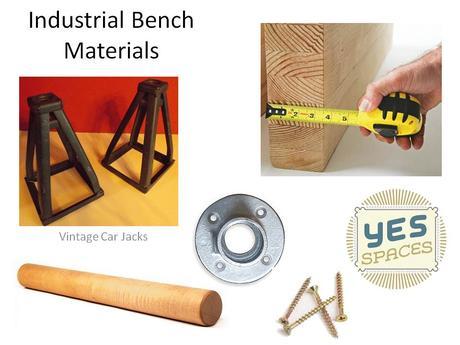
- 2 vintage car jacks or other interesting metal pieces that are stable enough to make legs. I found 2 sets of car jacks at my local ReStore and I have also seen them on ebay
- 2 16″ pieces of 2 inch wooden dowel (you can have these pre-cut to length at the hardware store)
- Approximately a 4′ length of 4″ x 10 or 12 inch wooden beam
- 2 - 2 inch plumbing flanges
- 3″ wood screws
- An assortment of paints to match your metal
Watch the video first, these instructions are meant to help you remember the order or answer any additional question
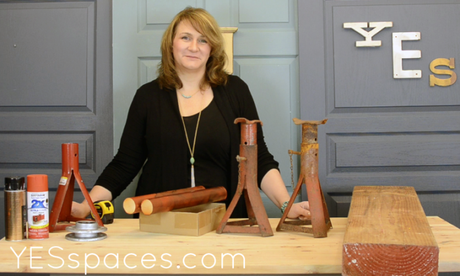
- First, I removed the metal pieces from the car jacks
- Next, paint the dowels to blend with your metal bases
- Attach the metal flanges onto the beam, being sure to center them about 3″ apart for stability
- All I did was put the dowel into the base, put the bases into place and then set the beam with the flanges on top making sure the wooden dowels were inside the flanges
- For safety a long screw should be pre-drilled and then screwed through the beam from the top and down into the dowel, sink the screw head down into the beam so it doesn't catch on any clothing
Watch the video if you are confused about any part of this process, or comment and I will respond!
The OutcomeThis bench makes the perfect entry piece in a small resort home, the area doesn't get a lot of use so we wanted fun, engaging pieces to welcome people. But it definitely works well for pulling on snow boots!
$9.98 - 2 car jacks at $4.99 each
$11.97 - 3 feet of 2″ dowel at 3.99 per foot
$28.98 - Metal plumbing flanges for a 2 inch pipe $14.99 each
$0.00 - I had the wood screws and some paints in my garage
TOTAL: $51.93

We are adding new videos to our YES Spaces DIY page regularly this year until we reach 52! Based on your input we have directions and when needed measurements and plans here for you as well. So be sure to subscribe here and over on YouTube so you don't miss anything!
If you want to dress up your home contact YES Spaces today! I would love to talk to you about your family and your space!
Visit our YES Spaces DIY channel to see videos of other family friendly projects!
Connect with us on Facebook for the "How To" behind some of today's most popular design ideas!
View our Pinterest Boards for my curated design inspiration!

