DO IT YOURSELF! EYEBROW TINTING STEPS!
Hi All,
Happy Easter! Hope your over indulging in Easter eggs today!
My post today is on a little beauty treatment you can do at home, as a nice pick me up!
Benefits of tinting:
Eyebrows appear fuller, better definition and improves the appearance of the shaping!
Colour Guides: (I recommend – But these will vary on your colouring/hair colour).
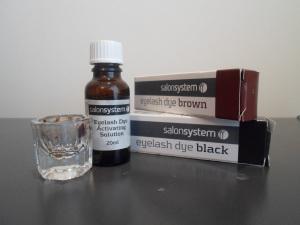
For red heads, and blondes: Use brown.

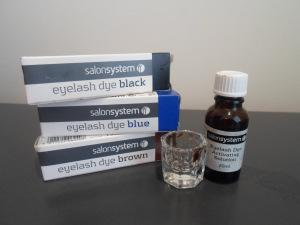
For Dark Blondes, & Brunettes: Use brown & a little black.
For Dark Browns: Use Brown and a bit more black.

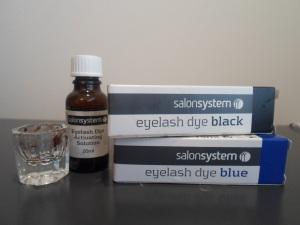
For Black hair: Use Black, and add blue for extra gloss/colour. (This is also a great colour mix for lashes).

Remember: To DO A PATCH TEST, apply the tint and solution just behind the ear or on the wrist for 48 hours to check that you don’t have an allergic reaction to it.

Eyebrow Tinting:
Step 1:
Apply Vaseline on the skin around the area of the eyebrow, this protects the skin from getting any tint on it.
Step 2:
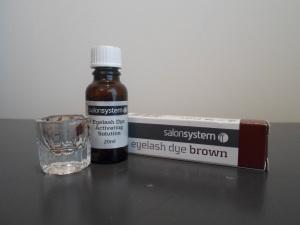
Mix the colour with the dye activating solution. Use one drop to each CM of dye.
Step 3:
Apply to Eyebrows and remove any excess that gets on the skin with a cotton bud.
Step 4:
Leave Tint on for one minute.
Step 5:
Take of using wet cotton pad, if the colour is not dark enough apply for another minute.
Remember: Its better to leave on for less time and reapply, than leave on for too long and let them get too dark.
This method should only take you five minutes to do, the tint usually lasts for about a week or two, so this way it works out a lot cheaper. You can buy the kits for around £20.00-30.00, which would probably get you three or four tints in a salon.
Hope this post helps save you a few pennys!
Lots of love,
KB xx
