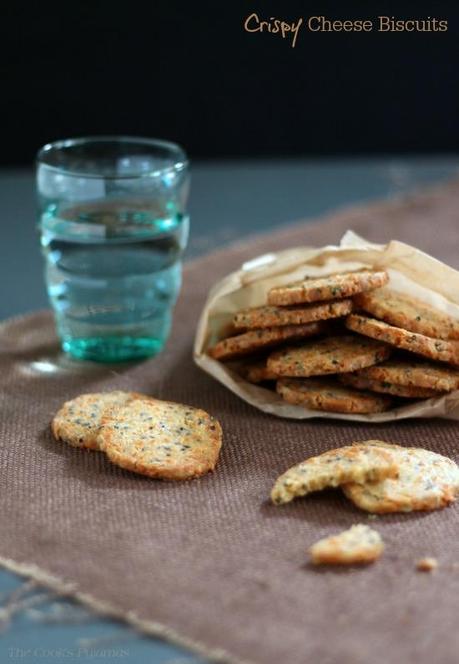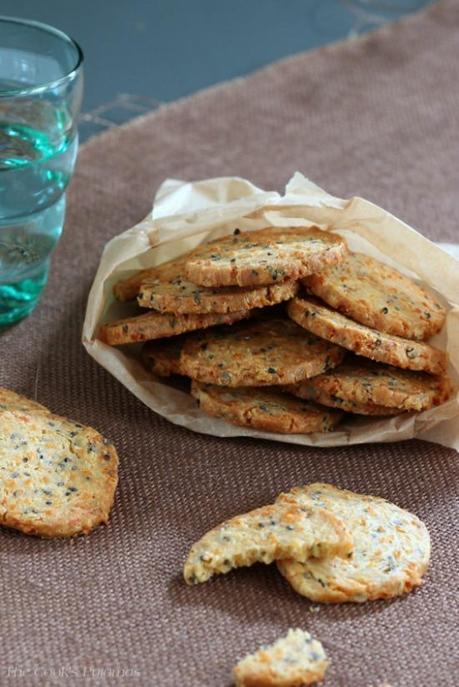
Afternoon tea was the best time to arrive at my Nan’s place. You were always guaranteed something to eat. Shortbreads were a staple. I think Nan just made a new batch when the current batch was eaten. They were OK but I preferred the ones my mom made. What I really loved, and looked forward to, were Nan’s cheese biscuits. These didn’t appear all that often, and if they did they were usually leftover from some other event, but I was always pleased to see them. A few years ago I collated all of my Nan’s recipes into a single cookbook. There are four separate recipes for cheese biscuits in that book. None of them seem to be similar to those that I loved as a child. Without her recipe, I had to develop my own, and this crispy cheese biscuit is the result.
I have always preferred savoury foods to sweet. Any cakes or cookies I bake are primarily eaten by The Princess (and Mr Grumpy if The Princess is in the mood to share). However I have made a few batches of these biscuits now and have probably eaten the majority of them myself. The Princess found half a cheese biscuit in the container one afternoon, and questioned its presence in an accusatory tone. I’m pretty sure that had nothing to do with me. I wouldn’t have left half a biscuit behind.

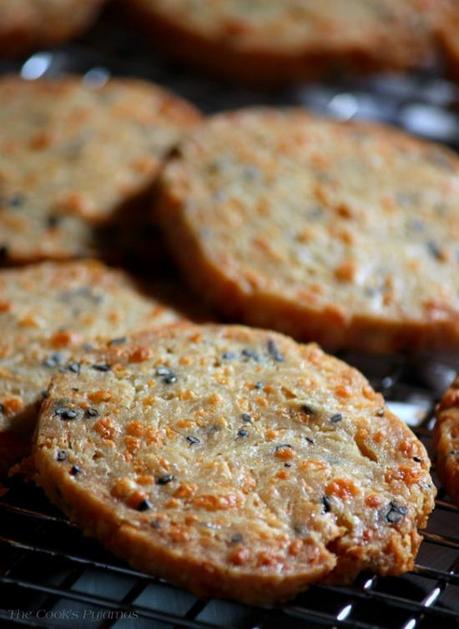
If you use a high-fat hard cheese to make these biscuits, they will look slightly disturbing as they bake. The fat from the butter, combined with the fat from the cheese, seeps out and bubbles around the biscuit as it cooks. I was a bit non-plussed the first time this happened, convinced that I had just baked a load of chicken food. The resulting biscuits were crispy and flavourful, and well received by the family. So don’t panic if you happen to peek into the oven as they cook.
Any odds and ends of cheese in my fridge are grated and consigned to the freezer for storage, and are then thrown into muffins, frittatas or bechamel sauce. I’ve used a few different cheeses to make these biscuits now but I think Cheddar produces the best result. The dough will also freeze well, so you can make half a batch of biscuits and freeze the rest for emergencies (or company).

Whilst I will never be able to replicate my Nan’s cheese biscuits, I am pretty happy with these nonetheless. They are crispy and cheesy and all for me. Don’t tell The Princess I made them, will you. I don’t like to share either.
Crispy Cheese Biscuits

I use black sesame seeds as I like the visual interest they add. Just use normal sesame seeds if you cannot locate (or don't want to use) black ones.
If you cannot find smoked paprika, use a combination of normal paprika and cayenne pepper. You can also increase the amount of hot smoked paprika if you want a spicier biscuit. Author: Tania @ The Cook's Pyjamas Ingredients
- 150g white spelt flour
- 1 teaspoon ground mustard
- ½ teaspoon sweet smoked paprika
- ¼ teaspoon hot smoked paprika
- Pinch of salt
- 110g cold butter, chopped
- 80g cheese, grated
- 2 teaspoons black sesame seeds
- 1 large egg, beaten
- Extra water, if required
Instructions
- Pulse the flour, spices, salt and butter in a food processor until the mixture resembles fine breadcrumbs. To make these by hand, sift the flour and spices together, then rub in the butter until the mixture resembles fine breadcrumbs.
- Add the cheese and blitz briefly.
- Put the mixture in a bowl and mix through the sesame seeds.
- Stir in the beaten egg to form a stiff dough. If all the flour will not incorporate, add a small amount to water to the mixture.
- Form the mixture into a 6cm x 18cm log, wrap in cling film and place in the fridge for at least 30 minutes.
- Preheat the oven to 190C (170C fan forced).
- Line a baking tray.
- Remove the dough from the fridge and cut into 6mm slices.
- Place the slices on the tray, allowing room for spreading.
- Bake for 15 - 20 minutes until the biscuits are golden brown.
- Cool on a rack and store in an airtight container.
Notes As flour absorbs moisture at different rates on different days, you may need to add additional water to make a stiff dough. Just don't add so much that your dough is sticky.
You can either freeze logs of dough, or slice the dough and freeze as individual biscuits. Bake as above but allow a few extra minutes cooking time. If you freeze the log, allow the dough to soften slightly before slicing or it will shatter. 3.2.2499
