Yes, how fun it is to DIY and how great it is to be able to delight the kids without having to spend a bomb! Well, I'm just glad to be able to come up with an original idea and the good thing is it can be easily adapted to other themes depending on which concert or show you are watching. For us, snowflake was the obvious choice and the perfect shape too.
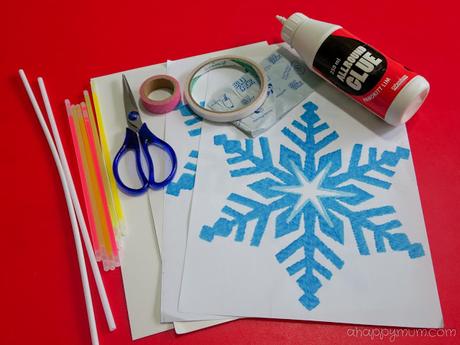 Materials used:
1) Printout of blue snowflakes
2) Glow in the dark light sticks
3) Balloon sticks
4) White glue
5) Adhesives like double sided tape, sticky tape, washi tape etc
6) Scissors
7) A4 cardstock
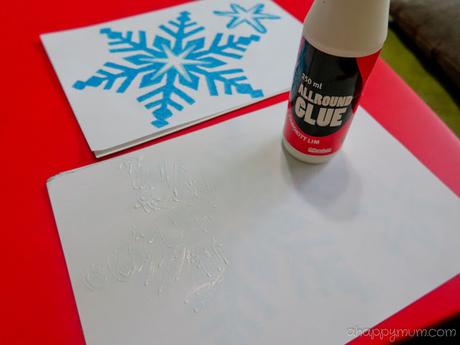 Firstly, print out a picture of a snowflake onto an A4 size paper. You can choose your desired snowflake shape but make sure it comes with six sides and is not too complex to cut. Turn the printout over and apply glue on the back of the snowflake.
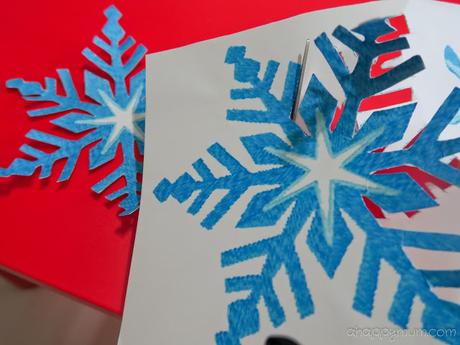 Next, stick the snowflake onto a A4 cardstock and cut it out neatly. This is to ensure that the snowflake has enough thickness and stays in shape.
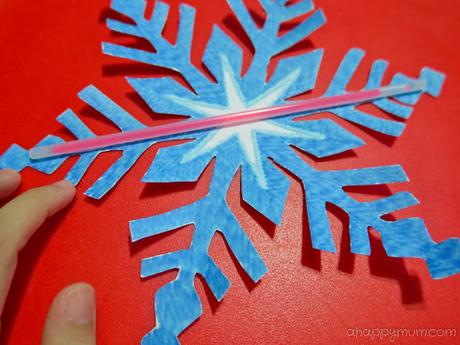 Stick a light stick across the snowflakes as shown using double sided tape. You will need to cut small strips of sticky tape to secure the sides and the middle so as to ensure that the stick stays in place.
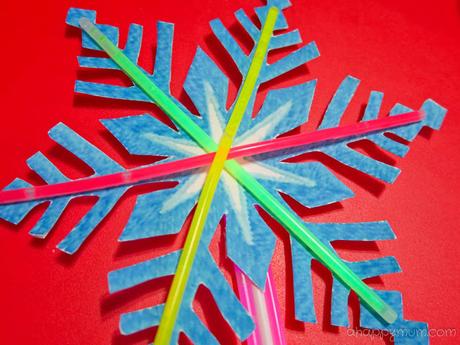
Repeat this for two more light sticks so that they intersect in the middle and form the above star shape. Tape the sides of the sticks using both double sided tape and sticky tape.
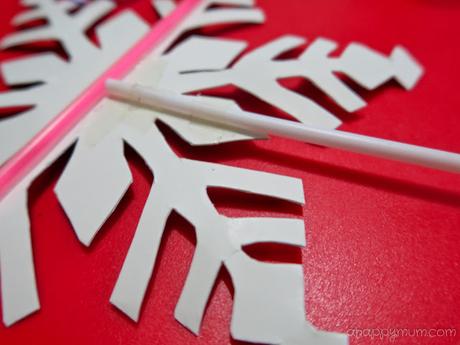 Turn the snow flake over and stick one light stick across to hold the snowflake in shape. To make it into a wand, attach a balloon stick using sticky tape as shown.
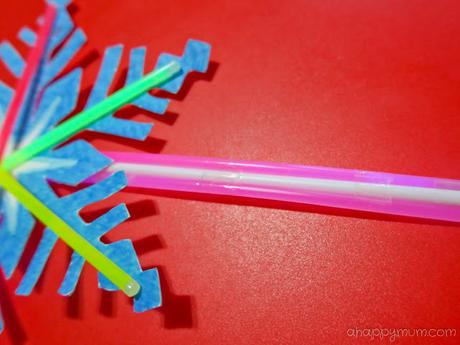 We decided to add a light stick on each side of the balloon stick just to jazz up the wand and give it more color.
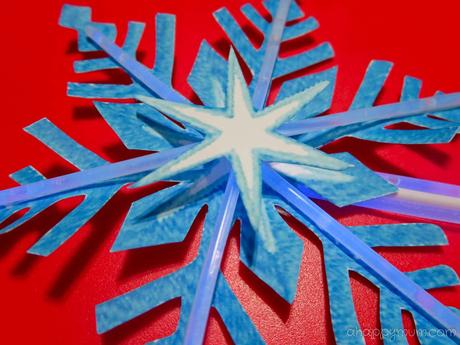 We also cut out a star to stick on the middle of the light sticks which helps to achieve a 3-dimensional effect.
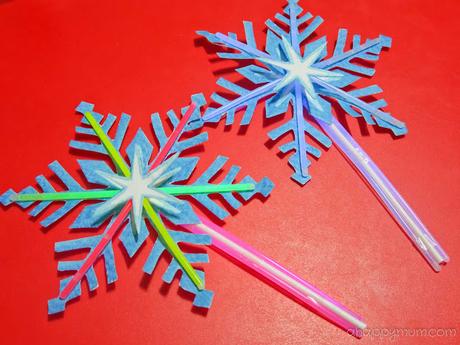 Ta-dah! Our glow in the dark snowflake wands are done! As you can probably guess, these can be done only hours before the show so that the light sticks will continue to glow. I tried to do one without cracking the light sticks but it was almost impossible! (We used the bracelets kind which are thin and bend easily.)
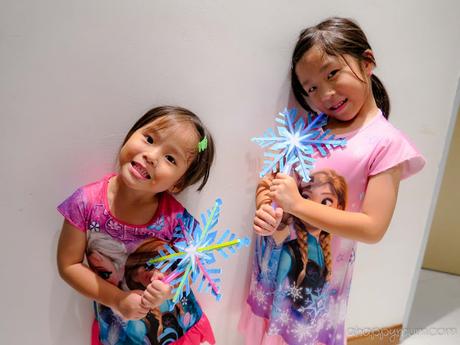 The girls were thrilled when I presented them with the wands and we were even more looking forward to meeting Elsa and Anna on ice!
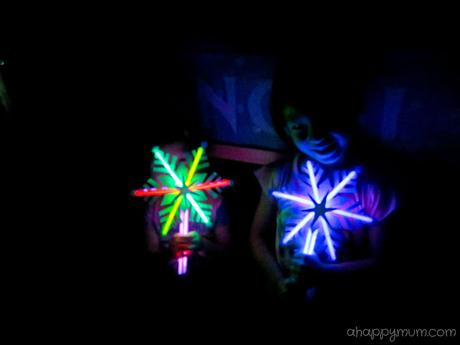 And they were even happier and surprised to see that these wands could glow in the dark! Awwww. Considering how cheap they cost, these don't look bad, right?
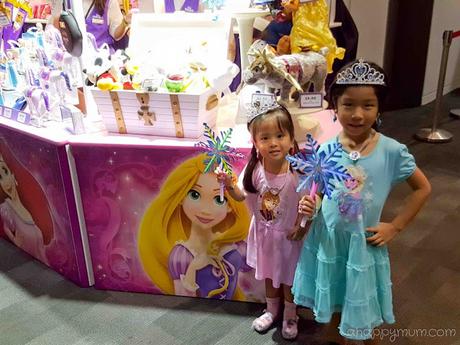 So, my girls became princesses that night and the best thing was they didn't have to look on with envy when others bought expensive light sticks toys from the booths because they had their very own unique, can't-be-bought-anywhere-else glow in the dark snowflake wands!
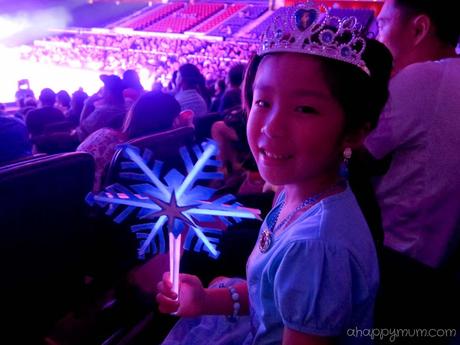 Well, of course the wands didn't glow for long but did they suffice for the night? Definitely. And those smiles they brought about? Absolutely priceless.

