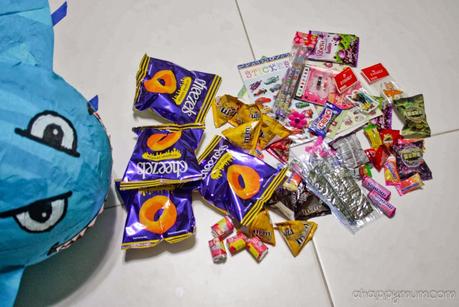
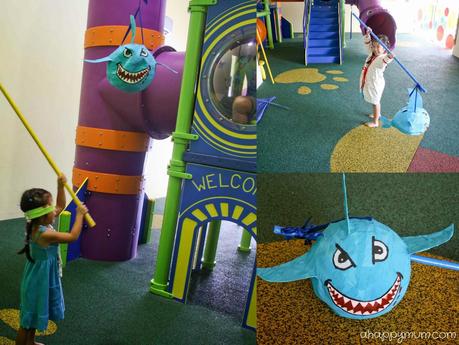
Ever since I read to Angel on a story about Dora going to a carnival and winning a big piñata, I made a resolution that one day I was going to try making my own. It's actually funny to think that after spending days on making a piñata, it gets destroyed in minutes and ends up in the bin. My in-laws saw how much time and effort I spent in making this and they thought it was going to be a decoration for the party. When I explained to them about the Mexican tradition of hitting a piñata till it breaks to get the treats, they were in dismay and said "After all that work, you are going to let the kids ruin it? Why don't you just BUY one?" You see, that's the thing about crafting that not many people will understand. That sense of achievement, that pleasing satisfaction and the realisation that my hands, not my purse, can bring joy to my kids are things that can never be bought with money. So yes, I finally made my little dream come true and though it may be a simple and straightforward piñata, hey, I DID IT. In line with Ariel's Under the Sea birthday party, after much thought about the sea creatures, I decided to make mypiñata in the form of a Shark.
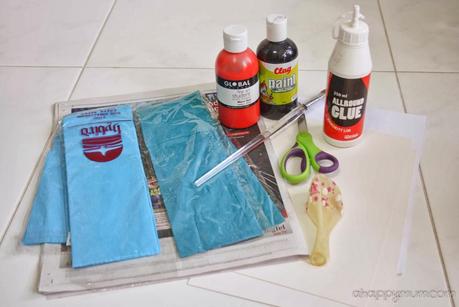
1) Balloon
2) Blue crêpe paper
3) Newspaper
4) Plain paper
5) Cardboard
6) Scissors
7) Glue
8) Acrylic paint and brush
9) Flour, water and salt for paper mâché paste (not in picture)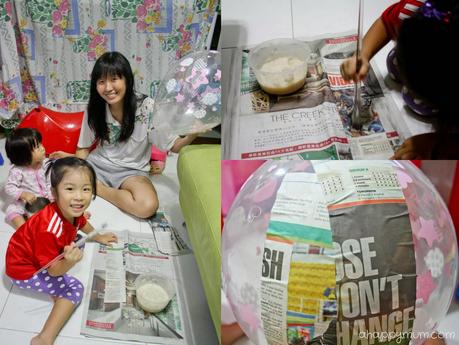
Next, it is time to get sticky! Tear the newspaper into strips 1-2" wide, dip them in the paper mâché paste, remove the excess paste with two fingers and lay them over the balloon as shown. If you prefer a less messy way to do it, you can use a paintbrush to apply the paste on the strips but make sure you don't leave out any space.
Tip #1: You can paint a layer of cooking oil onto the balloon before applying the strips so that it can slip out easily when dry.
Tip #2: You need to smooth out the newspaper strips to remove as many bumps and creases as you can so that you will have a better surface for decoration. 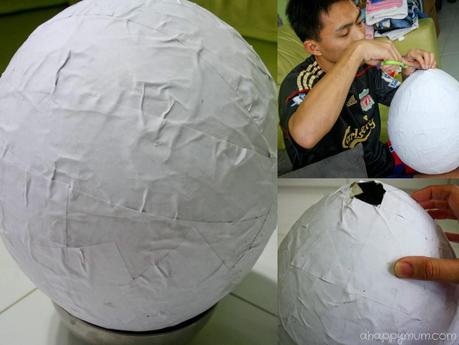
You would need to let one layer dry completely before adding the next and to be safe, leave every layer to dry overnight. See, that was why my piñata took me well over three days to make. Once it is dry, stretch the top of the balloon, make a small cut and let it deflate slowly. When all the air is out, the balloon should come out easily from the inside of the piñata.
Tip #3: Do not remove the balloon when the piñata is still wet or deflate it too fast or there is a chance of your piñata collapsing on itself. If it goes a little out of shape, use a stick to push out the dents from inside.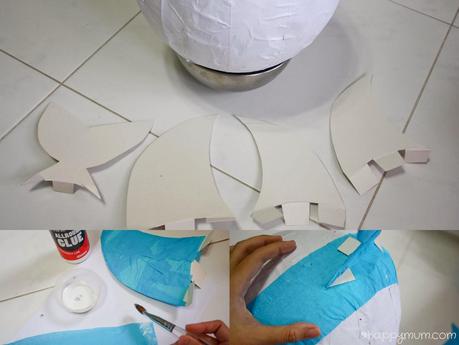
With the flaps alternating, that is one folds inwards and the next one outwards (see bottom right picture), I secured the body parts using both glue and sticky tape. Then, using strips of blue crêpe paper, I applied glue using a brush (see bottom left picture) and covered the shark all around until no more white space could be seen.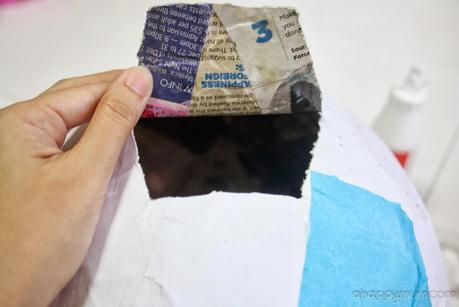
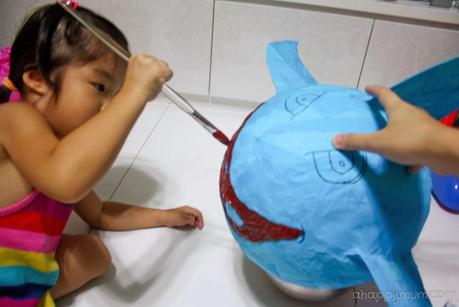
Tip #4: For the teeth, apply glue only along the edge that will be stuck to the lips of the shark so that the pointed ends jut out and create a three-dimensional feel. 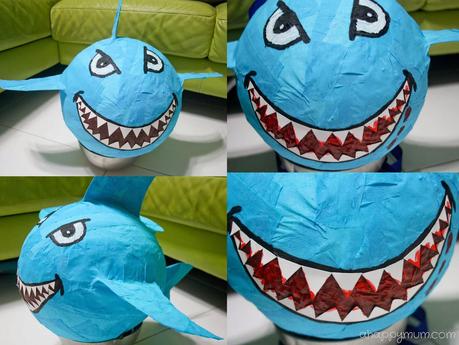
Do you like it? Seriously, I was not expecting much out of my first attempt but this piñata was well beyond my imagination and I really loved the final look.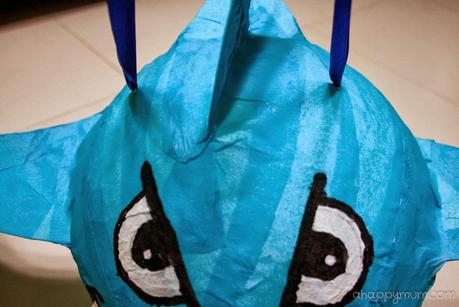
For more craft ideas and DIY tutorials, visit my gallery here.
******

