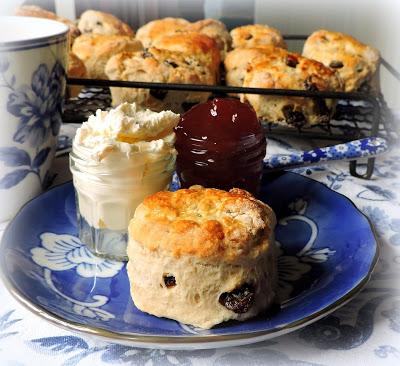
No English Tea Party would be complete without a tray of beautiful Scones. Is it scone that rhymes with on, or is it scone that rhymes with stone?? Who knows. It sounds mighty delicious no matter which way you say it. If asked what the difference between a scone and a North American baking powder biscuit is, I would have to say first and foremost, it is in the preparation. I thought it would be fun today to do a tutorial for you on how to prepare and bake the classic English scone.
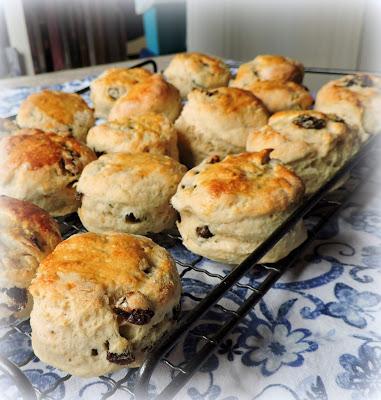
North American baking powder biscuits generally use all vegetable fat, and sometimes cream . . . scones usually use all butter, and sometimes butter and cream. The two things are not the same thing at all, no matter how similar they might look. Scones are sweeter as well, which makes them perfect for enjoying with a hot cuppa.
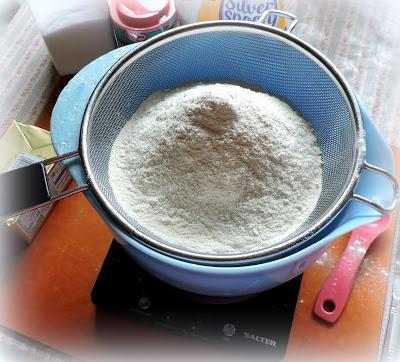
The first thing you will want to do is to sift your flour baking powder and salt into a bowl I find that aerating the flour in this way makes for a lighter scone, and sifting it together with the baking powder and salt ensures that all are mixed together evenly. I do this from about 6 to 8 inches above the bowl, which really helps the air to get in there. I also always use self raising flour. You can buy it ready made or make your own. I give instructions on how to that on the main page.
Once you have done this it is time to add the butter.
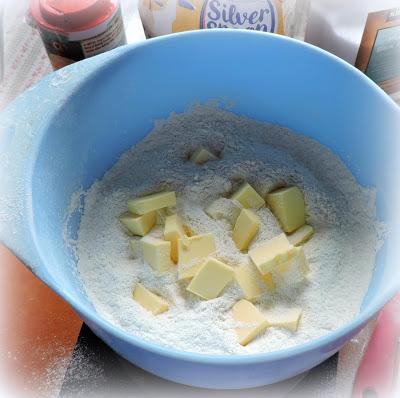
Make sure your butter is really cold and cut it into cubes quickly. I just measure it and then using a sharp knife cube it right into the bowl. Remember you want it to stay as cold as possible.
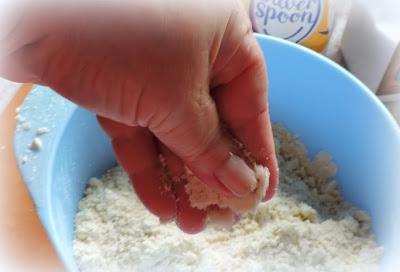
Once you have the butter in the bowl take your thumb and first two fingers on each hand and rub the butter into the flour using a snapping motion. When you are done it will look like fine bread crumbs.
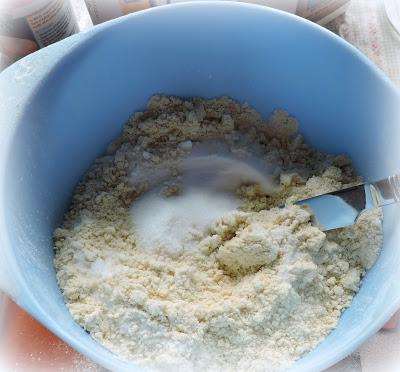
It is then that you can take a round bladed knife and stir in the sugar . . .
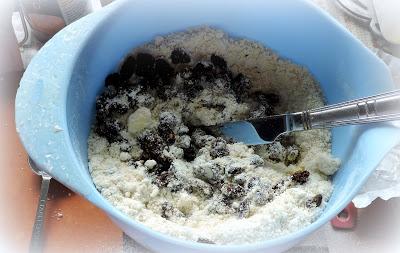
And the raisins. I like lots of raisins in mine. But people also use dried currants (which are smaller) and sometimes other dried fruit and berries. Stir them in with the round bladed knife also.
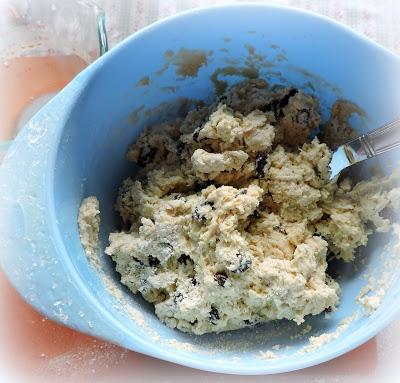
Then you are going to make a hollow in the middle of this mixture and pour in your wet ingredients, stirring them in once again with a round bladed knife, to give you a soft, slightly tacky dough that holds well together.
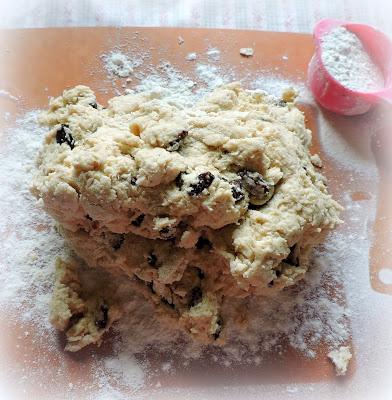
Tip this out onto a lightly floured board and knead gently for a couple of turns and then pat it out to a one inch thickness.
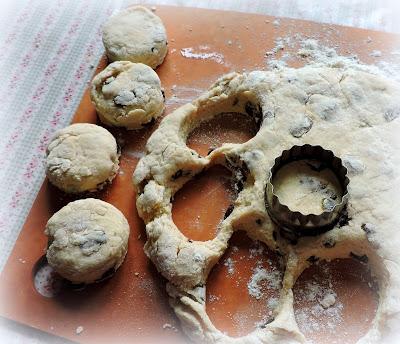
Its time to cut them out now. I use a 2 or 3 inch sharp round cutter, and I prefer the straight edge rather than the fluted edge of the cutter. Using a sharp up and down tapping motion, cut out as many as you can from this first patting out. Once you have cut them out, you can gently rework the scraps and cut out more, but bear in mind that they will not be as nice as the first cut, so do try to get as many as you can from the first cut. DO NOT twist the cutter. If you twist the cutter when you are cutting them, your scones will bake all lop-sided.
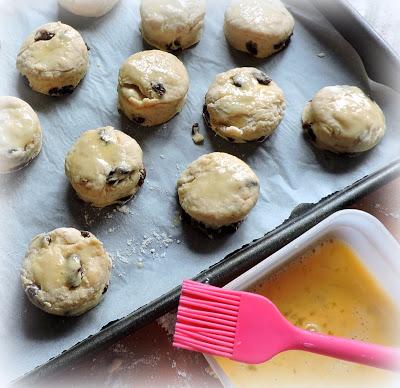
Place them evenly spaced on a paper lined baking sheet. I brush the tops lightly with an egg beaten with a tiny bit of water. Make sure you only brush the tops and don't let the egg wash drip down the sides. This will hamper the rise.
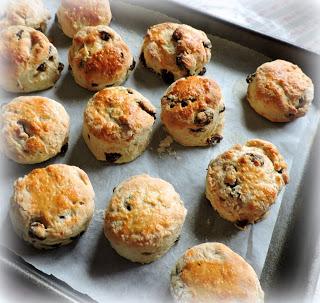
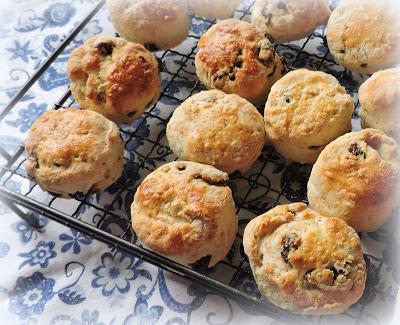
That's it, pop them into the pre-heated oven and bake as per the recipe. If you look at the sheet of finished baked scones above you can clearly see which ones were from the first cut and which from the second. (I would never cut three times.) The first cut are even. The second cuts a bit rougher looking.
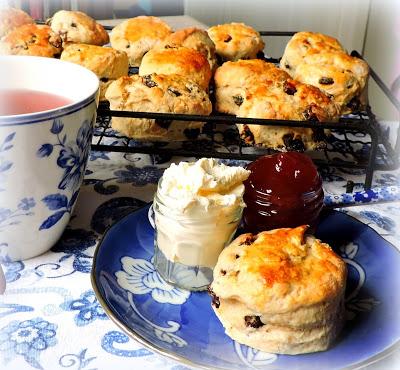
At the end of the day perfect or rough, these will be delicious. You will want to enjoy them with some cream and jam, for the ultimate English experience.
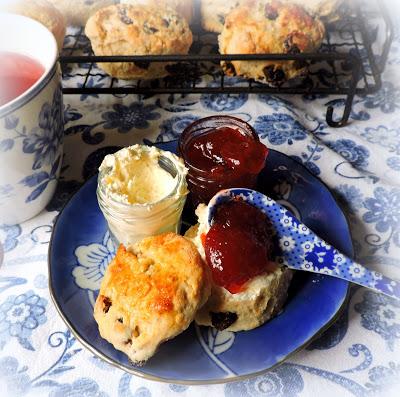
That's what they call a "Cream Tea" over here in the UK, and there is much debate about which goes first onto the split scone . . . the cream or the jam.
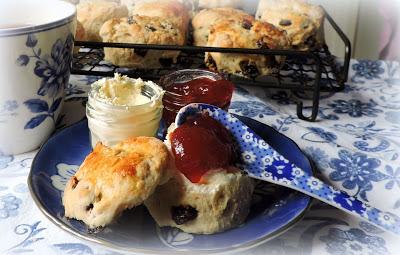
This can vary greatly according to which part of the country you come from.
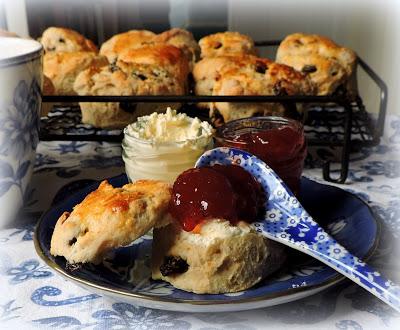
I tend to put the cream on first myself, as it helps to cradle the jam and keep it in place . . . but it doesn't really matter I don't think.
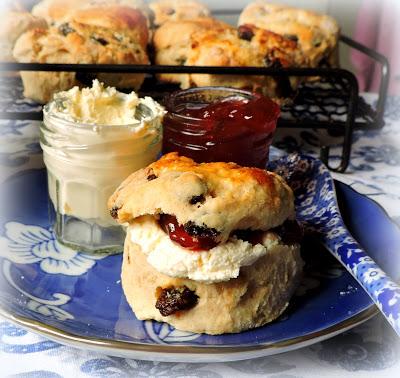
They are delicious no matter which you put on first. I personally like strawberry jam with mine, but lemon curd is also very nice.
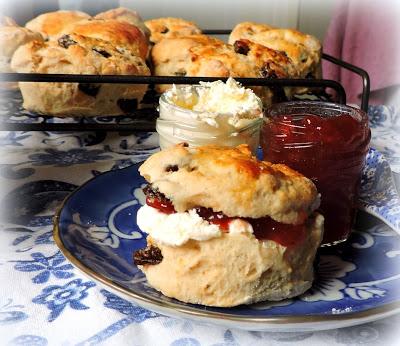
I don't think there is a prettier or a more delicious sight than a fabulously light and perfectly baked scone topped with cream (clotted or whipped) and some jam. This is heaven to me!
Yield: 10Author: Marie Rayner
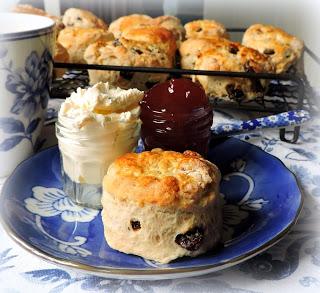
Classic English Scones
prep time: 20 minscook time: 10 minstotal time: 30 minsThese are buttery and flaky tender with just the right amount of sticky sultanas. Serve with cream and jam for a real treat!ingredients:
350g self raising flour ( 2 1/2 cups)
1 1/2 tsp baking powder
75g of cold butter (5 1/2 TBS)30g Caster sugar (2 1/2 TBS, superfine sugar)
75g sultana raisins (1/2 cup)
approximately 150ml milk (scant 2/3 cup)
2 large free range eggs, beaten
granulated sugar to sprinkle plus flour for dusting
instructions:
Preheat the oven to 220*C/425*F/ gas mark 7. Butter a large baking tray. Alternately line it with greaseproof paper.Measure
the flour into a bowl along with the baking powder. (Pour the flour in
from on high to aerate it.) Whisk together. Drop in the cold butter
in bits. Using your fingertips rub the butter in quickly until the
mixture resembles fine dry bread crumbs. Stir in the sugar and
raisins.
Beat the eggs. Remove and set 2 TBS aside. Add
100ml (scant 1/2 cup) of the milk to the eggs and beat together. Add
this to the flour mixture. Mix together with the rounded end of a
butter knife to form a soft but slightly tacky dough. Only add the
remainder of the milk if your dough is too dry and you want to absorb
any dry bits in the bowl. The dough should NOT be too wet, but not too
dry either. Tip out onto a lightly floured surface and knead gently a
couple of times to bring well together. Gently pat out to 1 inch
thick. Using a sharp round 3 inch cutter, cut out rounds, using a
direct up and down motion. Do not twist the cutter. Place the cut out
scones an inch or so apart on the baking sheet. Gather any trimmings
together and repeat until you have 10 scones.
Brush the
tops of the scones with the reserved beaten egg and sprinkle with a bit
of granulated sugar. Don't let the egg drip down the sides.
Bake
for about 10 minutes, until risen and golden on top and bottoms.
Remove to a wire rack to cool. Store in an airtight container. Best
eaten on the day. Any leftovers can be frozen for several months.Created using The Recipes Generator
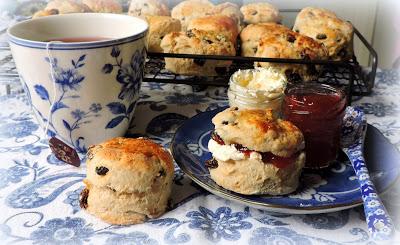
If you follow my directions and use a light hand in the preparation you are going to be rewarded with beautifully risen, light and fluffy scones . . .
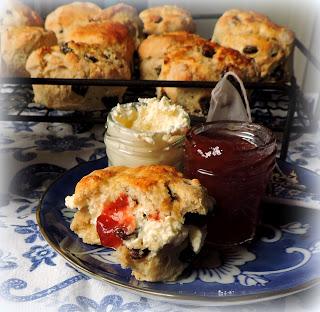
Perfect for teatime, coffee break, breakfast, elevenses, etc. In short perfect for enjoying ANY time! Bon Appetit!


