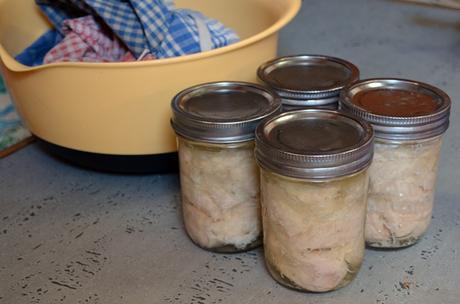
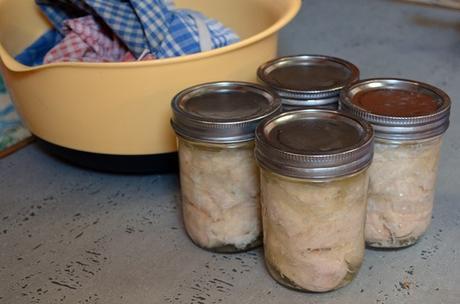
At some point, canning food makes sense for a lot of long-distance cruisers. Totem is a boat full of omnivores, and with five people on board, canning meat has been a useful skill to acquire. For those times we need to boost our provisions with canned food, doing it yourself is cheaper and tastier than commercially canned meat.
I’ve been water-bath canning for years before cruising, but meat requires pressure canning. This process intimidated me for a long time, but I got over the hurdle when we anticipated about three months in Papua New Guinea without access to stores. Now, ticking down the days we have left in South Africa, We have a lot (LOT) of ocean miles ahead of us; the longest leg will probably be from Ascension Island to Grenada, about 3500 miles. It’s easy to see how that could take us a month or more, especially if winds are light. We love to fish, but I’m pretty sure canned meat will come in handy!
Here’s the process I use, documented while prepping this week for our passages ahead. I canned raw chicken into widemouth pint jars.
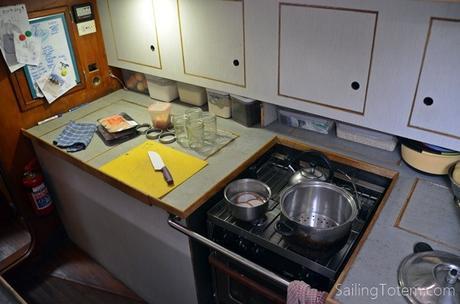
Equipment
First, a few notes on the gear required.
Pressure cooker. You can’t use waterbath canning with meat; you need a pressure cooker. Mine is a 5 quart Kuhn-Rikon very similar to this one (just, without the long handle). It fits four pint-sized jars… barely! Official resources (e.g., the National Center for Home Food Preservation) say you must use a pressure canner and not a pressure cooker. It’s not true, but it alleviates safety in non-commercial canning. Do your own homework (resources at the bottom of the post) and decide your risk tolerance.
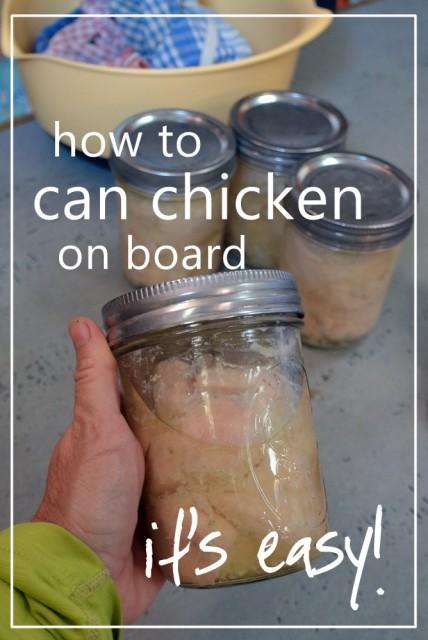
Stainless-steel bands. Although Ball jars are great, the bands that they come with are lousy for cruisers. I’ve had bands that rusted to the point I didn’t want to use them in as little as a year! Look for stainless bands like these, which are starting to become more widely available.
Reusable lids. Just like the included bands with Ball jars, the lids don’t last. Partly due to rust, but also because if a metal lid gets a ding when opening a sealed jar, I won’t re-use it, especially for meat. I don’t have the gift for opening jars without dinging them, most of the time. And then, the problem of getting replacements overseas! Resuable lids = awesome.
Other than that, all you need to have are the chicken, some salt, and a butter knife or chopstick.
Canning diva tools that I don’t have:
- Dedicated pressure canner. Maybe if I had the room? Happy with my cooker method, but it would be nice to do bigger batches or bigger jars (quarts!).
- jar lifting tongs. Two hands work just fine; BBQ tongs in a clean towel when they don’t.
- special lifters to get those lids out of the water bath. Again, fingers.
- widemouth funnel (although I’d like one, for easier chutney and jam canning)
Method
Before starting organize all your equipment and ingredients.
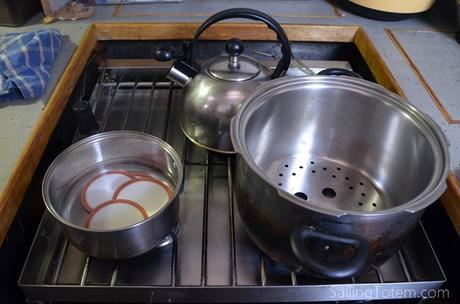
1. Sterilize jars and lids. Actually, don’t. Guess what: when pressure canning, you don’t have to sterilize your jars! Just make sure they’re really clean. The lids need to be warmed up so that gummy ring makes a good seal, though. I put them in a pan and pour boiling water from the kettle until they’re just covered, and let them sit for 10- 15 minutes.
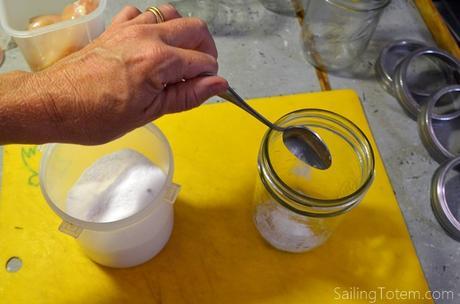
2. Add salt. I add about a teaspoon of salt to each jar, and a tablespoon or two of water to help dissolve it.
3. In goes the chicken! I cut raw chicken breasts into chunks and add them to the jar. You can cook the chicken first if you want, but it’s not necessary. Canning will cook it thoroughly, and I think the texture is better with raw-packing.
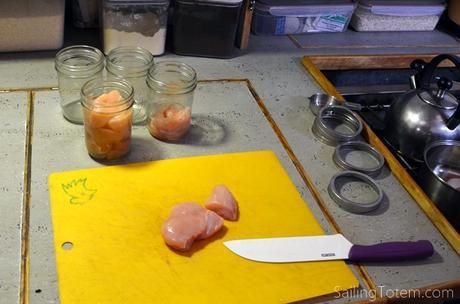
4. Fill jars to about ½” from the top; roughly, the point where the threads start on my cans. You can add more water; if canning cooked chicken, you’d have to, up to that fill level. Raw chicken will create broth when processing, so it’s not recommended/necessary.
5. Seal! Carefully center lids on top, and screw down bands until they’re finger-tight. If you’ve added liquid, however you must first get rid of all the air bubbles in the jar. There are fancy tools for stuff like this. I just use a chopstick, and move it around the edge of the jar as well as up and down through the contents.
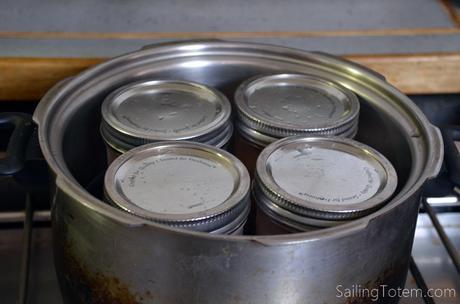
6. Put jars into the pressure cooker. It’s important to have something underneath the jars so they’re not sitting directly on the bottom. Most pressure cookers come with a trivet, and that’s what I use. If you don’t have a trivet, Beth Leonard suggests using a folded dishtowel. I’ve also seen bunched-up tinfoil recommended. Add water to the pressure cooker, enough to come about halfway up the jars. You don’t need them to be submerged, like you do for waterbath canning.
7. Process! Here’s where you need to know your pressure cooker and how to manage it. If you practice at home before living aboard, expect your boat stove to be different. Read external resources and your cooker’s usage guide to decide how and how long to process. Two “lines” on my cooker’s pressure indicator mean it’s measuring 0.8 bar or 11.6 pounds of pressure; 11 psi is good for canning meat. I process pint jars at two “indicator bars” for 75 minutes, staying close by and making sure it stays at high pressure.
8. Wait. When the time is up, just turn off the stove and let the pressure sloooooooowly release. Cooling too quickly was the ONLY time I’ve ever broken a jar. Ideally, just let them sit in the pressure cooker overnight. When I wanted to use the cooker again for dinner, I waited a few hours for jars to cool in the cooker, then transferred them to a bowl and wrapped them in dish towels (they were still hot!) to rest overnight. Don’t touch the lids yet! It’s tempting, but don’t. Just don’t.
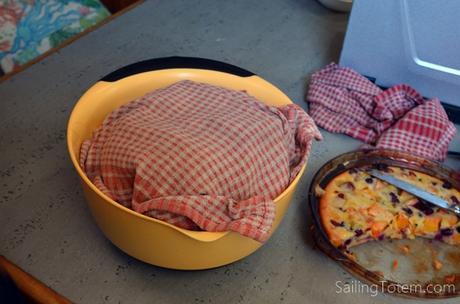
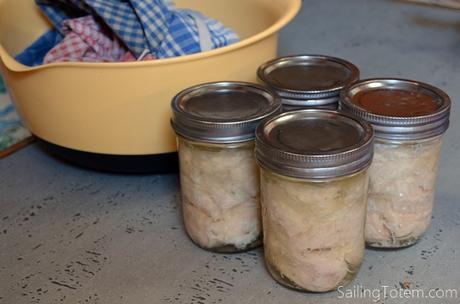
9. Test. After at least 12 hours of cooling, I check the seal. First, unscrew bands, make sure the lids are fully depressed (e.g., if you touch the top, it won’t spring back). If you look at it across the top, you can probably see that it’s slightly concave. There shouldn’t be ANY wiggling, it should be sucked hard down onto the jar. If in doubt: assume it’s not sealed. You should eat it, put it in the fridge, or re-process.
That’s it! I don’t have any fancy storage or protective wrapping; jars sit on a shelf in a pantry locker, wedged in. A dish towel helps dampen clanking around, but I’ve rarely needed to stuff one in. You could label them with the date if you’re worried about forgetting. They’re good for a long time, though- much longer than we’d keep them around uneaten, so I don’t worry about it.
Using canned chicken
Canned meat is kind of gross. There, I said it! The texture isn’t great, and like just about anything canned with heat, it tastes better fresh. On the other hand, your own tastes vastly better than commercially canned chicken. Personally, I’d be happy keeping a vegetarian diet for weeks, but my omnivore family is only good for a few meatless days in a row, after which they would rather have canned meat than no meat. Here are some go-to recipes we use it for.
- Chicken salad wraps/sandwiches. Hand-held meals are great on passage: we skip the dishes, and just clean up the crumbs later.
- Not passage friendly if we’re in a seaway or port tack, but great the rest of the time for one-pot/dish meals. Some mix of starch + chicken + onions + veg + sauce + cheese on top à bake à happy tummies full of comfort food.
- Add to easy cooking grains or pastas like quinoa, orzo, or cousous.
- Soup! Shredded into already-made soup (corn chowder or Mexican tortilla soups are about as easy as they come)
- Use as one of the fillers in rice wraps, a.k.a. spring rolls; this is a favorite hot weather meal on Totem. They’re fun, easy, healthy, and delicious! My friend Nica has a great how-to video for her Thai inspired recipe.
Resources
Here’s a set of links to USDA sanctioned info, as well as a number of websites I’ve found helpful.
- National Center for Food Preservation – guides for canning meat– based out of University of Georgia, a detailed resource for USDA based guidelines.
- USDA canning publications– the official word.
- Beth Leonard – Pressure Cooker Canning (from Cruising World; .pdf file). I am a big fan of Beth’s, and her description of canning on board is great.
- Simply Canning – pressure canning– an exceptionally well researched and practiced site for canning methods and recipes.
- Canning Granny – canning chicken– out of all the how-to canning meat sites, I really like Canning Granny’s detailed descriptions and frank language!
Disclaimers: I’m not an expert, and there are a lot of safety guidelines around canning! I’ve represented what I do; do your own homework and decide what you’ll do. Also: this post contains Amazon affiliate links, which throws me some change if click through and decide to buy any of the awesome products I recommend.
This post is syndicated on Sailfeed.

