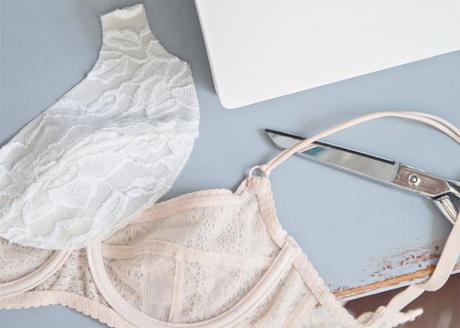
In many ready-to-wear bras, there is a bias binding finishing the cross cup seam. Made of tricot, it is both hard to make and hard to source. Believe me, I’ve spent way many hours trying to fold, iron and refold the delicate fabric into the origami-type trim. I’m not one to give up on something, but in this case, I found an alternative method that produces the same look visually and is much easier to sew.
While the tutorial below is for a bra with a horizontal cross cup seam (it’s a variation of Pin-up girl #1200), the method can be applied to bras with other types of cup seaming (diagonal, vertical, etc). Also to note, you will need to line one or both of your cups in order for this technique to work. For the bra below, the upper and lower cups are made with lace and underlined with powernet for coverage and support. The upper cup is unlined, and the lower cup is lined with 15-denier tricot.
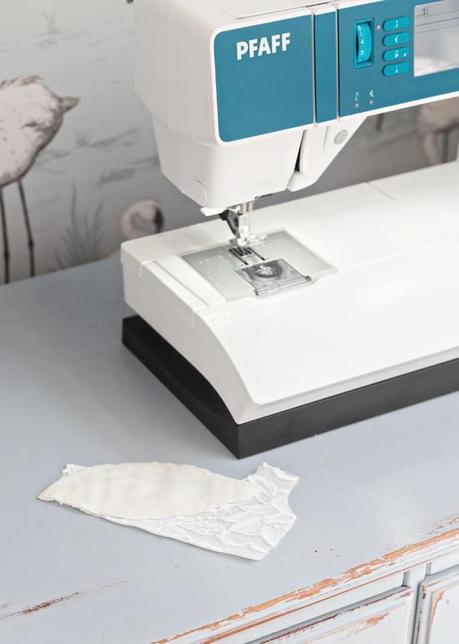
Step 1: With right sides together, sew the upper cup to the lower cup using a straight stitch and a stitch length of approximately 2.5 mm (note that I am also using a size 12/80 stretch needle since my fabric has spandex in it).
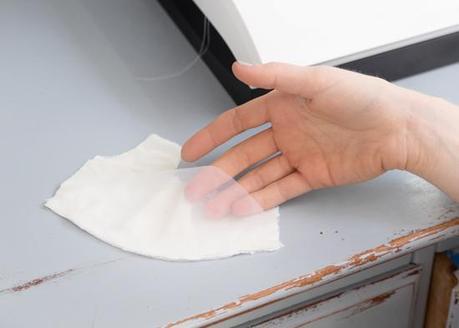
Step 2: With right side of tricot lining facing wrong side of upper cup, attach lining by sewing on top of stitch sewn in step 1.
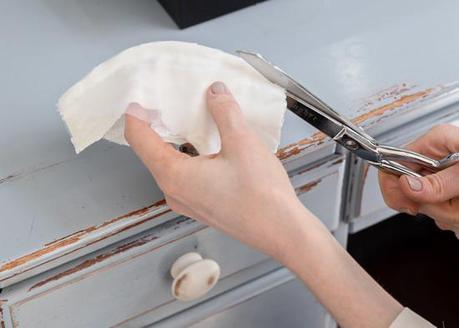
Step 3: Trim all seam allowances to approximately 1/8”. Then, grade the lower cup’s seam allowance so that it is slightly shorter that the upper cup’s seam allowance (this will reduce bulk).
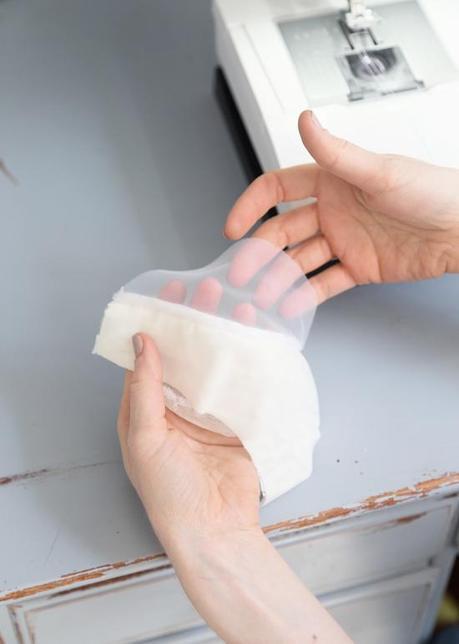
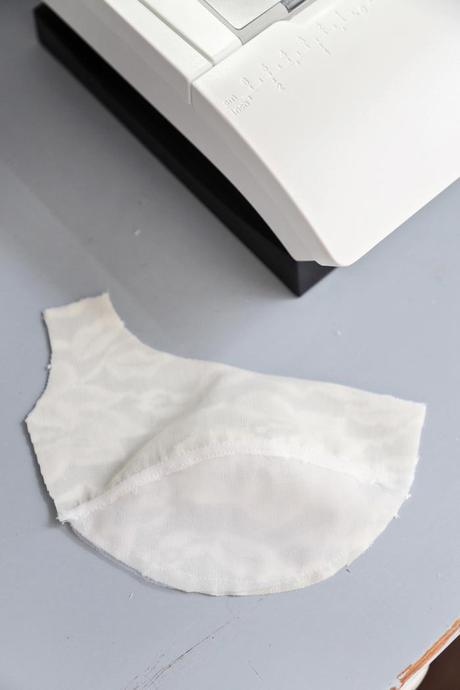
Step 4: Turn down lining and with wrong side facing up, topstitch 1/8” away from cross cup seam. Use a slightly longer stitch length – approximately 3 mm. The seam allowances look a little messy in the photo above, but down worry, we’ll trim them in the next step so everything is super clean.
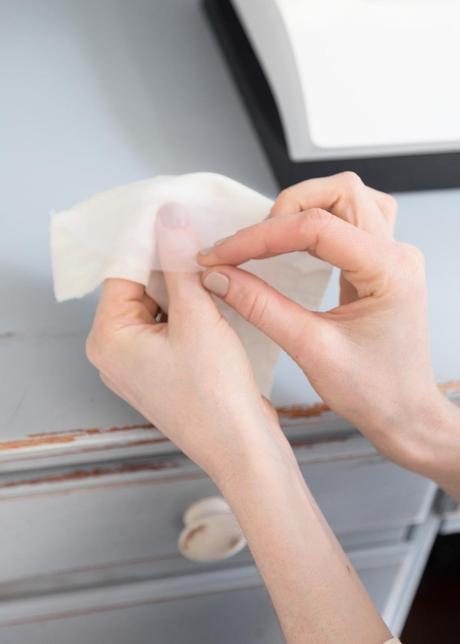
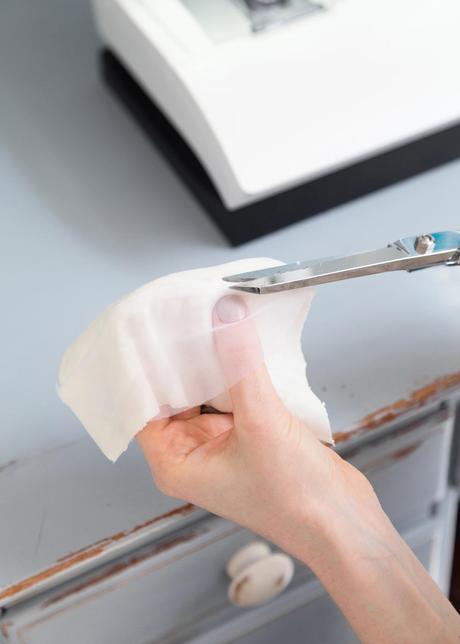
Step 5: After, turn back lining and trim as close to topstitch as possible.
Step 6: Last, pin all layers together along cup seam and machine baste through all plys. Treat as one going forward.

