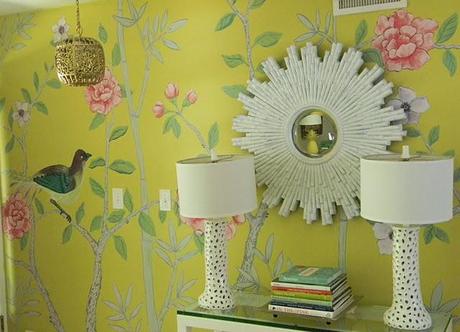
 My "Ode to Peonies and Girly Stuff" is done. This went so fast because of the fact I overscaled it. Less branches that way... I would be here for a week if I went the traditional route. I also like my tradition a bit funky, so bigger was better in my case...
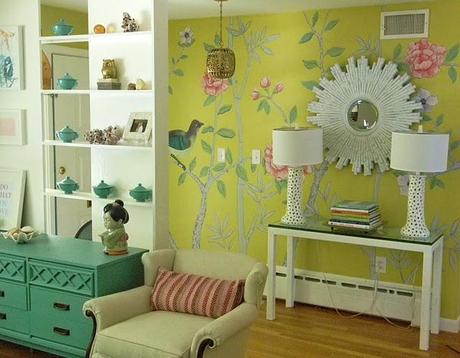 Many of you asked for a tutorial, and I am going to try my best.
Some painting skills are necessary here, but overconfidence can work too.
I am a big believer in mindset, and if you think you can do it you can. Really!
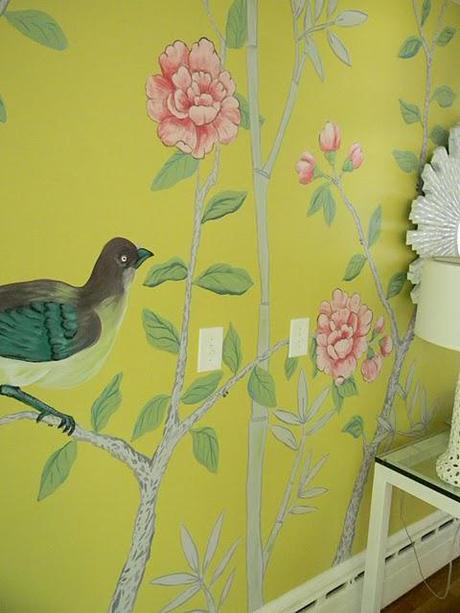 So here goes. Here was the before. Wallpaper. I'm impatient, so I just painted right over it.
No primer either. Bad Danika, I know. I am not a good role model because I suck at following rules.
But guess what? It worked!
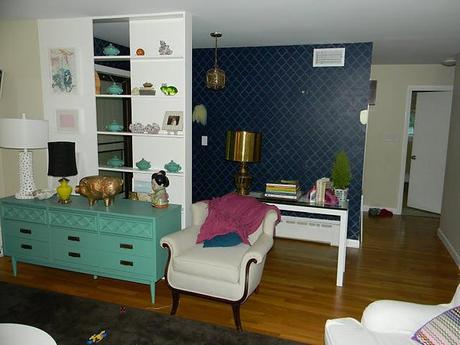 Next I sketched out a design. Go google your inspiration if you need to. I also found some in the cover of my Domino Bible. De Gournay "Portobello". I liked a lot of the aspects, the peonies and the bird, so I incorporated them into my mural. Imitation is the biggest form of flattery right?
Next I sketched it freehand on the wall. If you are anal, make a grid. I filled the branches in with a pale gray... you can do brown, whatever floats your boat.
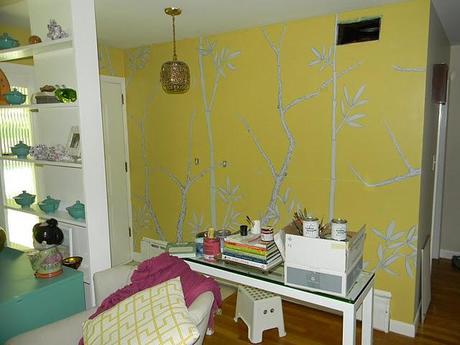 I outlined the branches in a darker gray, and I used a wiggly hand for this to make the bark look rough.
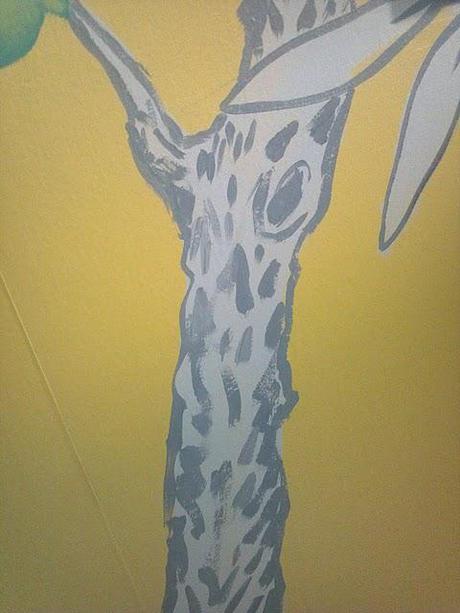
Then I added leaves with a medium green, and filled the flower shapes with a light pink or white...
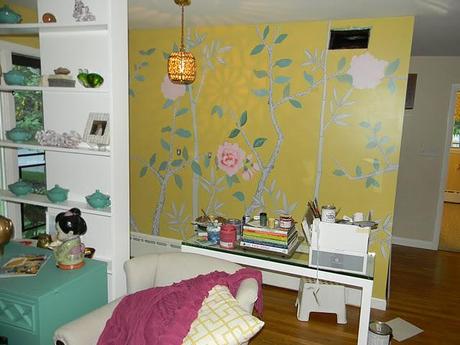 Once you get this far it is time to add details. To do flowers first fill entire area with light pink...
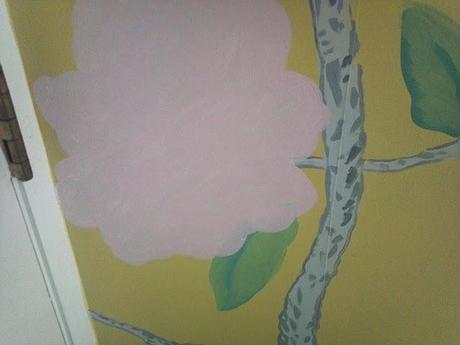 Next brush in a darker pink for shadows...
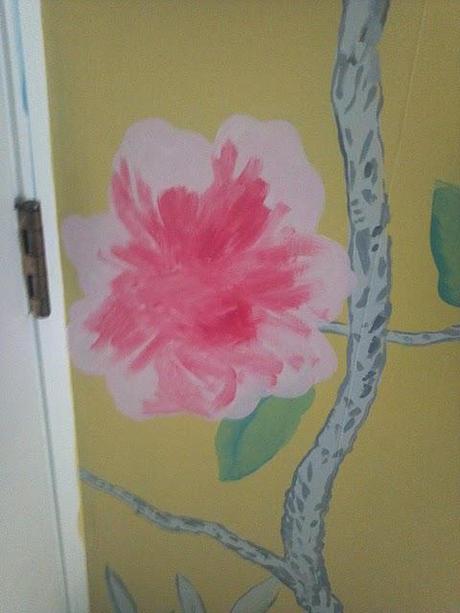 Using a very light pink, add highlights and define the petals.
I suggest using some images of peonies for this.
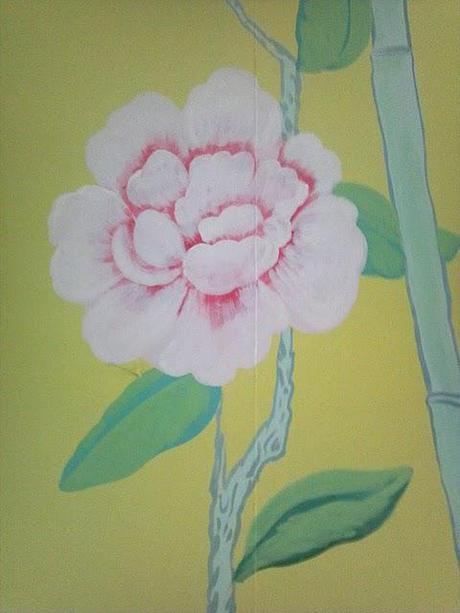
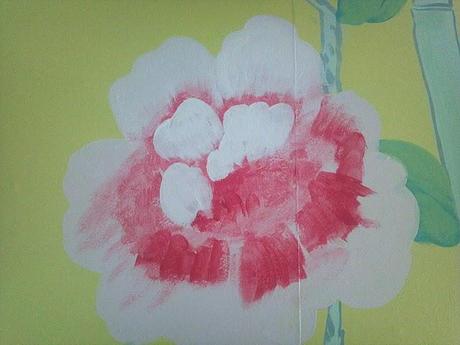 Keep adding until you are done and you have left enough shadow to create definition...
Next for a bird... Sketch it in and then fill with the main colors, don't worry about making it perfect. You just want to lay color in. You will add highlights and details later.
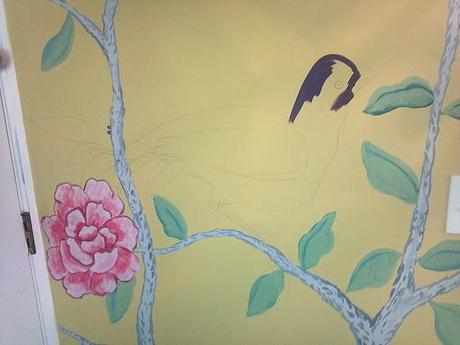
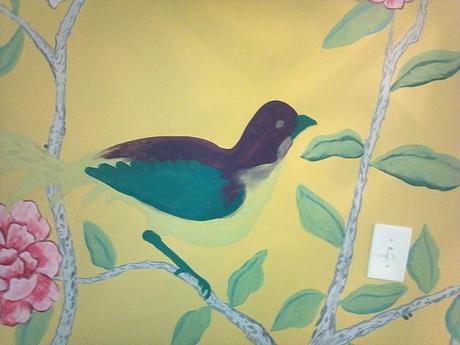
Add lighter tones on top to pick out the details...
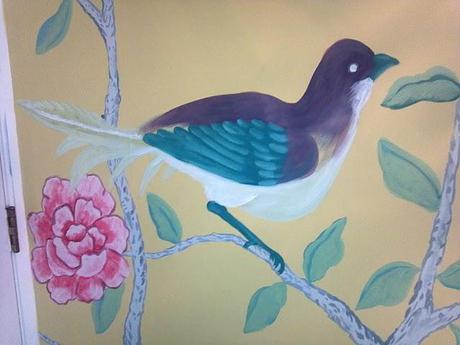 And finally use a fine brush and some black to outline final details...
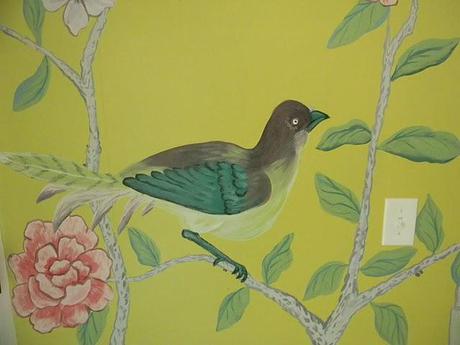 Add a lighter green to the leaves for highlights and then some darker for veins.
I also outlined my flowers to tie them into the rest of the mural, and added a bit more dark pink to the peonies.
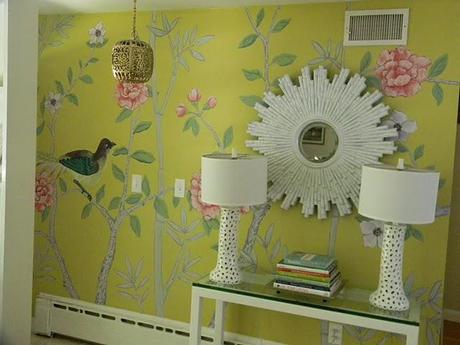
That is the best I can do for a tutorial. Hope it helps and inspires! xo Danika

