 Even though we moved in about two months ago, it has felt like we've made no progress on the home since my books have still been hiding in boxes. We've done a few things to the house, but I didn't feel excited about it because all I kept thinking about were my books. At our old apartment we had a few birch veneer Ikea Billy Bookcases, but they didn't fit the new style we were going for so we kept waiting and waiting for inspiration.
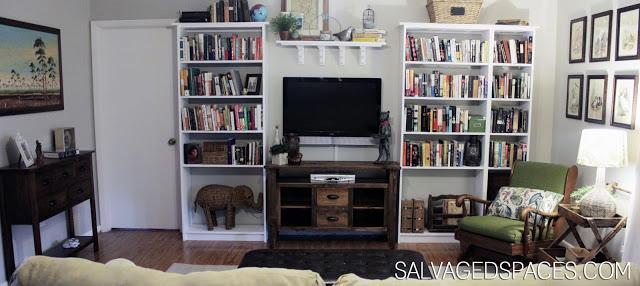
When I couldn't wait any longer, I begged Pete to make our Ikea shelves work for our new look and I am thrilled with the results!
First, our style is moving more toward rustic / Craftsman since our house has a few of those elements already, but the Ikea shelves weren't really fitting in. Here's an idea of what the bookcase looked like before:
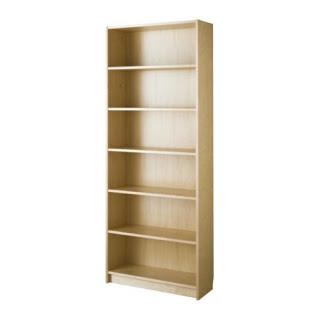 Very simple and light. We were about to list them on Craigslist for free and focus on a new design - either buying already-made, or starting from scratch. Seems like a fun idea until you start seeing the price tags on all of the rustic or Craftsman-style shelves. We have so much we want to do to the house and spending thousands on bookshelves wasn't at the top of our list.
So, after researching the style of Craftsman furniture and realizing it's very simple with clean lines, we decided to drag the Ikea shelves out of the garage and see what we can do. Altogether the process was three easy steps:
1. Tear the backing off of the bookcase. This got rid of the veneer finish in the back so we could expose our walls and get that built-in look.
2. Prime and paint white. The light finish on the wood didn't work for us, so when in doubt paint it white.
3. Add a piece of wood on top for trim! This was such an easy thing to do and makes such a big difference! We simply put a piece of wood on top and attached with caulking. There was a slight gap on the front but the caulk filled that up perfectly. We cut the piece of wood so there was still a 1.5" overhang on each side of the bookcase:
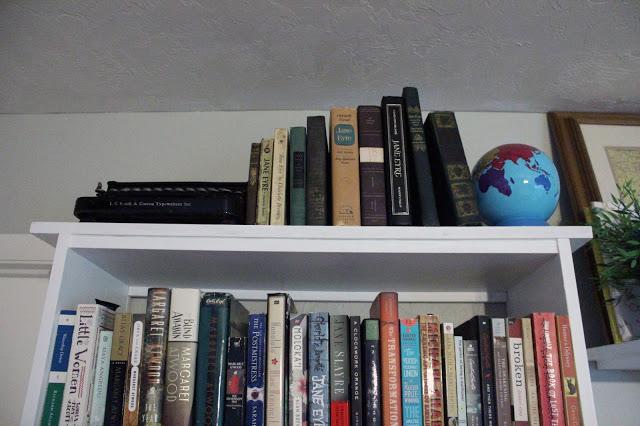
Another step we had to take was to toddler-proof them. Each bookcase is secured to the wall and the books are not within reaching distance. Unfortunately that means I had to donate about 40 books today because not all of them would fit. And this comes after getting rid of 150 books before our move!
We still have a few things to do to finish decorating the living room, but I'm loving the progress that we've made in one weekend! Not to mention that it cost us less than $100!
After:
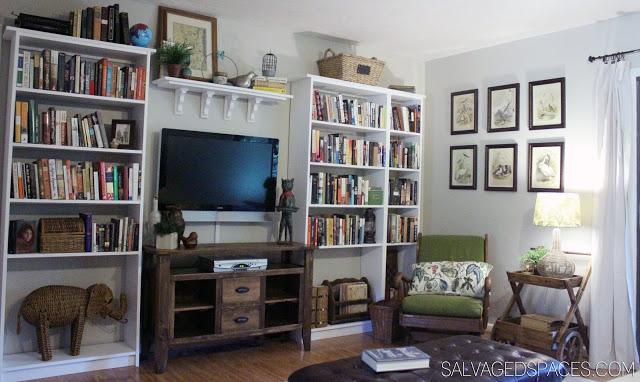
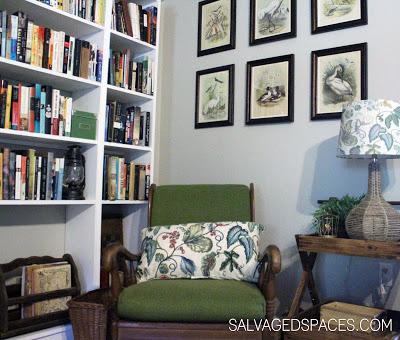 My favorite corner of the room has my old wooden chair (that I promise I will get around to reupholstering one of these days!), my rare book collection, and my "homage to plumage." All of the bird prints that are on our wall are from a book I found for $4! See how awesome books are?!
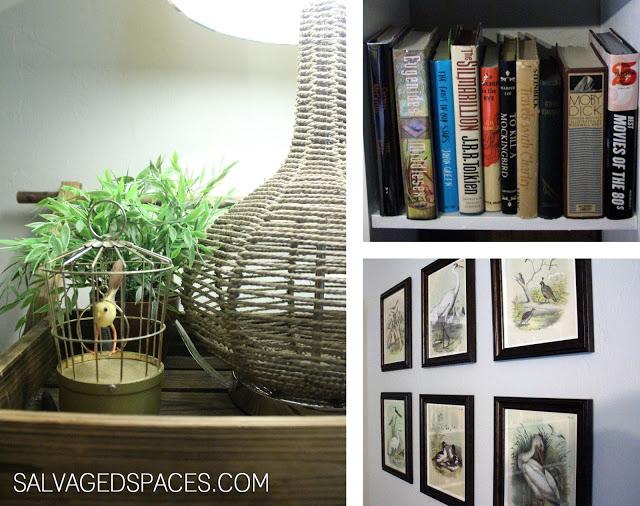
The rare books are either first editions, signed editions, pretty editions... but Best Movies of the 80s also gets a spot because it was the first gift that Pete gave me and it is full of post-it note commentary. I love books and I love 80s movies, so I guess you can see how easily I fell in love with Pete.
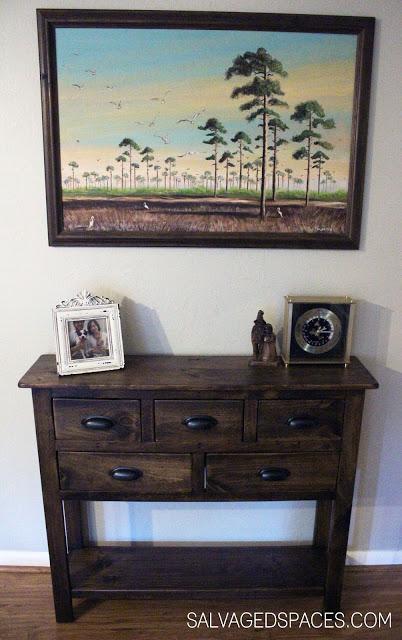
On the other side of the room is a beautiful painting that we got at an antique shop in Micanopy, Florida! We love it! The signature says "Martin" but we know nothing about it - other than we love staring at it.
I'm feeling so much more at home and really looking forward to our future projects! I think I'm going to spend the rest of this day kicked back in my wooden chair with a good book in my hands!

