ingredients:
14oz margarine
14oz Caster Sugar
140z Self-Raising Flour
7 Eggs
3 tsp vanilla extract
3oz Baking Cocoa
3 tbsp Milk
3 tsp Baking powder
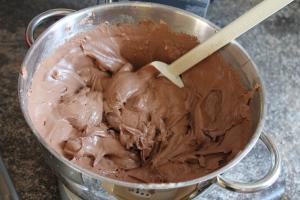
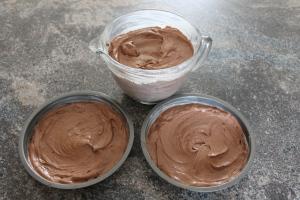
Using the all in one mixing method, add all the ingredients into the mixer and mix on high for 2-3 mins.
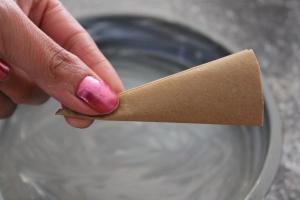
Grease 2 8inch cake tins. Cut into a square a piece of baking paper, then fold in half, then fold in half again. Fold again meeting the open ends ( making a triangular shape – meeting the corners). Puting the center point into the center of the cake pan, cut a rounded edge.
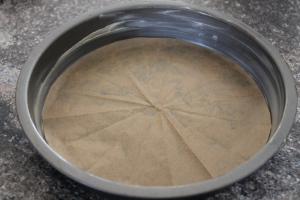
Open up the cone shape, and place into the greased cake tin, this will help to get the cake out and not stick to the bottom.
Grease a large batter bowl ( I used my
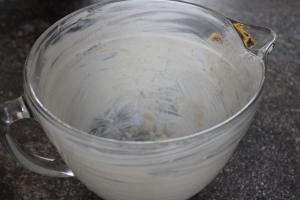
Pampered Chef Large Batter bowl) and sprinkle in some plain flour and shake it around so it sticks to the sides, again this with help to get the cake out once baked.
Fill the cake tins about the 1/3 of the way, and spreading the batter slightly to the sides to that the cake doesnt dome in the middle as much. It may still dome. Pour the remaining batter into the batter bowl and again spread to the sides. Bake in the oven at 170c with the cake tins on the top shelf and keeping the batter bowl on the lower shelf.
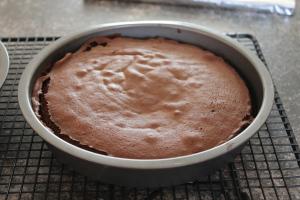
The cake tins will bake for about 25-30mins to bake, check with a cake tester or press slightly and see if it springs back. Allow to cool and then remove from the tin and allow to cool completely.
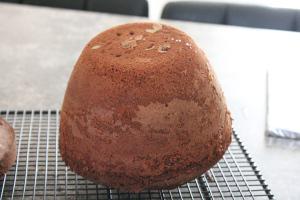
The batter bowl cake takes longer to cook, approximately over an hour. Keep checking the cake after 45min. It’s best to test with the cake tester ensuring it comes out clean. It’s also a good idea to put a baking tray over the top shelf to reduce the tops over cooking as will shelter it slightly.
Once out of the oven, allow to cool for 5 mins and remove from the batter bowl. As it’s in glass bowl, I use a knife and take it around the inside of the bowl, and usually this releases the cake. Allow to cool for another 5 mins.
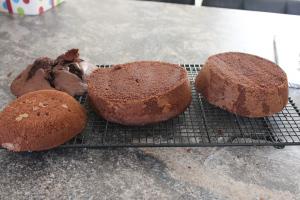
Level the top of the cake ( widest part) and then slice into 3 or 4 sections ( I used 3- but should have done 4) and allow to cool completed before stacking up.
Make up some pink butter cream frosting
Ingredients
250g unsalted butter room temperature
3 tbsp milk
2 tsp vanilla
Few drops of red food colouring
lots and lots of icing sugar ( over a 1kg)
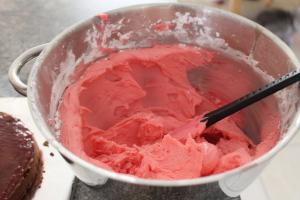
Put butter and 500g icing sugar into a mixer and mix on low for a few minutes, add milk, vanilla and food colouring, slow increase the speed. Slowly add icing sugar 1/2 cup at a time until you have a good consistency where the peaks hold but not too stiff.
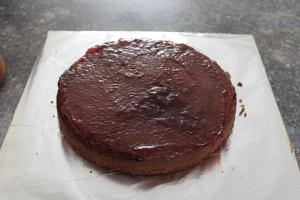
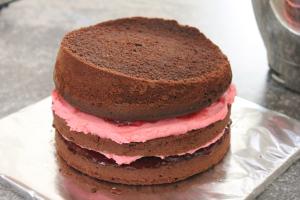
Using the first cake tin cake, spread a good layer of mixed berry jam.
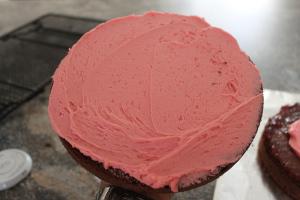
On the other cake tin cake spread a thick layer of frosting and place on top of the jammed cake.
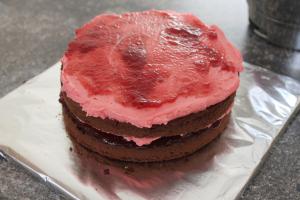
Now continue with the jam and frosting layers ( you can put either first – but frosting on Jam is a tab difficult so I use the other side instead).
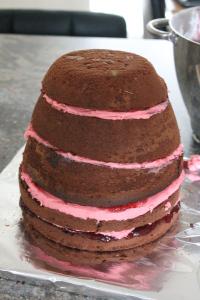
Keep building the skirt of the cake adding layers. Don’t worry about the over spill as this will get covered up.
Finally the cake has been jammed and frosted in the layers. This is where I realised I should have cut the batter bowl into 4 sections.
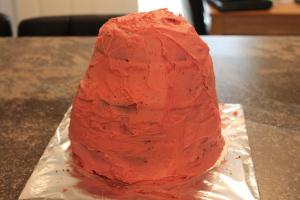
Using the remaining butter cream frosting, cover the whole of the outside of the cake trying to keep it all level. This will help the fondant stick to the cake. Now once you covered the cake, you can put this in the fridge to harden up the buttercream ( specially if you kitchen is a bit warm).
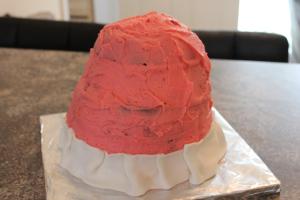
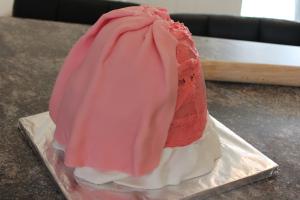
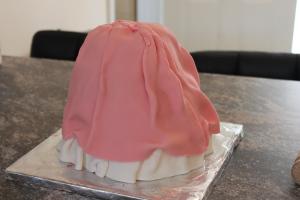
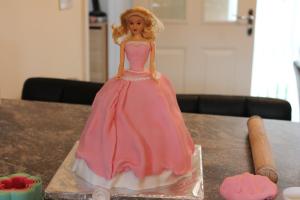
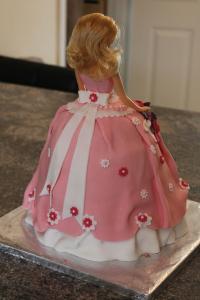
Roll out a small amount (1/3 of a small 500g pack) of white fondant icing into a long rectangle and cut into 2 inch strips. Then slowly wrap this around the bottom of the cake, as the petticoat of the skirt. Add some folds for the skirt gathering slightly at the top and pinching in place. You can you use more the 1 piece but fold in the when you start so it looks like a ruffle in the petticoat.
Colour a reasonable amount of the icing ( small pack amount) for the skirt pink. Then roll out a large rectangle, using the rolling-pin eye about the length you need for the width of the rectangle. Then comes the most tricky bit – draping the skirt on. Slow lift the icing and pleating at the top to encourage folds in the skirt.
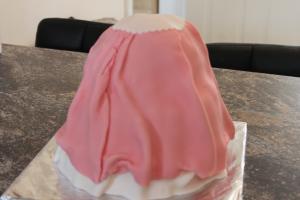
This may take 2 or 3 pieces to get around the skirt. Trim off the excess icing from the top of the cake.
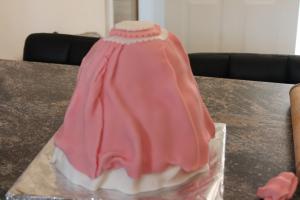
Roll out a small amount of white icing and using a large scone cutter cut out a white frilly piece to cover the top of the cake where the excess icing was trimmed off. Using edible glue, stick on the white cover up.
Repeat with smaller scone cutters in pink and then a smaller white, just to add an extra touch of elegance to the skirt. Stick these on with edible glue.
Using a baking doll head ( available from Ebay for £2) or you can use a normal doll and wrap her legs in cling film and make a whole in the centre of the cake). A few days before give her a good wash with warm soapy water.
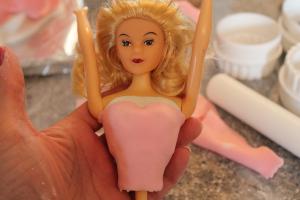
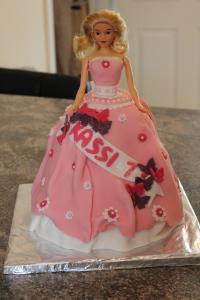
Using edible glue, stick a white piece of icing over the dolls chest. Then roll out some pink icing and wrap that around her chest slightly lower and stick all the way around. trim of the excess icing.
Spike the doll into the middle of the cake. You can leave the cake as is with a simple touch or add some embellishments.
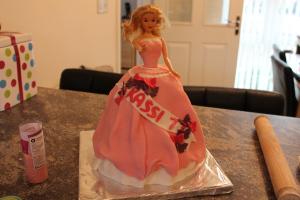
I decided to add a ribbon with my daughter’s name. Using left over pink icing, add more pink coloring to make it a deeper pink. Then roll out and cut out using letter cutters ( I don’t have the small number cutters so used an upside down L for the 7). Roll out white icing and trim into a ribbon size. Stick on the letters and number and pinch at the sides to make the ribbon effect. I then coloured some of the pink icing adding a bit of violet food colouring making a purple-pink
I used cutter for butterflies and flowers.
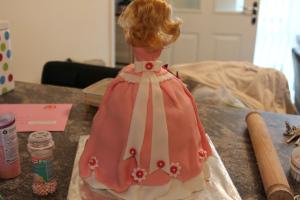
Adding a ribbon to the back of the dress using white icing, rolling out in pieces, create a piece for around the waist, then a bow. Add the tails of the ribbon to the back of the dress/cake.
Add flowers over the cake with a pearl decoration in the middle of the flowers.
Allow the icing to completely dry and enjoy a smile on your daughters/girls face!
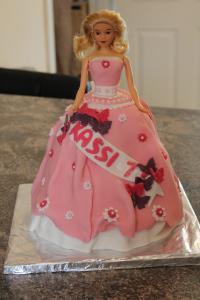 My newest and probably my most enjoyable creation. My daughters Barbie Princess cake, which she shared with her class at school.I started with my basic chocolate sponge cake ( multiplied up)