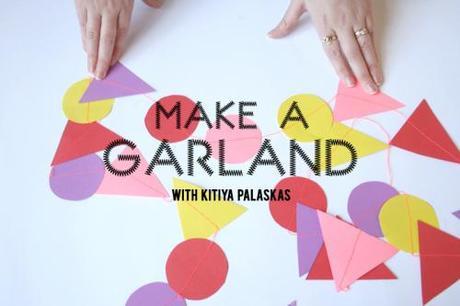
Shape and color are two things that have constantly inspired me as a designer. I’m following on from last month’s project with another vivid and geometric DIY. If you’re like me and love planning a party, you’ll know that it’s the decorations that tie everything together! I’ll slave away for days on intricately constructed bits and pieces to make my party special. Something I’ve always found handy is to have a box of colourful bunting and garlands tucked away that I can pull out and reuse at each party – they really fill out a room and add instant cheer. This garland project is SO simple and easy to make. You could whip up a collection of different coloured strands in no time and use them again and again at all your parties.
You will need
Shape template
Coloured or patterned card stock
A sewing machine
Colored sewing thread (or twine, optional)
Scissors.
Hole punch (optional)

Step 1
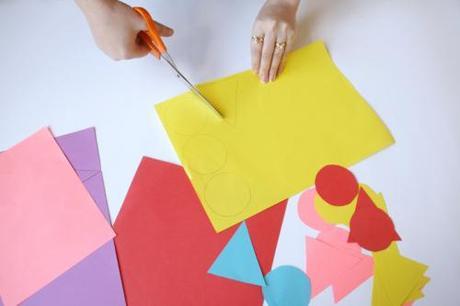
Use the templates provided to cut 15 of each shape from coloured card. You could also use the shape template from last month’s tutorial if you want.

Step 2
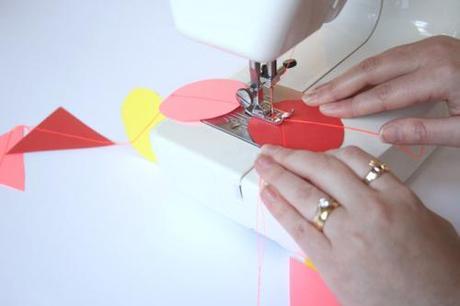
Use a sewing machine to sew a line through each shape. Do not cut the thread after each shape, just pull it until there is approximately 3cm thread between the previous shape and the new one. I would suggest having a separate needle for sewing paper, as it can blunt the needle. Keep one in your sewing box specially for paper and change it each time.
Alternative to sewing
If you don’t have a sewing machine, don’t worry! Simply punch a hole at the top and bottom of each shape and connect each with twine or string, knotting the string through each hole.
Kitiya Palaskas is a craft-based designer and creative workshop tutor based in Sydney. View her work/read her blog.


