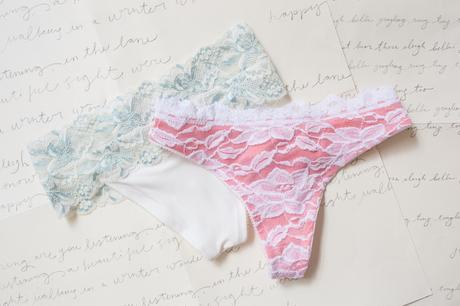
My mother told me never to use the word “hate.” Well mom, I hate VPLs. Unless it’s the brand VPL, the acronym (visible panty lines) is a no-no in for my wardrobe. One way to avoid VPLs is to wear full coverage undies, and I’ve developed a high-waisted, bum-covering undie that is my TNT for dresses and loose fitting pants and shorts. But if I’m to achieve an entirely handmade lingerie wardrobe, I have to start making thongs because I wear tight pants, Ohh la la, here I go…
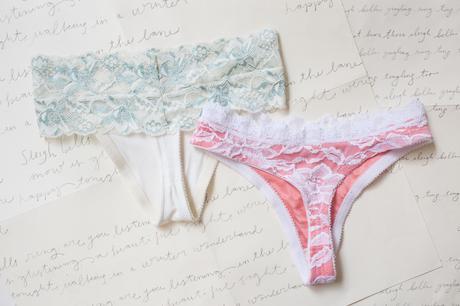

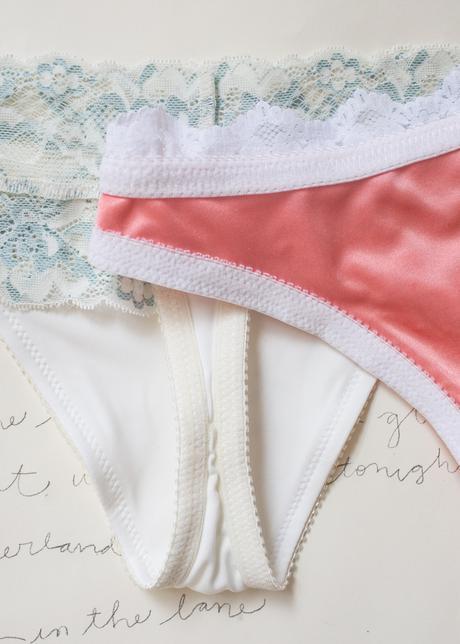
Merckwaerdigh SS1 – blue and cream thong pictured - a lovely mix of 5 different thongs, some with scalloped lace and some without.
RTW rub off – pink and white thong pictured – rub off from a RTW (ready to wear) pattern sent to me by a sewing friend, Di. We “met” on the Bra Making Forum Natasha and I started. Before PDFs, Di made a ton of thongs using patterns from McCalls and Kwik Sew. She hated all of them. They were either half way up her back or they were too wide in the thong part and folded up uncomfortably. Frustrated, she bought a bunch of RTW thongs and when she found the ones that fit well, she rubbed off the pattern and made a composite of various parts. She tweaked that pattern until she got exactly what she wanted and hasn’t bought a RTW thong since.
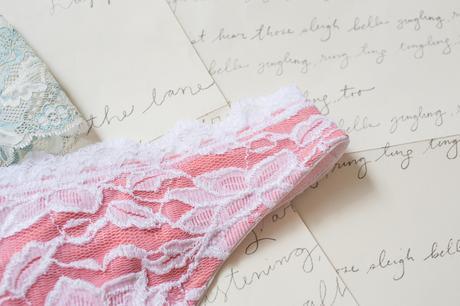
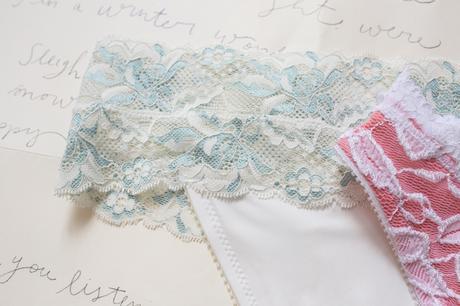
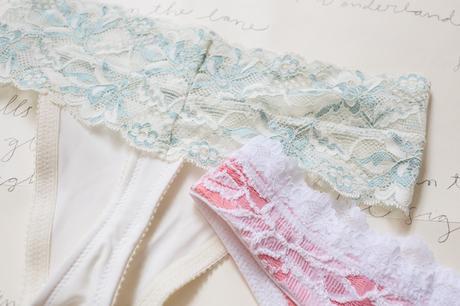
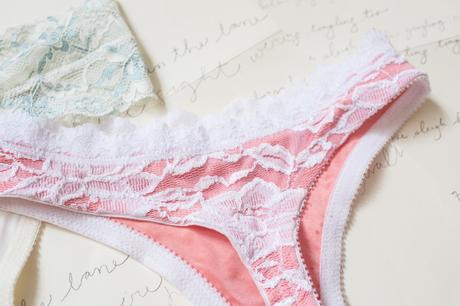

Merckwaerdigh: front / back and crotch piece are 2 ply white matte jersey (Jack B. Fabrics) and waist is a scalloped lace (Arte Crafts). Used temporary spray adhesive to spray baste matte jersey plys together. I used 2 plys because 1 was too lightweight and sheer.
RTW rub off: front / back are pink matte jersey (Fleishman Fabrics) and stretch lace (Spandex House). Used temporary spray adhesive to spray baste together. Crotch piece is white matte jersey (Jack B. Fabrics).

All trims were sourced from Bra Makers Supply: 1/4”and 3/8” plush and picot elastic.
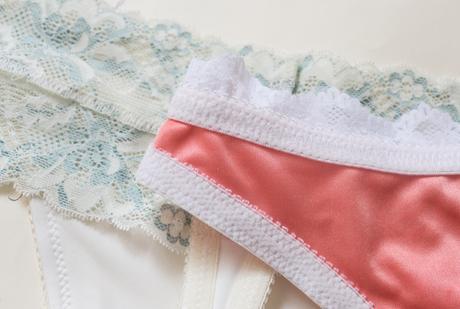

Merckweardigh: For my first foray, the crotch length was seriously long! Like whoa! I felt like Sharon Stone in Basic Instinct. That was a good look for the 1980s, but it’s 2015. I altered the pattern by reducing the crotch length by 3 ½” and combining the front and back pieces to make one pattern. This eliminates the crotch seam, making it less bulky and thus, more comfortable at the crotch. For the crotch piece, I cut separately. Before attaching the elastic, I serged both ends and then use temporary spray adhesive to adhere it to the wrong side of the front/back piece (wrong sides were together). I treated as one ply going forward. Last pattern change was to reduce the waist piece to be 3 inches wide (because the galloon lace was wider than 3″, I added a seam).
RTW Rub off: Combined front and crotch piece in the same manner as Merckwaerdigh, but kept the back piece.

I’ve been using my cutting mat and the temporary spray adhesive I use to adhere self fabric with lining fabric. As a result, a lot of residue has built up, making it difficult to cut out any pattern without the fabric sticking to the mat. The ladies on Bra Making Forum came to my rescue, suggesting rubber cement thinner or eucalyptus oil to remove. If using the latter, be prepared, it’s a strong scent!
Side note: Amy wrote a fantastic post recently all about cutting mats.

Merckwaerdigh: The instructions state you don’t need experience in handmade lingerie to make. I disagree. I think that you need experience attaching elastic. In my opinion, this is one of the hardest skills to learn in handmade lingerie because it deals with training yourself to have a particular hand. No set of instructions can teach you that. I just develops over time with a lot of experience. That aside, this was a really easy sew. In a nutshell, you finish the sides of the front, back and crotch with elastic, serge the top and bottom ends and then attach it to the waist, which is a rectangle sewn together at center back.
RTW rub off: An easy sew too. Sew front to back with crotch piece sandwiched in between. Then sew side seams and then attach elastic at waist and leg openings.

So which one will become my TNT? Both! The RTW one is more every day while the Merckwaerdigh is a fancier look. I also think the Merckwaerdigh has a lot of potential for design variation using pieced lace.
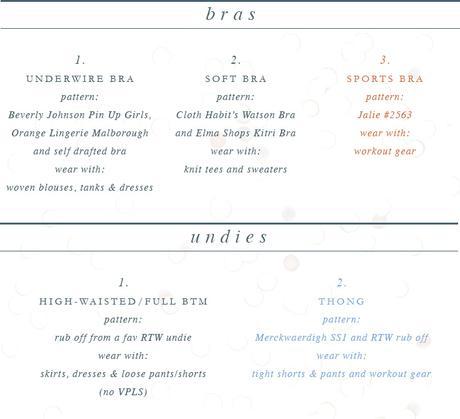
Following up on the progress of building a completely handmade lingerie wardrobe – I almost have all categories covered! What is in light blue below is the most updated – these thongs – while what is in orange is still on the to-do list – a sports bra. Before I move onto a sports bra, I have one more soft bra to make – Merckwaerdigh’s BSH10. It’s another “luxury sports bra” like Nina Warner. I’m also thinking of taking a hiatus and making a bodysuit using a panne cut velvet!
Just to note, I’ll never “finish” building a handmade lingerie wardrobe because I’ll always be adding new styles, silhouettes, fabric combinations, etc. as my style and fashion tastes change.

Other thong patterns are Ohhh Lulu’s thong pattern and Ohhh Lulu’s ruffle thong pattern, Fehr Trade’s Lacy Thong Pattern and Measure Twice, Cut Once’s The Lydia Knickers.
There are also plenty of basic tutorials sans a pattern.
Di has an awesome tutorial on how to make knickers if you’re not a thong person.
Di was kind enough to let me offer the pattern that she shared with me. Click here for the small and click here and here for the medium. Be sure to print on A4 paper at 100%, no scaling. As a double check, fold edge of medium pattern – the front should be 154mm, back should be 160mm, and crotch/gusset should be 147mm

