Since spring has hit, I’ve been bitten by the DIY bug. My goal this year is organization and simplification. That’s how this jewelry organizer came about. I was perusing the “Jewelry Organizer” boards on pinterest and found a few people who had created some for themselves. This one seemed really simple, so I patterned mine in a similiar way. Here’s what I did…
DIY Wall Jewelry Organizer
What you’ll need
- Cork bulletin board with wooden frame (mine’s about 15.5” x 23.5”)
- About a yard of medium weight fabric* (or at least enough to cover the board with)
- Heavy duty stapler or staple gun
- Push pins
- Picture hanging kit (including eye screws)
- pencil
Directions
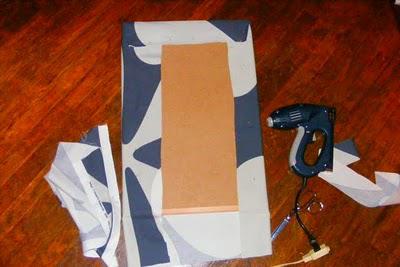
- Place the fabric over the front of the board on a flat surface, and adjust the pattern, (if there is one), to your liking.
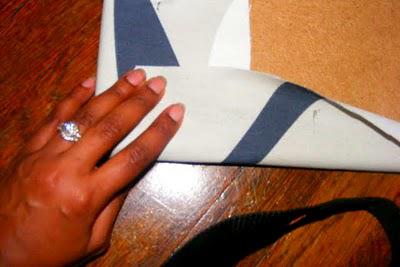
- Holding the fabric in place, flip the board over and pin it in place to the back of the board, stretching the fabric so that it’s tight across the frame.
- Then using the staple gun, staple the fabric to the frame or as close to the frame as possible. Staples 2 opposite sides before stapling the top and the bottom, that way when you tuck the corners, it will look even. (Be sure to use staples that are less in width than the width of the board).
- Trim the excess fabric away
- Use the pencil to make little marks on the back of the fabric 6 inches down from the top of the frame on either side.
- Screw in the metal eyes on either side and make sure they are both parallel to each other.
- Thread the string or picture hanging wire through the eyes and then tie off, leaving only a bit of slack in the length.
- Press pushpins into the front of the board at an angle, widths apart, and hang your jewelry!
- Hang on wall wherever you want, or lean it up against the wall on top of your dresser.
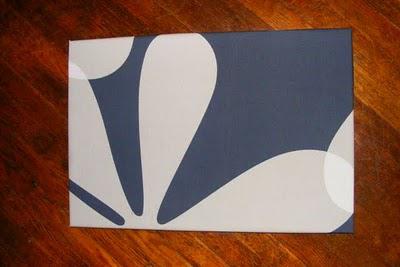
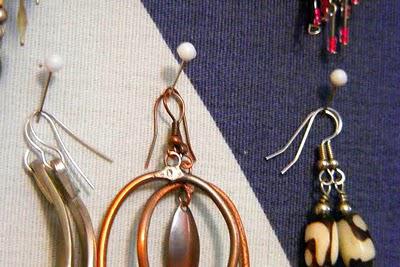
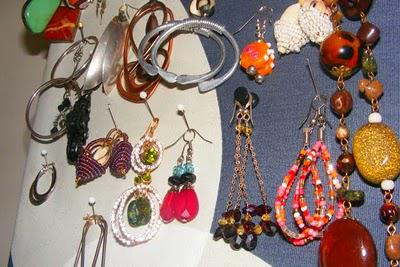
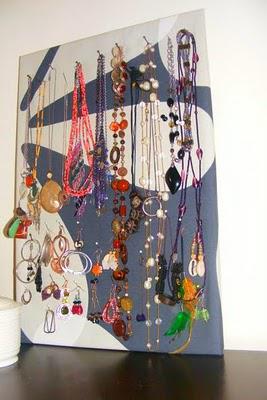
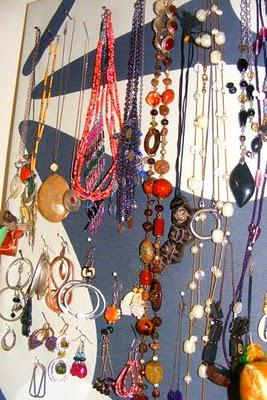
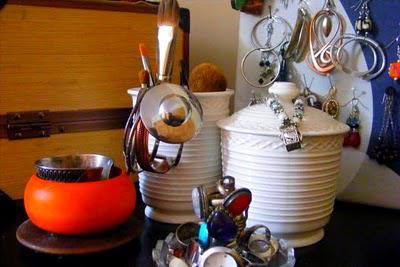
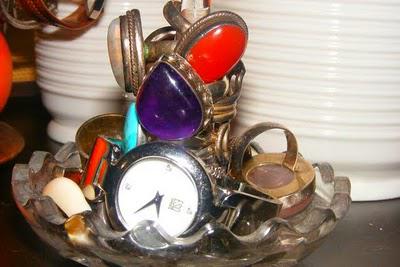
I found it easier to hang my necklaces at the top and my earrings at the bottom. I also used a curved upholstery needle to hold my extra pendants that don’t have chains. I also pulled out a cotton ball holder and a toothbrush holder from the back of the linen closet that I wasn’t using, and used them to hold some charm bracelets, makeup brushes, and cuff bracelets. The ring holder you see here, was a gift from a family friend.
Where to find everything
- Bulletin board
- Fabric – you could use anything really. Shirts, old drapes, a table cloth, even fabric napkins or burlap or even denim. I used a fabric remnant from IKEA I had.
- Pushpins – I used the kind from a picture hanging kit, pushpins and sewing pins with the balls on top, but I just found these pushpin hangers and I think I might swap them out, they’re so adorable!
- Eye and picture hanging wire or string – I got from the same picture hanging kit
As usual everything here is available at the Savvy Shop!
- Have you made your own jewelry organizer? What did you do?

