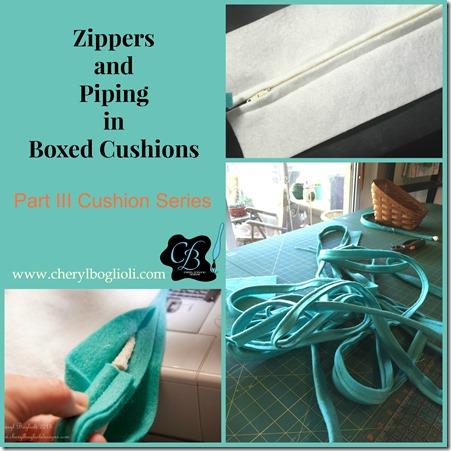
When creating my cushions, I had to decide whether to sew them on permanently, or create cushions that could be removed and washed when desired. They both require some extra care and time to create. Cushions sewn on permanently would require some hand stitching to finish. Removable covers would require a closure device installed – either zipper, buttons, or Velcro. I chose the zipper route. Sewing a zipper is not really that hard. Especially if you use a cheater method. I did not create this method myself – I’ve seen it done in a few places.
Figuring out the dimensions is the hard part. I knew I wanted my final boxing pieces to be 5.5” wide. Take this measurement and divide in half. That gives us two pieces at 2.75” wide. Now, add 1/2” seam allowance for zipper on each side. Each piece should be cut at 3.25” wide. You can see the rest of our cushion cover dimensions in tomorrow’s post – Sewing Dinette Cushion Covers for Travel Trailer.
You need a zipper slightly smaller than cushion width. My dinette cushions were 39” wide. I could only find 45” zippers in cream. That meant I would need to shorten these zippers. The zippers for the gaucho were 72”. Perfect for my 80” cushions.
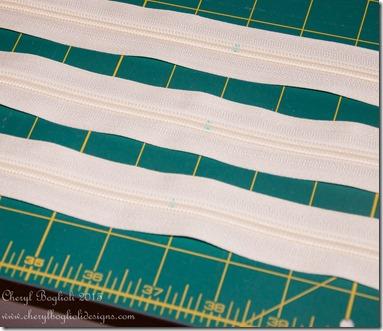
To shorten the zippers, I measured to 37”. I marked these again with my Clover USA air soluble pen.
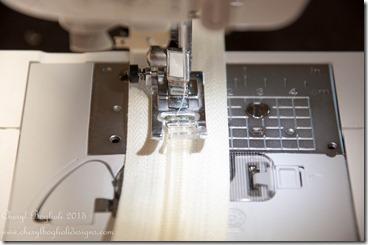
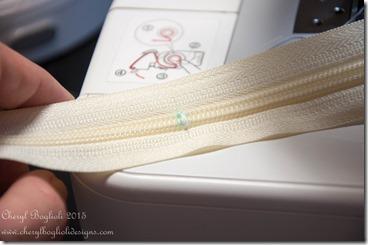
Using a zigzag stitch set at the widest with stitch length of 0, sew a few stitches across your mark. This creates a stop for your zipper.
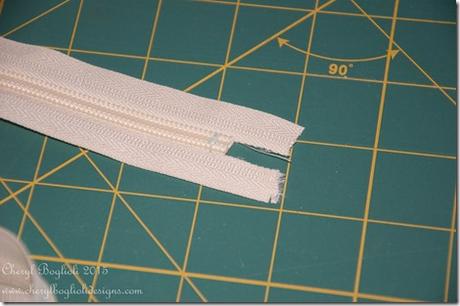
I’m going to try to explain how I sewed my hidden zipper, but it is hard to explain in writing and I should have taken more photos. I really should have created a video for you, but was so concentrated on getting these cushions done before I leave, I didn’t think this part through. You can find many YouTube videos about how to sew a hidden zipper in box cushions. Here is a basic description of what I did.
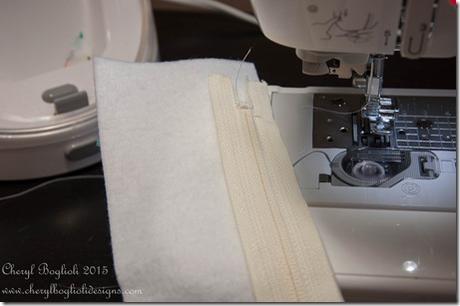
#1. Sew zipper on outside edge of front of fabric.
#2. Flip it over and sew front of zipper on front of other half of boxing. This is very hard to explain, but if you search on YouTube for sewing zippers in boxed cushions, you will find a few different ways to do so, including some that show this method.
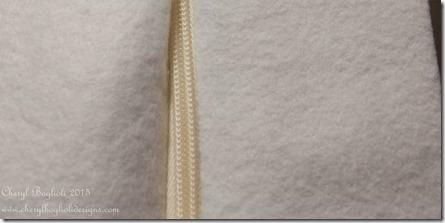
#3. Once each edge of your zipper is sews onto fronts of boxing fabric, you will open zipper with front facing you. Start folding one side so that it folds over the zipper teeth at center. You can see where it is starting to fold at the top left corner in this photo above.
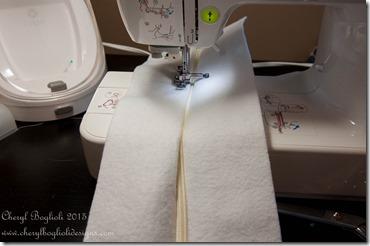
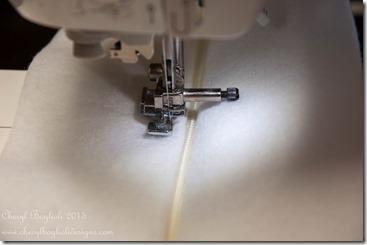
#4. With your zipper foot abutting your zipper, sew a straight line to lock this fold in place.
#5. Repeat steps 3-4 by flipping the boxing piece around when you are at the end and sew up the other side, abutting the two folded edges together to meet in the center and HIDE your zipper creating your hidden zipper.
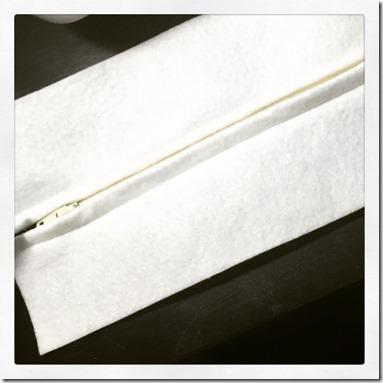
#6. Use a zigzag stitch to sew closed your open ends of boxing on top and bottom of zipper installed.
Now your zipper is installed and you didn’t have to first baste the zipper and remove stitches – which is always an option and is the general way of adding a zipper.
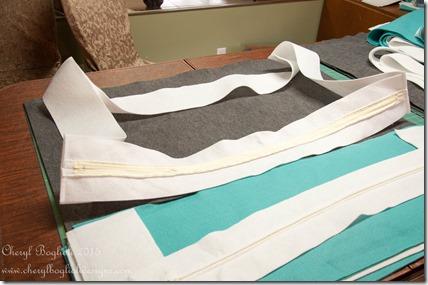
Hope that helps. Now sews your boxing strips together adding a side to each end of the zippered back that you just finished and then sew the other end of those two sides to the front using a straight stitch and 1/2” seam allowance. Here is one boxing complete ready to attach to smoke bottom and top of cushion.
I also elected to add piping to the dinette cushions. To do so, I needed to prepare yards of piping. You can determine how much you will need by measuring the length of all sides of your cushions. Remember there is a top and bottom. Basically, you need the circumference of both top and bottom cushion. Take these measurement for each cushion needed. Add a few extra inches for trimming and abutting ends when sewing.
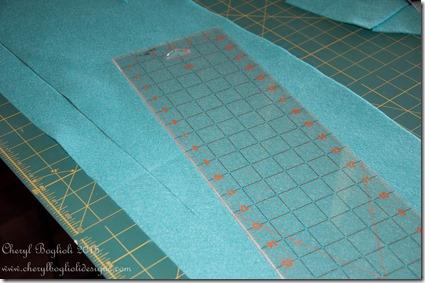
Most fabric strips for piping is cut on the bias. I did not need to do that sin ce I was using Kunin Eco-fi Plus Premium Felt. You can read more about why I chose this fabric in tomorrow’s post – I was able to cut straight strips. Since the felt is a little heavier weight than standard fabric, I cut my strips at 2” instead of the usual 1.25” width. You need enough to wrap your cording and still give you 1/2” seam allowance. I used the aqua for all my piping. So to create piping:
#1. Cut multiple 2” strips of felt fabric (1.25-1.5 if you are using a lighter weight fabric. If your fabric has stretch, you need to cut these on the bias)
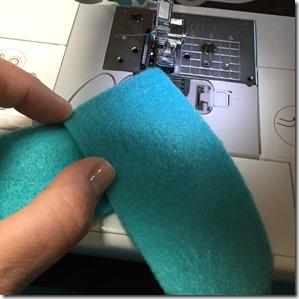
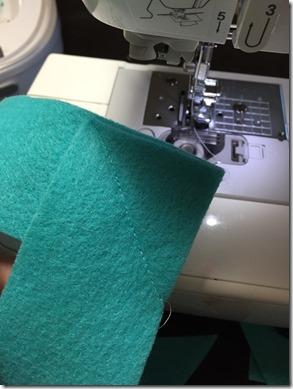
#2. Sew the short ends of your 2” strips together. To create a neater seam with less bulk, join the pieces at an angle and sew from outside corner to inside as shown here. I’m going to sew down to where the ends meet by my thumb making a straight stitch.
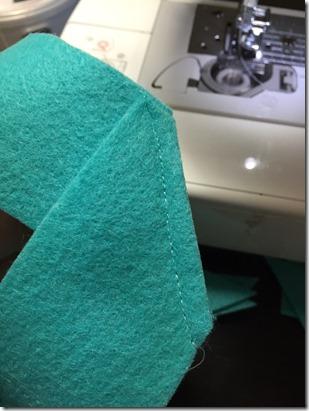
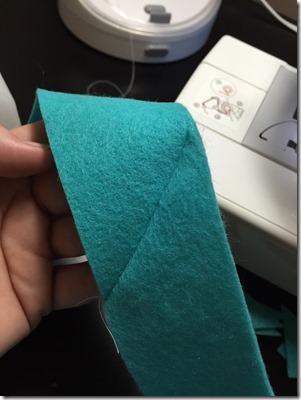
#3. Trim excess leaving approx 1/4” seam. Open seams and press. Repeat these steps to get one long continuous strip of fabric.
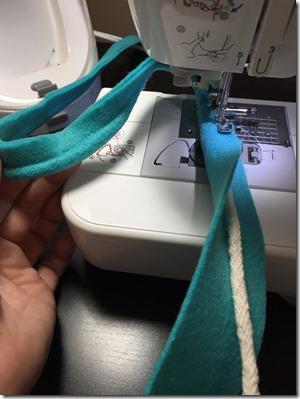
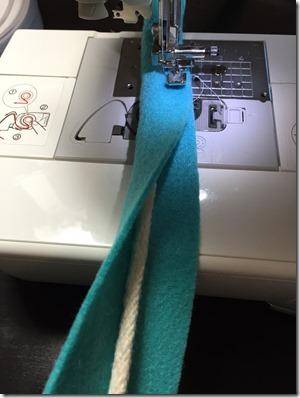
#4. Roll fabric strips around cording and sew abutting your zipper foot up next to the cording inside strip creating a tight grip on your cording.
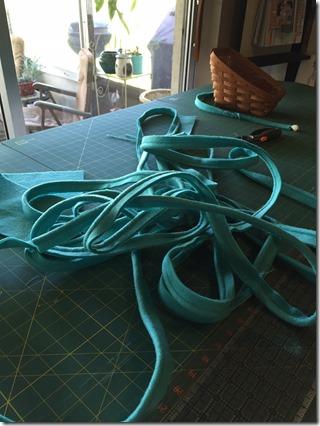
#5. If you need to add another roll or cording, abut two ends of cording together and continue sewing. Sew all your piping at once and this will save you time. Now, let’s finish cutting your fabric for cushion covers and assemble the covers. Tomorrow we will Sew Dinette Cushion Covers for Travel Trailer.

