
My teeth are not super yellow, but they are not pearly whites either, that was why I have always wanted to have whiter teeth. After having braces, for some reason, my teeth got whiter. I don’t know why, but even my aunt complimented me for it. After a while, my teeth got stained a bit from drinking coffee…because you know, Starbucks is always on my way home so I couldn’t resist but to stop by. But anyway, for this post, I had the opportunity to partner with Smile Brilliant to try their at-home whitening system.
We all know that going to the dentist for teeth whitening would cost us hundreds of dollars, and for someone like me who is just starting my early career, I wouldn’t want to pay that much just to have my teeth whitened. So, I decided to try whitening toothpastes instead, but unfortunately, they didn’t work for me. Whenever I would use whitening toothpastes, I would get that clear jelly-like stuff around the inner rim of my lips along with a subtle burning feeling. I just wasted my money buying those toothpastes since I ended up not using them anymore.
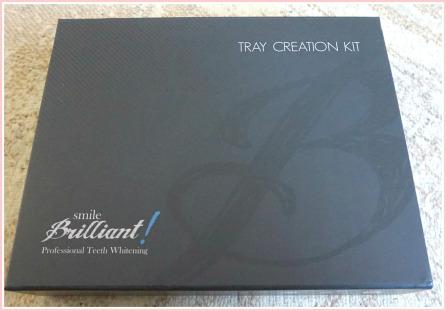
So here’s what Smile Brilliant’s Whitening Kit looks like:
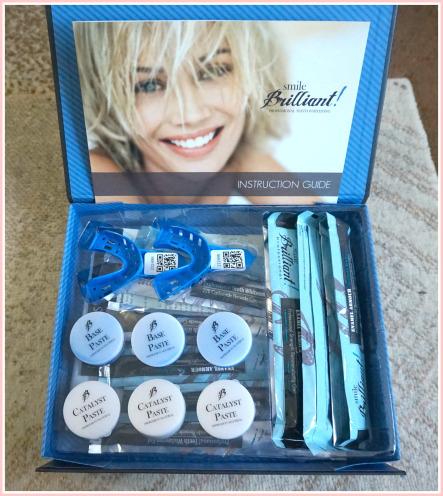
At first, I was really nervous that I would mess up when creating my impressions but Smile Brilliant thought ahead of their customers and provided an extra set of base paste and catalysts, because you know…people make mistakes! I’m glad I didn’t mess up though!
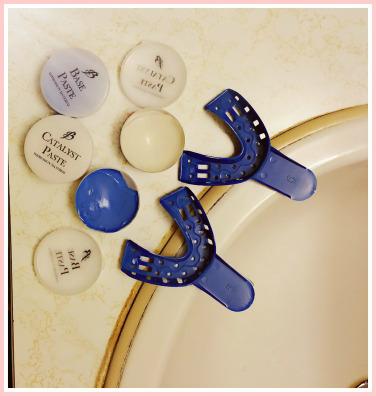
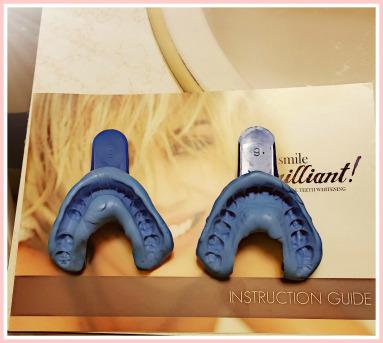
❀ Once you have created your impressions, you send it back to them using the return bubble mailer they have provided (pre-paid if you’re from the US). It takes about a week or two before you receive your custom fitted trays.
❀ When you receive your custom fitted trays, you can go ahead and start the whitening process! I have sensitive gums and teeth so I’m glad that the Smile Brilliant Whitening Kit offers desensitizing gel to help with sensitivity. Even if you are unsure if you’re sensitive or not, I still suggest using it because it hydrates back your teeth.
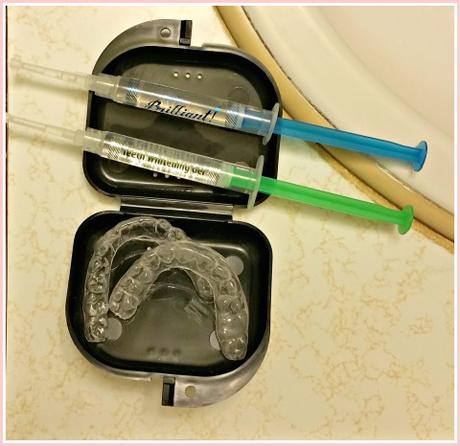
❀ The first step is to line the front of the trays with the whitening gel and leave it on for about 45 minutes to an hour. Rinse, then line the front of the trays again with desensitizing gel and leave on for 15 minutes.
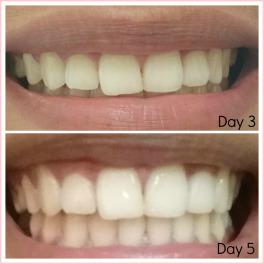
I continued this process for 2 weeks and I could definitely see that the surface stains have been removed. I’m really happy with my results! If ever I get surface stains in the near future, I’m definitely going to use this whitening kit again!

Just remember though that not all results will be the same. It will vary depending on how stained your teeth are. You might have to do it for a longer period of time or less.
Interested in trying this at-home whitening kit? It’s very affordable! You could get this kit (custom-fitted trays + 3 whitening gel syringes) for $119.95 (original price: $179.95). You save $60! Add 3 packs of desensitizing gel for $19.95!
If you’d like to see more reviews and demos, click [here].
Guess what!?! Smile Brilliant was generous enough to host a giveaway!
The winner will receive a $139.95 store credit which is equivalent to Whitening Trays + 3 Whitening Gel Syringes+ 3 Desensitizing Gel Syringes OR Whitening Trays + 6 Whitening Gel Syringes.
This giveaway is open internationally, but if you live outside the U.S., you’ll have to pay the shipping cost for sending your impressions back!
**links are affiliate links that will benefit this blog.

