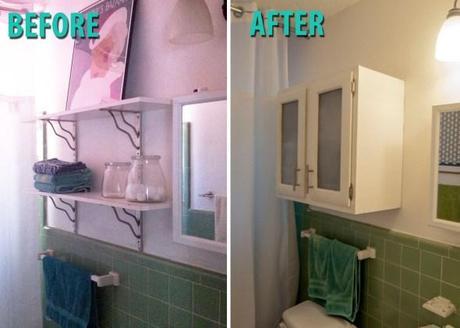
Lots of design-oriented DIY blogs (this one included) will have you believe that choosing to makeover/renovate/repair/assemble/disassemble a home improvement project yourself rather than enlist the help of the pros is the usually the only acceptable way to function. Successfully do/make something on your own and you will have a free pass to walk around with an entitled sense of superiority, like ordering a salad at a restaurant when everyone else gets the steak. Yes, do it yourself and you shall be handsomely rewarded. Not so, says I.
The pride I feel about my recent bathroom cabinet makeover is about on par with what I imagine it feels like to discover you’ve made the 7th grade C team in volleyball. (I say “imagine” because I definitely don’t know what it feels like to practice so hard to prove yourself to the volleyball coach at Calhoun Middle School that you throw up in the locker room trash can, subsequently “earn” a spot on the bench with the other athletically challenged girls and then, humiliated, quit and pretend like you never cared about volleyball in the first place and would rather, of course, focus on your dancing. No, I don’t know what that is like.) What I’m trying to say is, I wish I had just dropped the dollars to buy a cabinet with some actual gusto than try to refurbish a cabinet that would end up only being slightly better in quality than child’s macaroni art.
Here’s the Reader’s Digest version. I don’t really like our bathroom layout, as it is very small and boring. But then I saw a photo of similarly designed room and thought, Hey, I can do that.
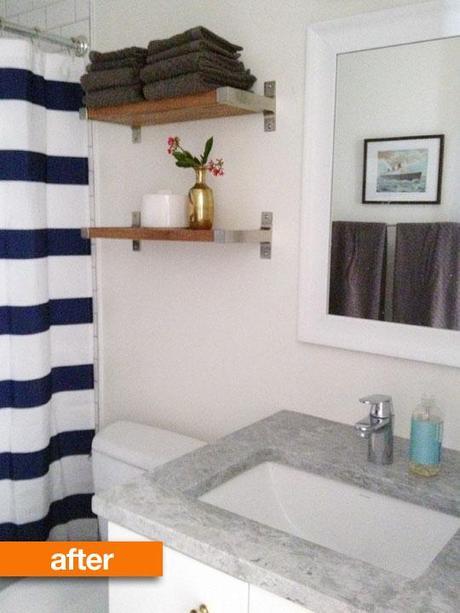
I liked how it felt modern but also cozy with the wooden accent on the shelves. I knew, however, that I needed more storage than what shelves as dinky as those would provide. I wanted something with some girth, like the Akurum wall cabinet from IKEA.
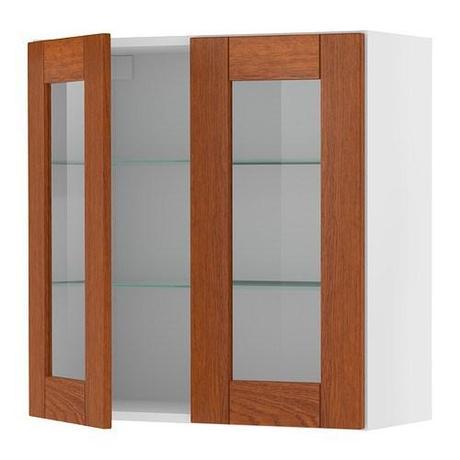
I liked that it kept the wood accents, but didn’t shriek of woodsy charm. Because our bathroom is small I liked the idea of being able to see inside the cabinet, which may keep that omg-the-walls-are-closing-in-on-me feeling at bay. Yes Kelsey, this will do nicely. Flash to price tag: $207. Pfffftttt. Come on Ikea, be real. I can make a badass cabinet myself for half that. Well, yes and no. I didn’t think I would actually be making any cabinet, per se, but I know my way around the Restore and was sure I could modify something to resemble as much. That, I did do, and $15 got us a cream colored cabinet in decent shape that would fit the space over the toilet poifectly.
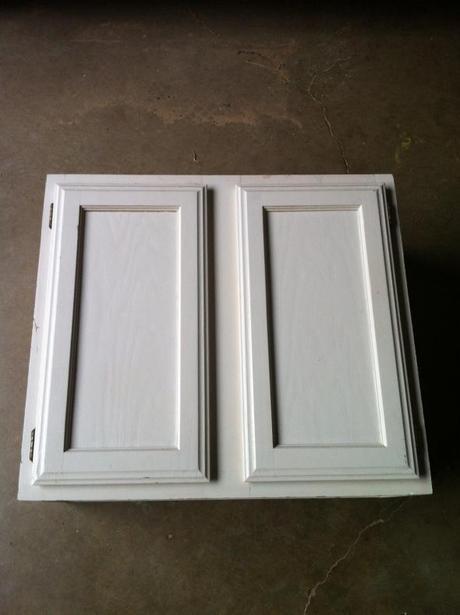
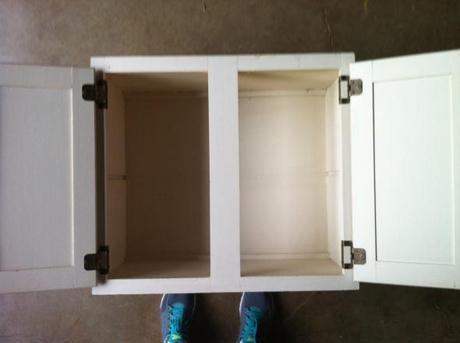
Alright, OK, good. I could do this. But what first? After removing the hardware I figured I should start this weekend renovation by removing the panels in the doors. I still wanted a cabinet with translucent doors, so that interior panel would have to go. I watched more Youtube videos than I would have ever hoped to on the subject of removing interior cabinet paneling. I’ll tell you, there are a lot of schools of thought on the best way to do this. Some people say you need a jigsaw, others say not. Honestly I can’t even remember what all of the methods were but they were all time intensive and required tools that we didn’t have, so I got creative. This is code for abandoning all reason and just going for it. I used Heath’s whatchawhosit tool (he says its a dremel but I am not fooled) to try and trace the paneling and create a perforated edge around the interior of the cabinet that I could then gently push outward.
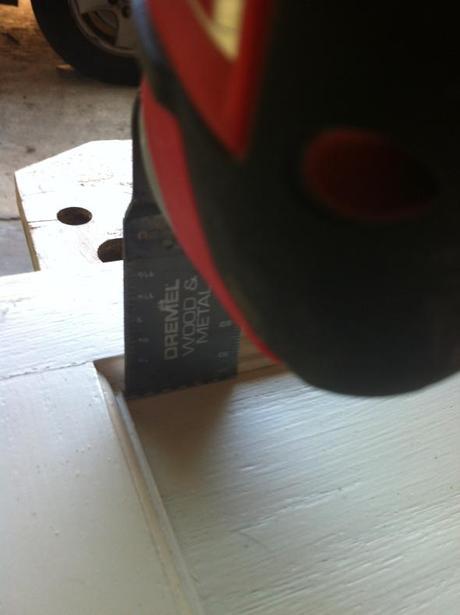
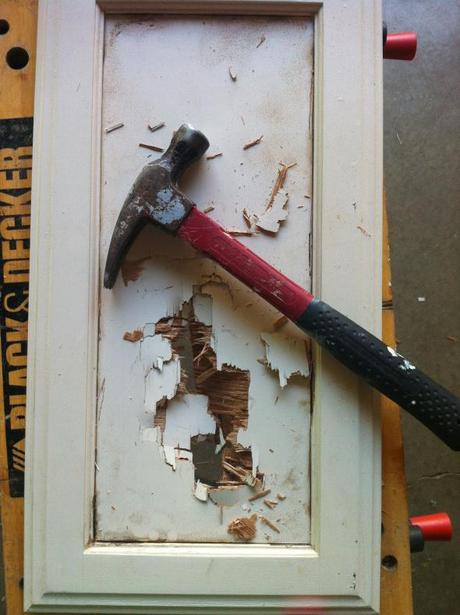
This maybe would have worked if it weren’t for two things: one, this was also a timely process and the vibration of the whatchawhosit was making my hand feel very funny; I did not like this, and secondly, the heat generated from trying to cut through wood was creating a burning smell which I also did not like. So I decided to abandon all reason a second time and just go to town on the panel with a hammer. Believe it or not, this is not where my refurbishment experiment went astray. In fact, forget what everyone else tells you about removing panels from cabinet doors and just beat the crap out of it with a hammer. THIS ACTUALLY WORKS. And, bonus points, it’s also kind of cathartic.
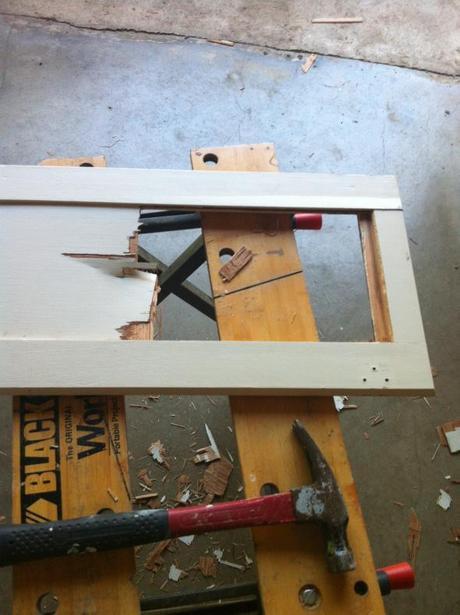
Then I spent a a good 3-4 hours stripping, sanding and staining/painting the doors and cabinet bask and then letting it all dry. So far, still on course.
When I woke up the next morning to check everything out, I was really disappointed to find that I hated how the stain looked with the woodgrain of the cabinet doors. It was not modern and glamorous but instead the grain was very 1990s country kitchen. Nothing against a good country kitchen (my teenage gal pals who remember the critical role Linda Tonn’s kitchen played during our formative years will vouch for it) but it’s not the look I was after. Expletive. I thought on it for a minute and then, in the interest of my impatience, decided to just paint the doors white to match the rest of the cabinet. I would find another way to bring in my beloved wood accents. This could have been a successful recovery tactic except that the paint didn’t take to the stain, and I had to strip, sand and paint the cabinets all over again. This is a bigger downer than pouring a bowl of cereal only to find you are out of milk. The worst. Not only was this taking FOREVER but my hands were sore from contact with the chemical in the stripping agent (I know, I know mom, I should wear gloves) and I was also all shaky from hours spent holding an electric sander. I was beginning to hate my bathroom, the Restore, IKEA, paint, stain, design blogs and DIY books, everything. How dare you give me confidence, world?
Once the paint dried, on DAY 3 (ideally, the cabinet would have been hanging from my wall like a prized elk’s head by the end of Day 2) we started the process of inserting the glass panels. We bought a large piece of glass ($20) from Home Depot and this glass cutting kit because, hell yeah, we are DIYers and no project is too difficult for us to master. Let me say, this glass cutting kit was a piece of shite. We followed directions to a T and it flat out didn’t work. The glass broke, the kit was crummy, we were out $32 and had bloody fingers. On trip two to Home Depot we got plastic instead (~$15), which was easier to cut than the glass and didn’t result in blood droplets on our driveway.
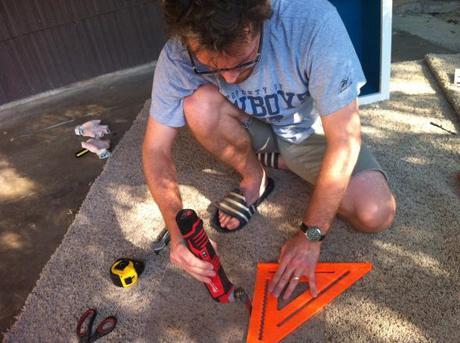
Switching to plastic after a debacle with our glass-cutting kit.
We successfully glued the plastic panels into the cabinets, but it just looked bad because, when you get down to the science of it all, cheap plastic does not equal glass in quality or shine. I decided to frost the clear inserts ($3) because I thought it would be a classy move and perhaps make up for the downgraded quality of the plastic, but in the end the doors didn’t beam of frosty elegance. Instead it was like someone sprayed cheap frost-in-a-can unevenly over a scratchy surface, because that is precisely what we did. Once we screwed in some modern handles ($6) and hung it up on the wall, I officially knew then what I suspected all along. This project was more disappointing than Star Wars Episode I, though admittedly a cheaper mistake to make.
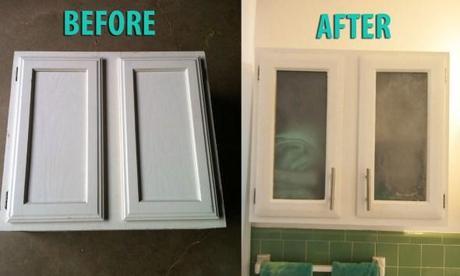
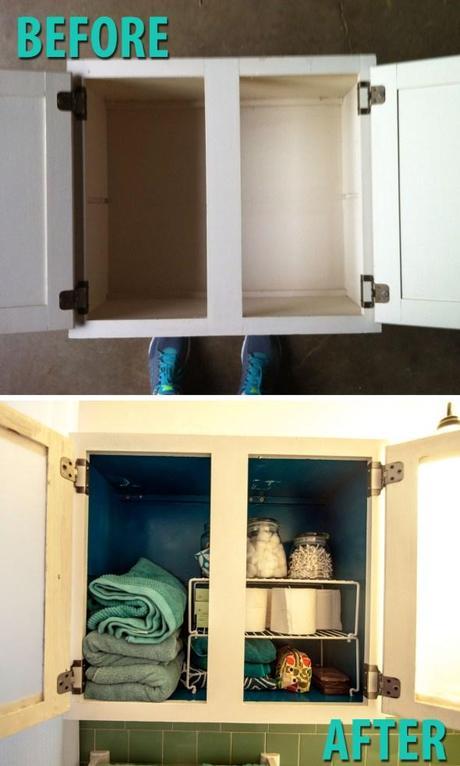
It might be the most unimpressive, least dramatic transformation in Doodle House history. Not only did the cabinet makeover itself turn out pretty sub standard and arguably worse off than the original cabinet was, but it makes such an uninspired difference in the room it may as well be invisible.
