I don't remember a time that I didn't read Cindy's blog. She's been a regular source of inspiration to me, with her mouth-watering recipes, amazing food styling, and enviable photography skills. The cherry on top is that she's a genuinely sweet soul who always engages her readers. I'm so happy to call her a blogging friend!
 Hello! I’m Cindy and I blog over at Hungry Girl por Vida. I am so excited to share this sweet recipe with you, as Naomi and Co. welcome their new gem of a girl into the world. I have yet to earn the title of Mama, but as a wife, daughter, sister, and aunt, I do know a bit about the joy of growing families (my 2nd niece will be born this September!). There are few things as worthy of celebration as new life and in my opinion—every celebration needs a fitting cake.
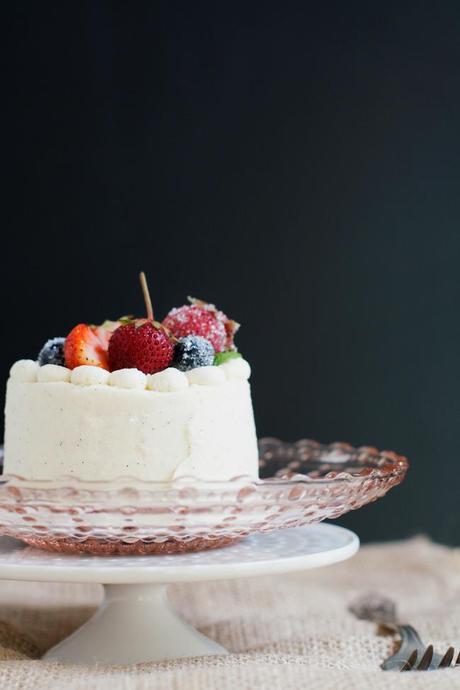
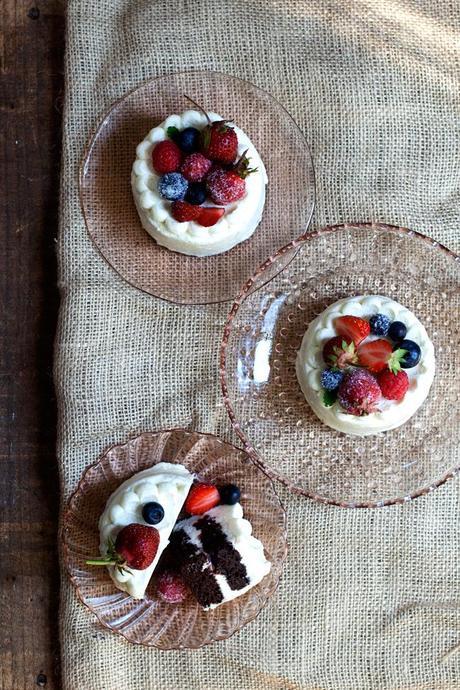
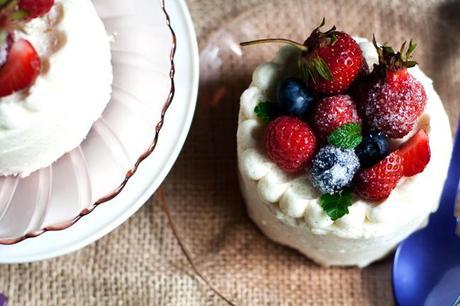
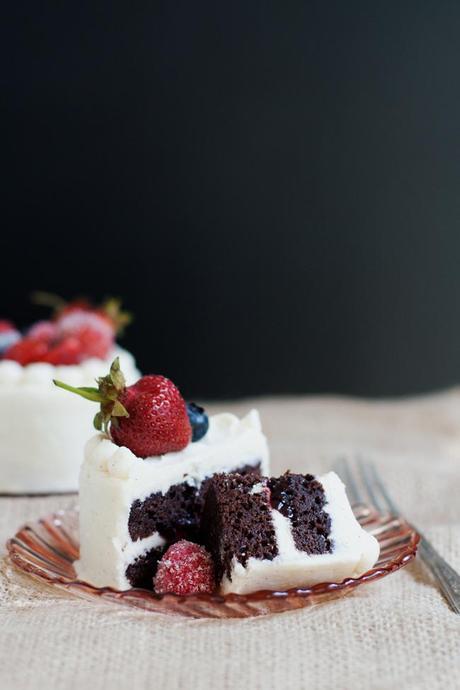
 When Naomi asked me to create this post, all she required was something girly…and goodness, can I do girly! I waffled between going crazy with colored frosting and sprinkles or going a more au natural route, but when I visited the farmer’s market the first local berries of the season were making an appearance—fresh, vibrant, and new. So fitting for the task at hand, I think. Delicate, tiny berries always make me swoon, so I changed my plan and reworked it to showcase those late-spring gems. This cake is a simple chocolate pound cake, frosted with whipped, vanilla bean buttercream, and sandwiched with my favorite jam. I opted to sugar some of the berries for a little sparkle…because, really, there’s nothing girlier than a little glitz!


Chocolate Pound CakeAdapted from this post
These cakes are little guys, about 2.5 inches in diameter. To get this shape, I baked the cake in an 8x8 baking pan, cooled the cake, and cut out circles with a biscuit cutter.
- 1 cup + 2 Tablespoons sugar
- 1 cup all-purpose flour
- 1/2 cup dutch-processed cocoa powder
- 3/4 teaspoon baking powder
- 1/4 teaspoon salt
- 6 Tablespoons vegetable oil
- 2 large eggs + 1 egg white, cold-beaten well
- 1 teaspoon vanilla extract
- 1/2 cup buttermilk
In a large bowl or the bowl of a mixer, combine sugar, flour, cocoa, baking powder, and salt, stir to combine.
Add the oil, egg, and white. Mix on medium-high for 2 minutes. Scrape bowl as needed. Combine buttermilk and vanilla. Add to the batter, mix for 2 minutes, scraping as needed. Scrape the batter into pan.
Bake the cake in the oven for about 25-35 minutes (it may take a little longer in the tube pan). Cool 10 minutes in the pan before unmolding to cool completely on cooling racks.
Once cooled completely, cut out circles of cake, you should have enough cake for 4 mini cakes. Save the cake scraps for snacking or another recipe (cake pops?!)
Vanilla Whipped ButtercreamAdapted from this recipe
- 2 sticks (8 ounces) unsalted butter, room temperature
- 1 cup sugar
- 1 vanilla bean, seeded
- 1 cup whole milk
- ¼ cup all-purpose flour
- pinch of salt
Meanwhile, rub vanilla beans into sugar until fragrant. Using a mixer, beat butter until creamy, add vanilla sugar and beat until light, fluffy, and pale in color—4-6 minutes. With the mixer on low, add the flour paste mixture, increase the speed to medium and beat until creamy and fluffy—3-5 minutes. Use immediately.
To assemble:
- 4 teaspoons jam (I used Bonne Maman 4 Fruits)
- 1 batch whipped buttercream
- 4 mini cakes
- piping bag and plain round tip (a tip larger than 4 is nice for this task)
*To sugar berries, simply brush a bit of beaten egg white onto each berry, roll in sugar, and set aside to dry.
 The banner for the Thank Heaven for Little Girls series was created by the talented Oana Befort.
