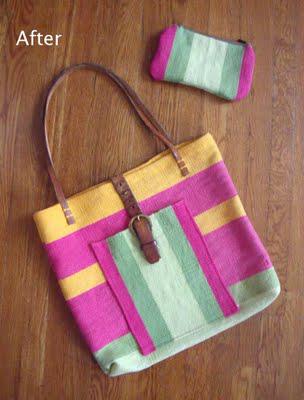
 Materials-3' x 4 1/2' woven rug (preferably cotton, it's easier to sew!)-used leather belt-1o" zipper
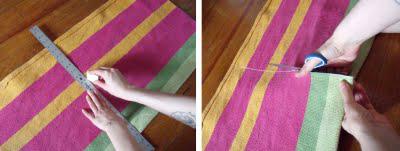
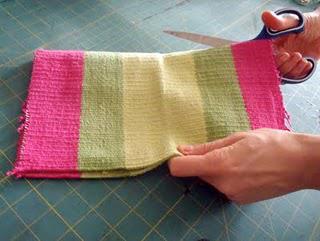
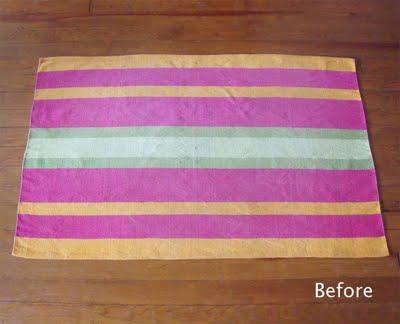 PreparationStep 1: Start by folding the rug in half, so it is more wide than tall. Draw a straight horizontal line from top to bottom, 21" from the side and cut directly on this mark with a pair of scissors. The fold should be at the bottom.
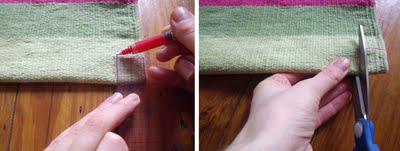
 Step 2: Draw a 1" by 1" square in the two bottom corners and then cut out.
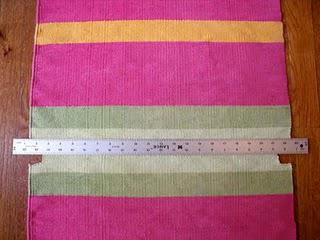
 When you're finished, unfold your material and it should look like this.
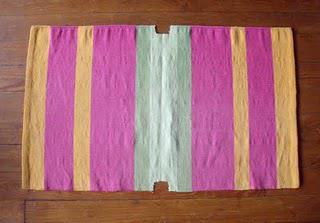 Step 3: From the remaining piece of rug, measure and cut a 12" x 10" rectangle. This piece will serve as a large front pocket. Use one of the finished edges of the rug at the top of the pocket to save you from extra sewing later on.
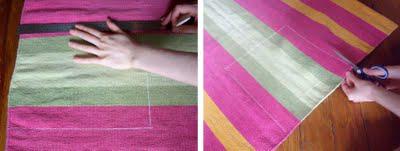 Now you're ready to make straps and a closure from your recycled belt.
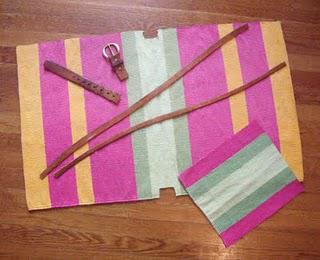
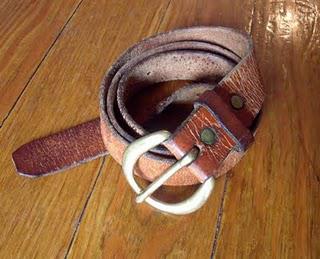 Step 4: Measure 10 3/4" from the tip of the belt and cut. From the buckle end, measure 3" and cut. These two pieces will form the bag's closure.
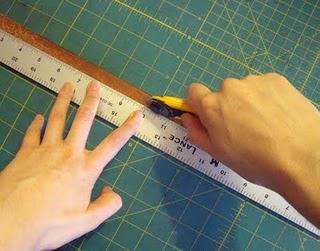
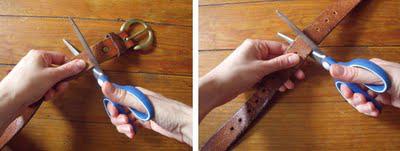 Step 5: Split the remaining strap into two pieces using a ruler and blade. These two pieces will be used as the bag's handles.
 When you have finished cutting everything out, you'll have these six pieces :
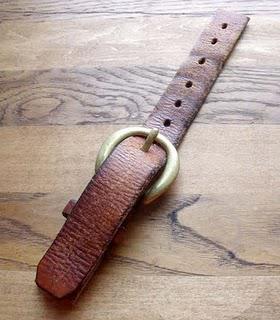
 AssemblyAttach The Buckle Closure To The Pocket.Step 1: Thread the leather tip and buckle.
 Step 2: Lay the pocket over the body of the bag in the approximate position it will end up. Then place the buckle over the enter of the pocket.*The buckle will be covering enough of the pocket for it to be securely anchored. The leather from the tip should extend at least an 1 1/2" over the the bag's top edge.Step 3: Once it is in the spot you want, place a small piece of double stick tape to keep it from shifting out of position.
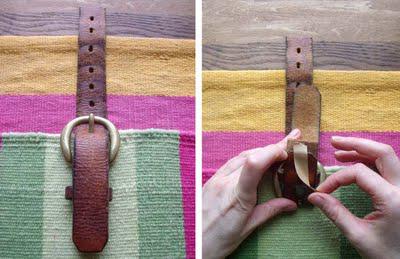 Step 4: Unbuckle the leather tip and set aside.
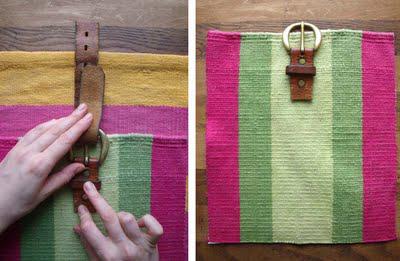 Step 5: Using a punch and mallet, make two holes near the bottom two corners of the leather.
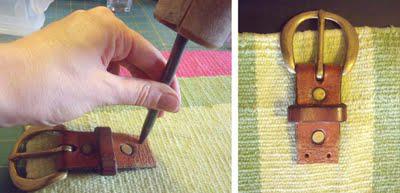 Step 6: Fasten the leather piece to the bag by setting rivets into both of these holes.
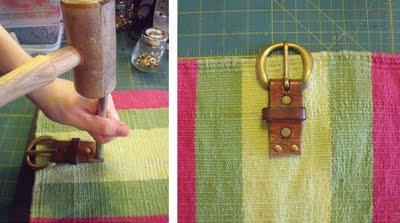 Attaching The Pocket To The BagStep 1: With the good side of the material facing up, start by snipping off all four corners and then laying down strips of double stick tape along the two sides and the bottom. (For now keep the paper on the backside of the tape.)
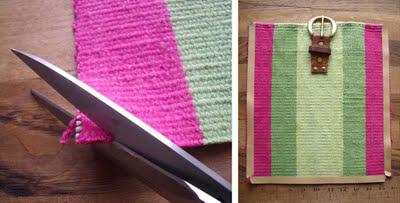 Step 2: Place ruler over the bag. The top edge of the ruler will line up with the two top edges of the square notches you cut out. This will serve as a visual guide to prevent you from placing your pocket too low.
 Step 3:Remove the paper from the piece of tape at the bottom of the pocket and flip face down (use the ruler to help you determine whether you positioned it straight).Step 4: Fold back the the two side edges.
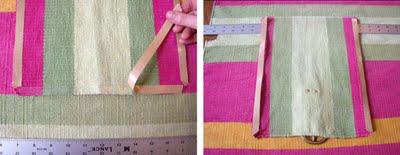 Step 5: Remove paper from the rest of the tape and carefully flip backwards onto the bag. Gently beat around all of the taped sides with a mallet to make the folded edges more crisp.
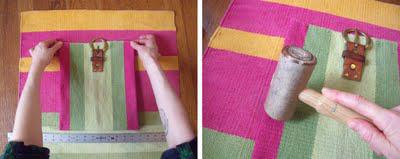 When you have finished it should look like this:
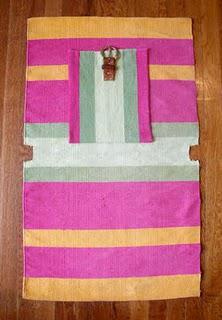 Sep 6: Sew the along the bottom and sides of the pocket.
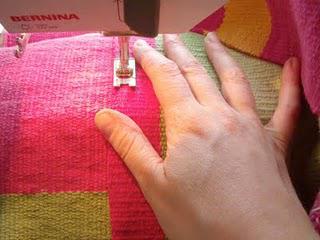 Attaching The Leather StrapStep 1: Now that the buckle is permanently in place, rethread the tip through the buckle. Once the alignment is straight, tape the end over the edge at the top of the bag and press down firmly.If you chose to anchor the strap on the bag's front it will be attached to the interior front wall. If you'd like this closure to to go over the bag's top, you will anchor in the the outside back wall.
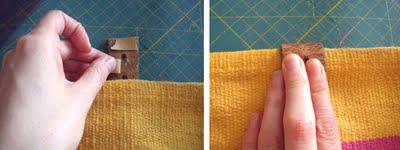 Step 2: Make a hole through the leather strap and bag with a leather punch.Step 3: Securely set a rivet through the hole that you just punched.
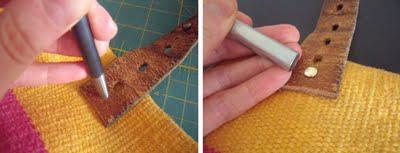 Attaching The HandleStep 1: Use an awl to pierce 4 holes (2 in each end) in each of the straps set aside for the handles.
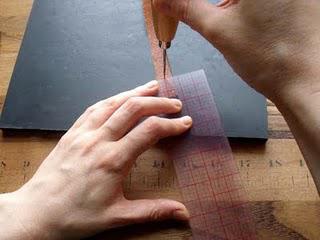 Step 2: Make a mark 4 1/4" away from each side on the outside front of your bag and place the end of a strap over each of the marks.
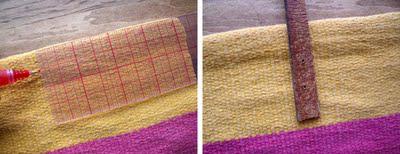 Step 3: Sew securely into place, going from the sides through the center.
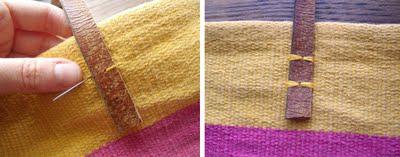 Repeat steps 2 and 3 on the outside back.When you've finished these steps your project will look like this:
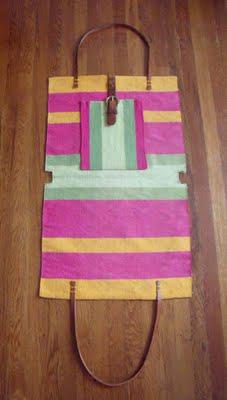 Sewing Up The BagStep 1: Fold the bag in half again, as it was when you began the project, this time with the good sides facing in, and binder clip together to keep it from shifting.Step 2: Sew down each of the two sides, but NOT the notched corners.
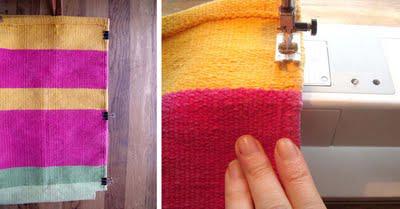 Step 3: Now pinch open the notches so they intersect the side seams perpendicularly. Sew each straight across.
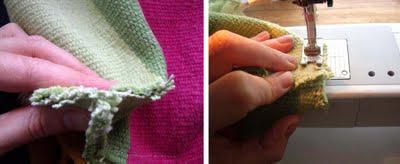 Step 4: Flip right and run your fingers along all of the seams you've just sewn to extend the bag into its full shape.The PouchStep 1: Cut out a 10 1/2" x 12" rectangle from your left over material. Fold in half longways and cut on the fold.
 Step 2: With the zipper facing right side up, place a piece of double stick tape down one of its sides. Lay face down on the top of edge of one of the halves you just cut.
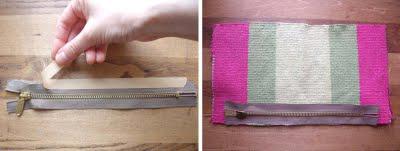 Step 3: Sew along the top edge.
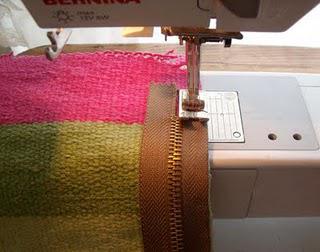 Repeat Steps 2 and 3 on the other side. When you've finished it will look like this:
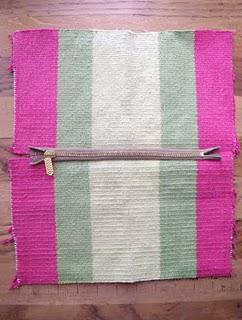 Step 4: With good sides facing one another, begin sewing where the zipper teeth end on one side and sew all around the pouch until you reach the zipper teeth on the other side.
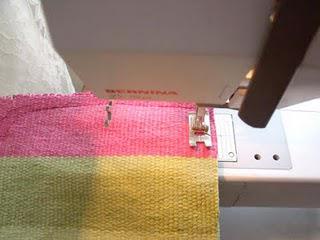 Step 5: Turn right side out and you're done!
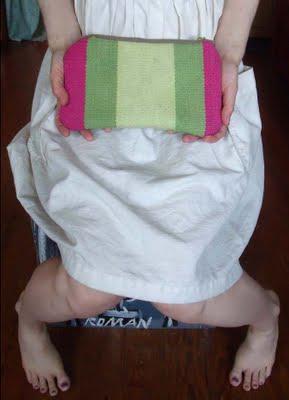 Don't be fooled by all of the pix. These are super easy to make. Also, there is enough material for making up to 2 or 3 bags, even more if you choose not to follow my lead of making them giant beach bag size. The additional pouch uses some of the remnants and takes about 10 minutes.TOOLS*ruler*blade*scissors*awl*needle and thread*leather punch*rivet setter and pedestal*mallet*cutting board*sewing machine

