 Hi Curds and Whey readers! I am thrilled to be unveiling my latest sewing project here at Curds and Whey! I love Holly’s blog and am constantly checking out her latest projects. I’m seriously loving her onesie and matching headband tutorial…adorable!!
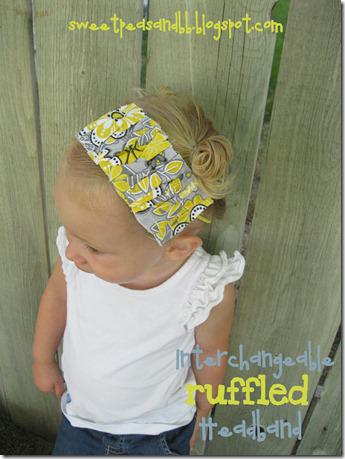
 A little bit about me…I’m Briana from the blog Sweet Peas & Bumblebees. My twin sister and I LOVE to blog about all things crafty and thoroughly enjoy spending our time creating and trying new recipes! We even have a linky party on Wednesdays where you can show off your best recipes and latest craftiness! We totally love seeing everything you all come up with and would love if you would join us!Now for my tutorial…Interchangeable Ruffled Headband
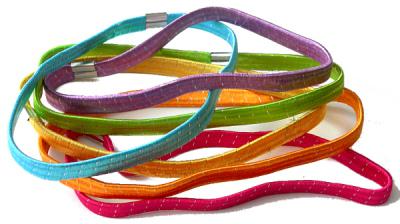 My daughter’s hair is finally getting long enough to do some fun hairdos with, but she also has those tiny little fly-aways that aren’t quite long enough to reach her ponytail. So, we’ve been utilizing a headband to help. But being the crafty momma I am, I had to jazz up the little elastic headbands we’ve been using! =)I went looking for ideas on Pinterest (yes, I’m a Pinterest junkie) and found some super cute ideas from the Funky Polkadot Giraffe. Using her ideas for her ruffle headband and her ruffle bookmark I made my own version.*** Before I begin, I just wanted to point out that I am a beginning sewer, so don’t shy away from this project because it involves a sewing machine. Seriously, if I can do it, you will definitely be able to too!! =) ***You’ll need:** Scraps of fabric** Scraps of felt** Sewing machine** Elastic headband** Seam ripper**Glue gun** Velcro** Iron
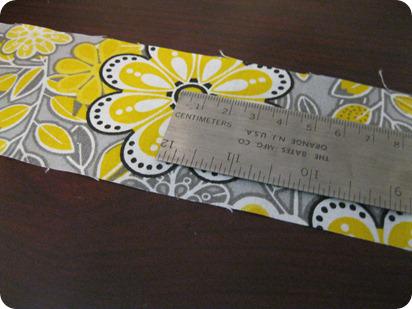 Start out by cutting your fabric to size. My fabric strip was 12 inches long and 2 1/2 inches wide.
 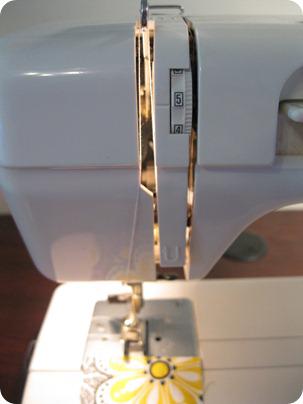 Adjust your sewing machine to sew a long stitch with high tension. Then, sew directly down the middle of your fabric strip.
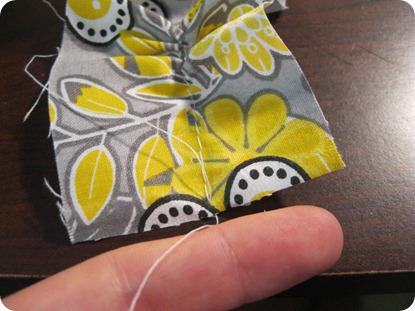 **Before you go any further, put your tension back to normal so you don’t forget when it comes time to sew again!**Pull on the bottom thread of your stitch and your fabric will start to gather. Keep pulling and moving the ruffles across until they are evenly distributed. {I heart ruffles!!} Now, layer your ruffled fabric on top of your piece of felt cut to 2.5” x 5”.
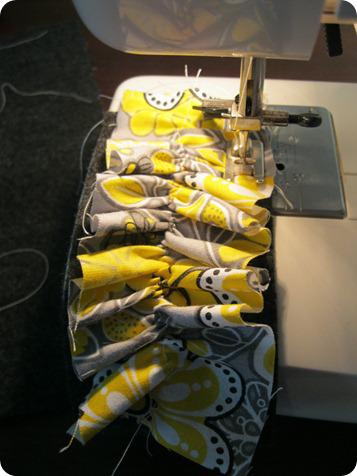 You can either pin the felt to the wrong side of your fabric ruffle, or you can hold onto it as you go. I didn’t pin it because I wanted to adjust the ruffles as I went. Using the edge of your presser foot as a guide, sew all around the ruffle, making sure to keep the ruffle and the felt aligned if you didn’t pin it like me!
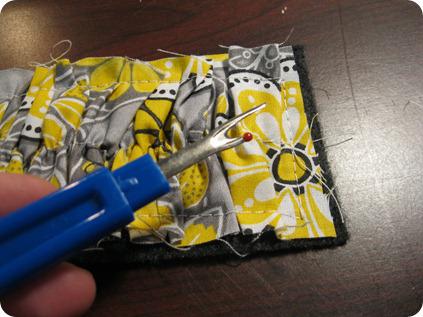 Seam ripper time! Carefully remove the stitch down the middle.
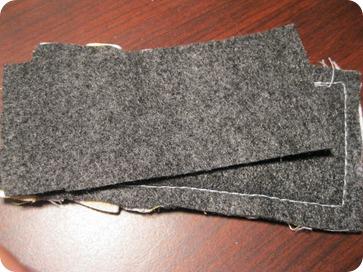 Now it’s time to turn your cute ruffle into a headband! Turn the ruffled piece over and cut another piece of felt to match the smaller rectangle you made stitching around the edges.
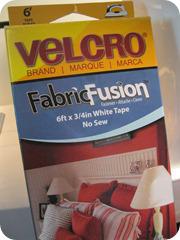
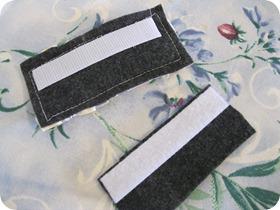 Using velcro (I found FabricFusion velcro that just irons on…love it!) attach a strip to the top of both pieces of felt.
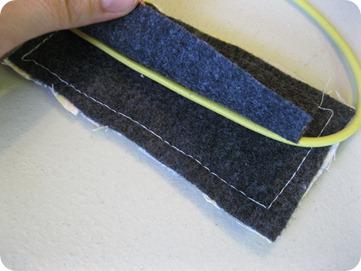 Match your two velcroed felt pieces together. Now, take your headband and use it as a spacing guide. Glue the open end of your felt making sure to leave a small tunnel down the middle for your headband. Just be careful not to let your glue get too close to the middle or it will get on your headband.
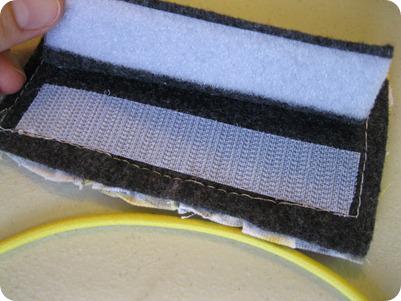 After your hot glue is dry, you can open up your opposite (velcro) side. You now have a little tunnel perfect for your elastic headband.
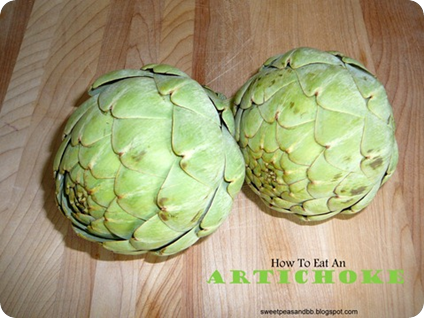
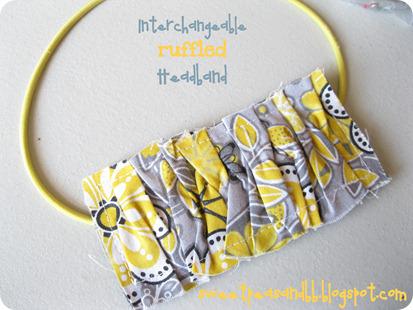 Thanks for letting me share my tutorial here today!Come visit me at Sweet Peas & Bumblebees to see some of our most popular posts:How To Eat An Artichoke:
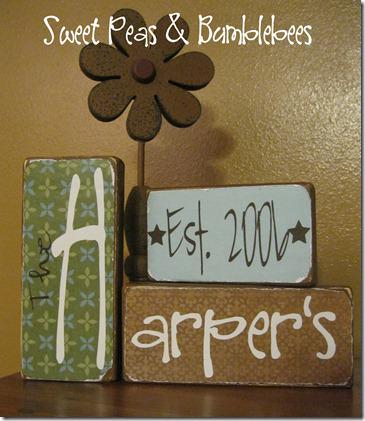
 Family Name Stacker Blocks:
 Painting Rainbows: