In keeping with the Halloween spirit I decided to make some spooky Halloween cookies!
Ghosts both cute and scary are on the menu as well as bats, pumpkins, some of which have mutated into living beings and Frankenstein’s creations, one of which got a little peckish during photos!
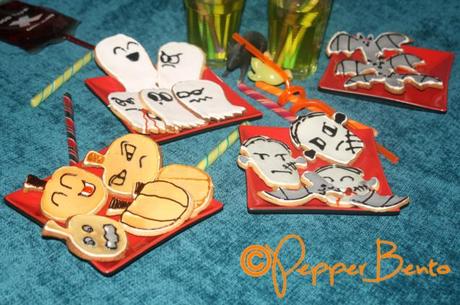
Now, this was my first time ever decorating cookies so be gentle with me!
I think they came out really well and tasted just that little bit special so I will certainly be using this method again.
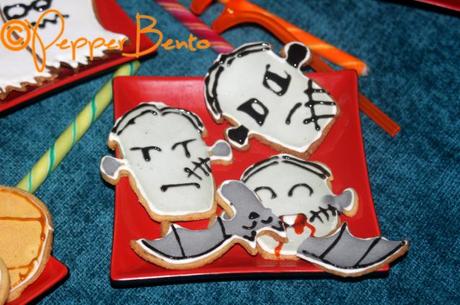
Now, to let you in on how to make your own!
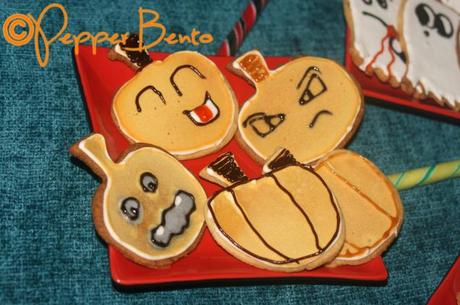
First of course you will need some Halloween themed cookie cutters though you could get really creative with round or square cookies too!
You will also need a food writing pen or tiny nozzled bottle.
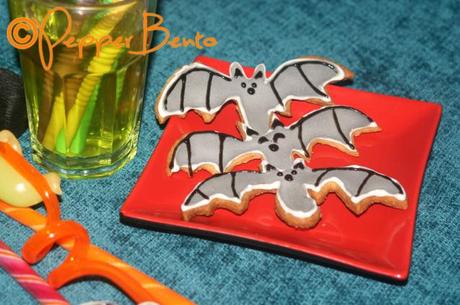
For these cookies I used my Simple Shortbread but if you have a recipe you’d prefer to use, go ahead, though I would recommend a plain cookie without fillings.
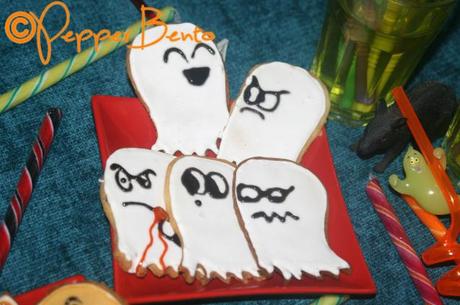
Royal Icing Decorated Halloween cookies
Makes approx 20
Ingredients
Royal Icing
Food colourings of choice
500g icing sugar (not all may be used)
2 pasteurised egg whites
1 teaspoon lemon juice
Water
Cookies
Dough from Simple Shortbread or your preferred recipe
Extra flour for dusting
Method
Between two pieces of floured greaseproof paper, use a rolling pin to roll out your cookie dough until half a centimetre thick.
Cut out cookies, wiggling the cutters from side to side to free them.
Using a palate knife, transfer the cookies to a baking tray lined with greaseproof paper.
Bring the remaining dough together and roll out again, cutting out shapes then rolling any remaining dough out again until all used.
Bake in a 160oc oven (if using simple shortbread) until slightly golden, the baking time will depend on your cookie cutter sizes!
Leave the cookies to cool on the baking tray for 5-10 minutes before transferring them to a cooling rack.
When the cookies are fully cooled, add two pasteurised egg whites to a large bowl and add in the lemon juice.
Sift a little of the icing sugar into the mixture, whisking thoroughly.
Keep sifting in icing sugar a little at a time, whisking thoroughly before adding more until you can hold up your whisk and see soft peaks, not too stiff but can hold it’s shape as a peak for a few seconds.
Transfer a quarter of this mixture into another bowl and set aside covered with cling film.
This will be your outlining icing, you may colour this as you wish.
Now, in the original bowl, keep adding icing sugar in even smaller increments than before, until it creates peaks on your whisk that are stiff and could hold there shape for a long time.
To this, add a tablespoon of water at a time, whisking, until the mixture becomes liquid and runny.
Divide this mixture into bowls, depending on how many icing colours you want and stir in a few drops of food colouring to each according to your needs.
To make a white icing, leave the icing uncoloured.
To make an orange colour, mix a little of both yellow and red food colourings.
Set the coloured icings aside.
Transfer the soft peak outlining icing made earlier into a food writing pen and squeeze it out in a line on to your work surface or spare piece of greaseproof to make sure it is easy and ready to work with.
Draw the icing on to the cookie around the outside, this will keep the runny icing within these lines later so if you want more than one colour runny icing, draw lines where you would like the one icing to stop and the next to begin.
Once the outlines are complete, check with the very first cookies you iced to see if they have dried.
The icing will be hard so if not, leave them to dry a while longer.
Once dried, take a cookie and using a small spoon, carefully add a little of the runny icing of your choice into the centre of the hole.
Let the icing run naturally, tilting the cookie if needed to fill in all of the gaps, don’t add too much as you don’t want to overflow above the lines but if all is not covered, add a few drops extra until it is.
Bare in mind you can always add more but you can’t take away in this instance!
When all of the cookies are filled with coloured icings to your liking, leave to dry overnight, covering them with foil scrunched up at both ends to heighten it so the foil is covering but not touching any of your precious work!
When dry, add any finishing touches with a nozzled food writing pen smaller than the outlining nozzle, using the outlining icing in colours of your choice!
Voilà! A fun project with delicious results that look so much better than most things in the shops!
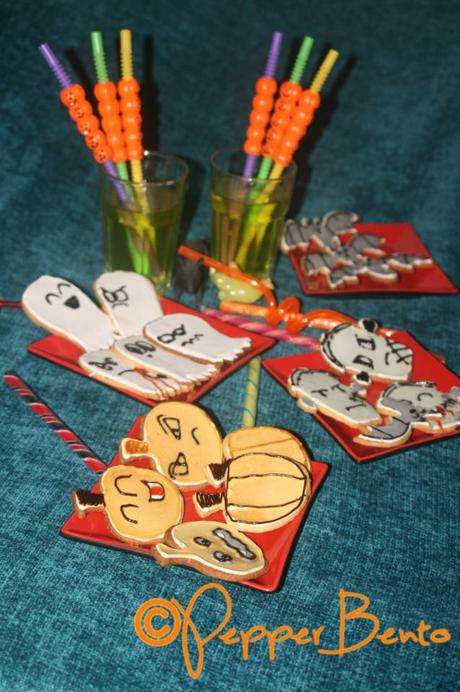
Happy Halloween!

