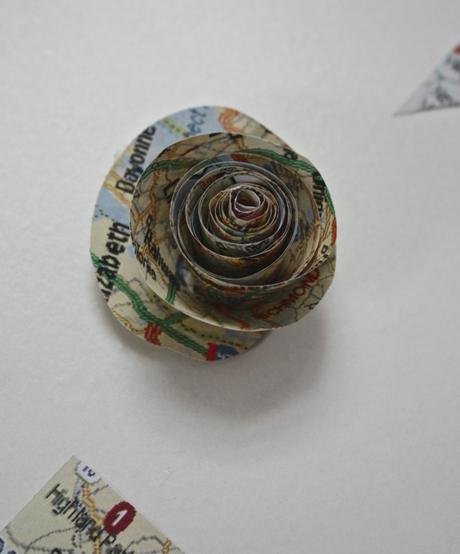
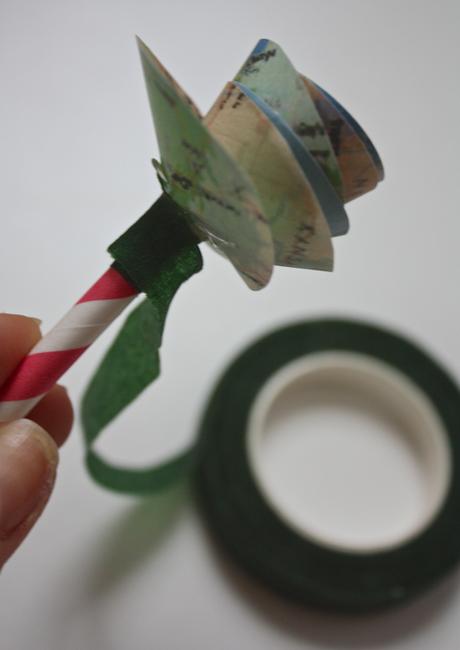
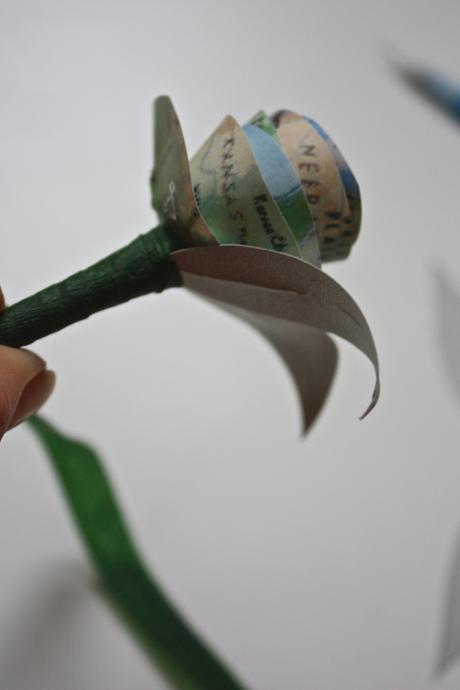
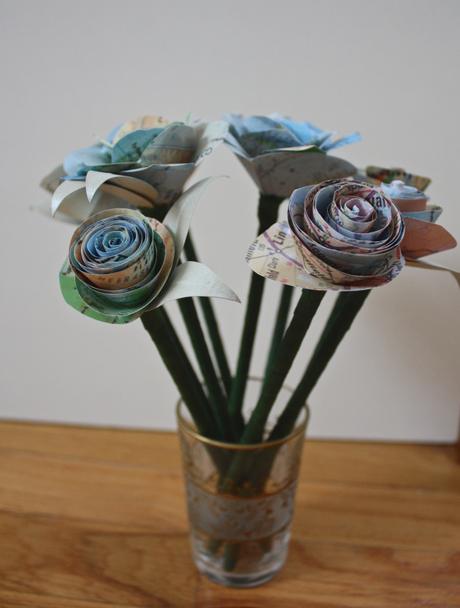
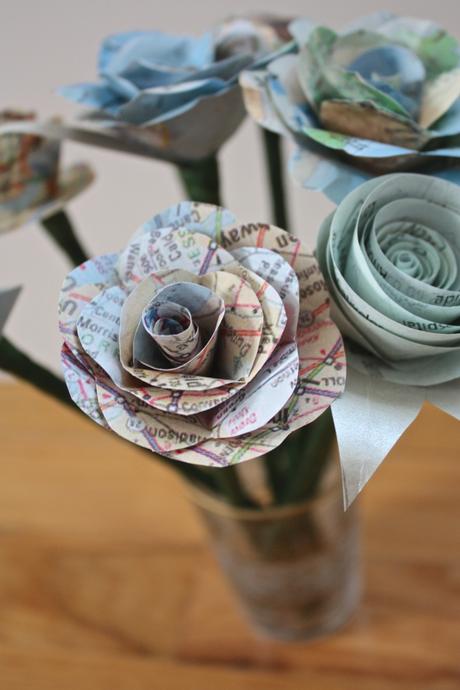
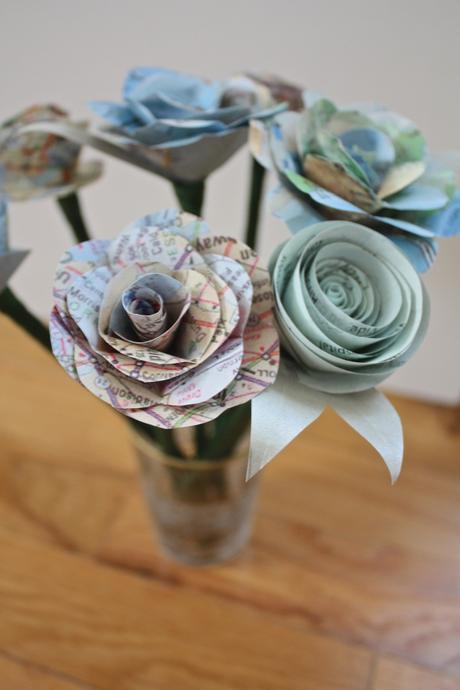
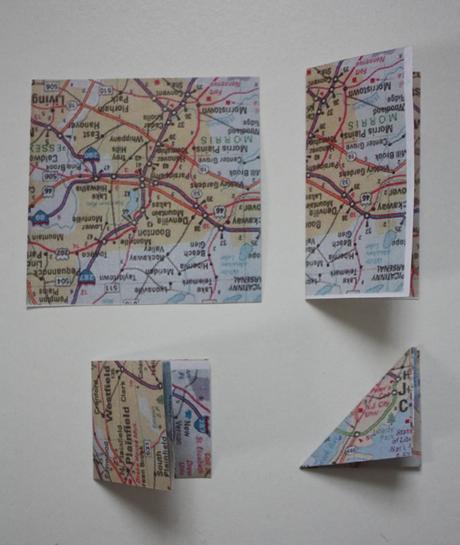
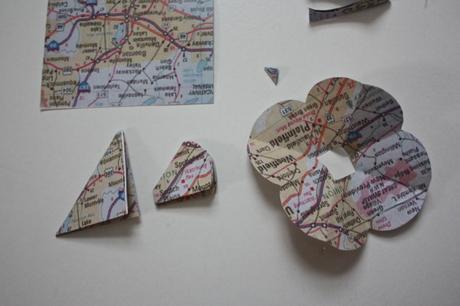
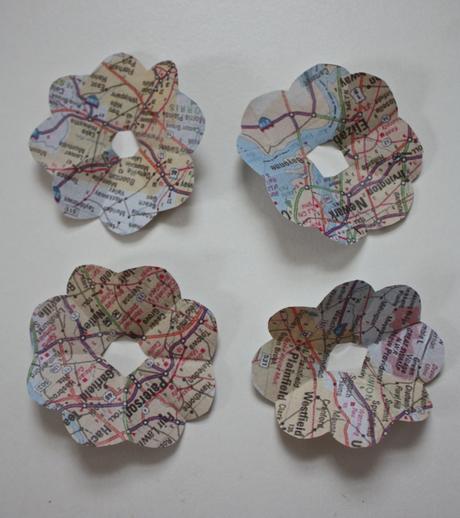
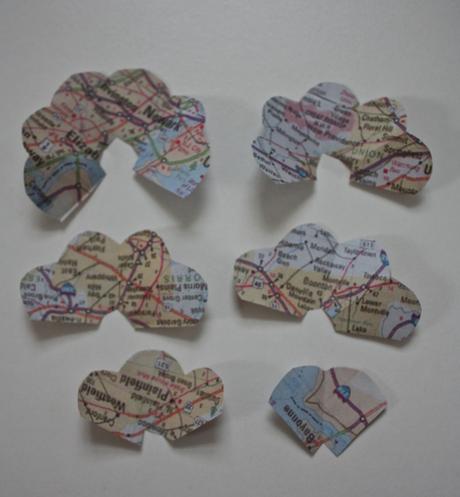
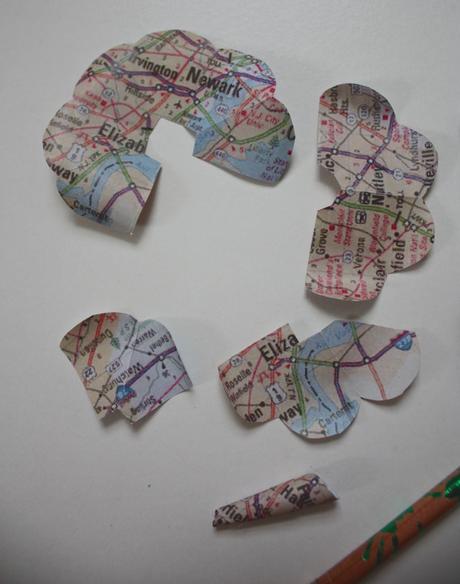
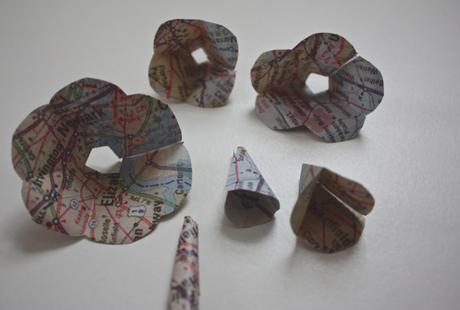
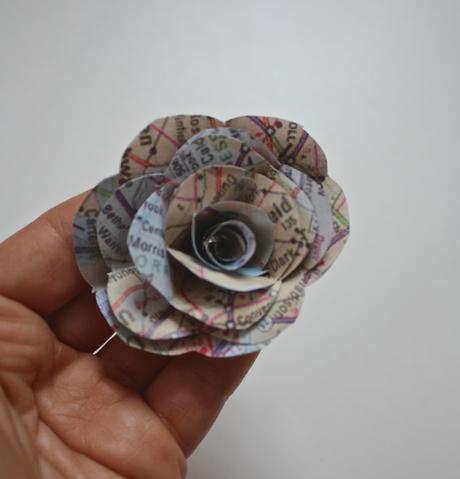
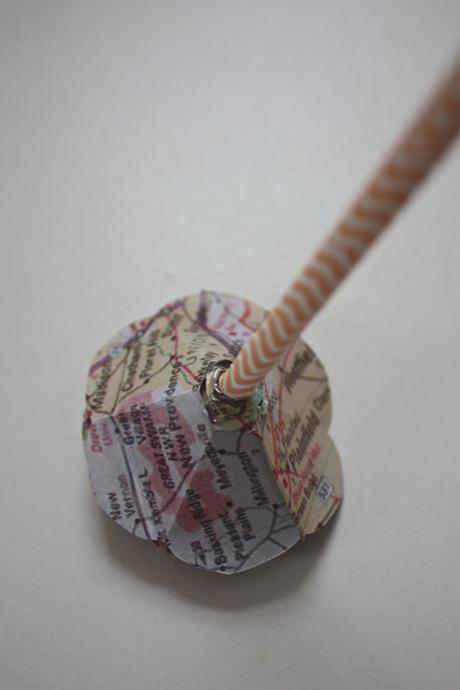
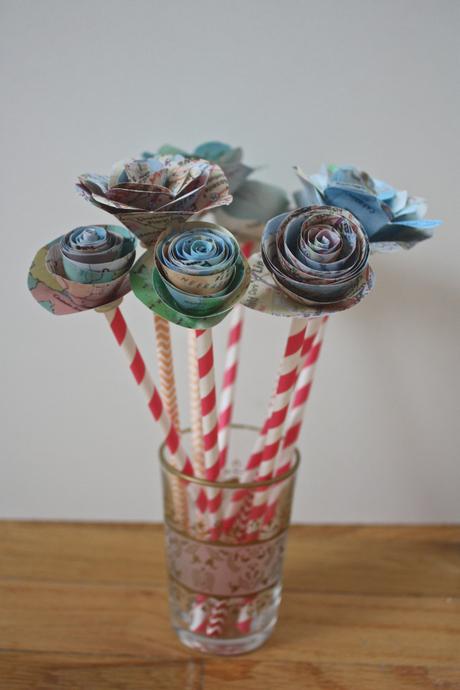
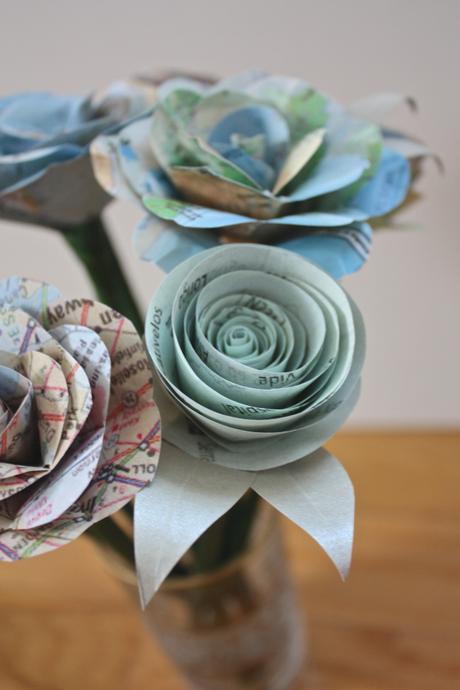
 For my cousin’s wedding guest book table, they decided to create a travel themed table with a mini suitcase for cards, a pretty globe for guests to sign, and a small bouquet of paper roses made from maps. So I gladly volunteered for this task, as I’ve been wanting to work on my paper flower skills. I’ve made peony flowers from coffee filters before for a styled shoot and thought they were lovely, so when I was doing my research on which DIY rose I wanted to do, the bride and I decided on two styles. One is simply rolled to achieved more of a spiral looking rose, while the other, my favorite, had multiple petal shaped layers that gave a fuller, more rose-like shape.
 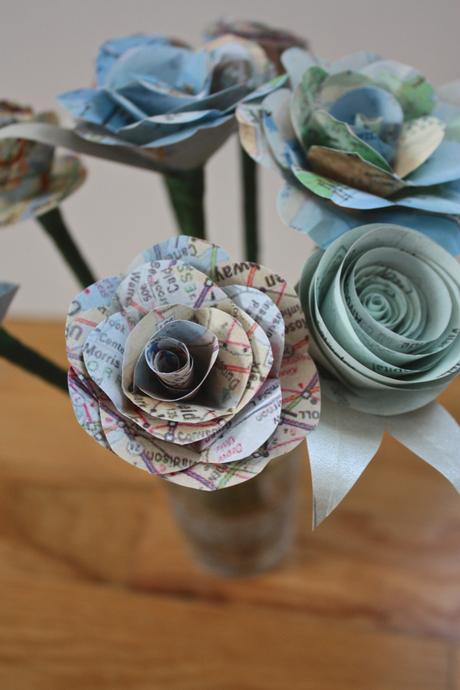 I even took it a step higher by printing these maps double-sided myself with maps of their New Jersey Hometowns, as well as the bride and groom’s native countries of Portugal and Mexico.
It took me a trial rose that practice the right technique, but once you get through the first two you’ll get the hang of it, and realize they are so simple to make. I do think that although the larger buds are prettier, they do take more time and effort to make than the much simpler, but cute spiral roses. You can use any pattern or color of paper, that will be the hard part when making these paper roses. Have fun using different colored papers and sizes to get different looking flowers. They are a great DIY way to bring a personal detail to a wedding.
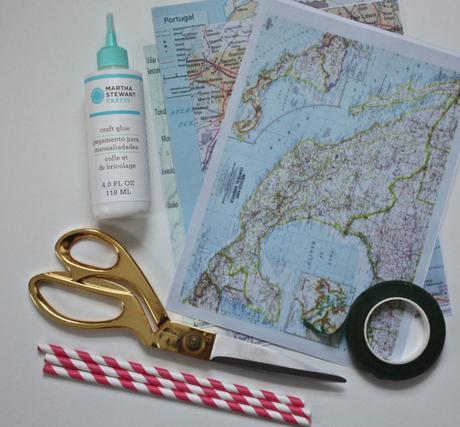
Layered Petal Rose How to: You’ll Need
Paper {with map or desired design printed on both sides}
Hot Glue Gun
Scissors & Paper Cutter
Ruler
Pencil
Floral Tape
Paper Straws
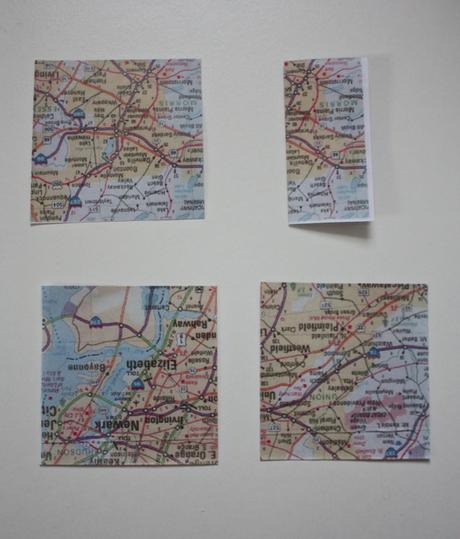
 Spiral Rose How to: You’ll Need

Paper {with map or desired design printed on both sides}
Hot Glue Gun
Scissors & Paper Cutter
Ruler
Floral Tape
Paper Straws
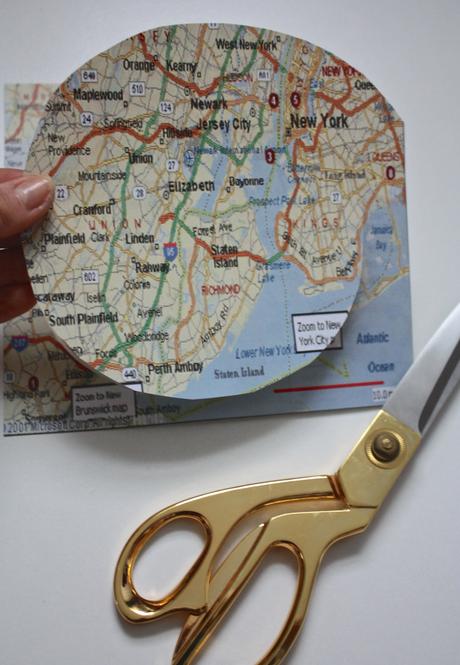
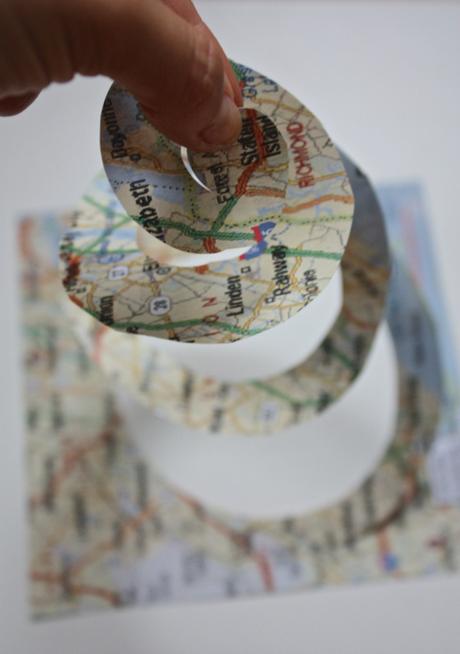
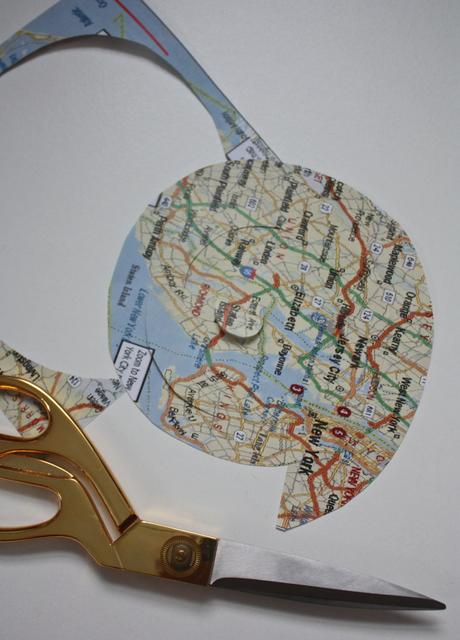
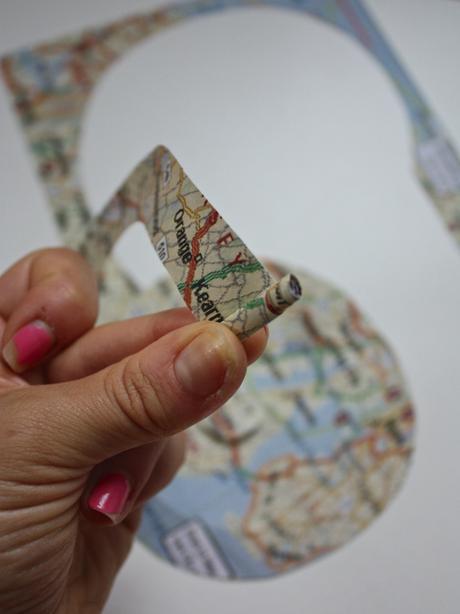
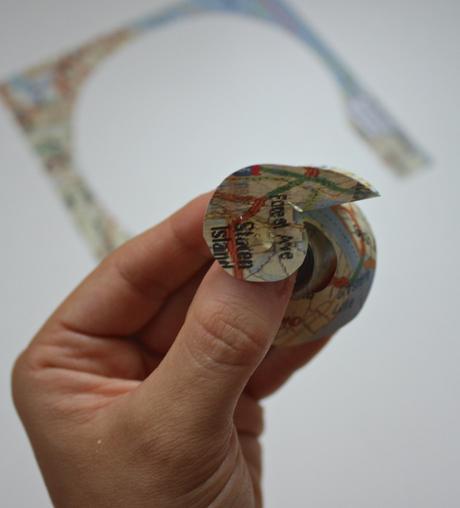
Begin by cutting a circle, starting from one of the sides. Continue to cut a spiral circle all the way towards the middle of the paper. Don’t worry if it’s not a perfect circle, you won’t even realize it’s been done free-hand.
