Arts & Crafts Magazine

Paper Mache Buddha with Jo- Working on the Face

By Danmonsterman @danmonsterman
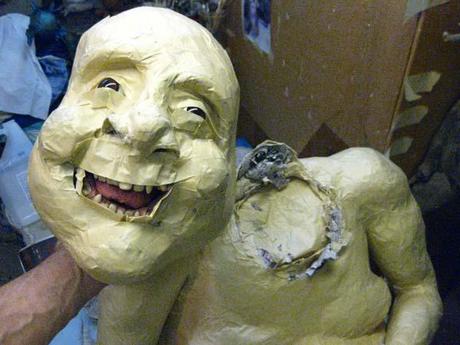
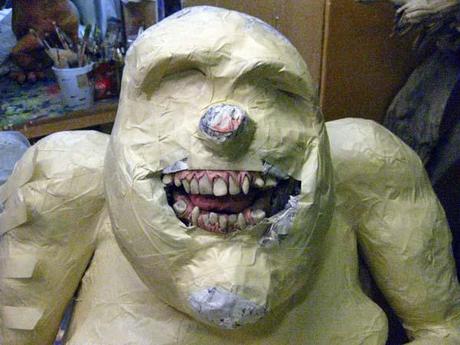
Hi there.  Back to the face.  As you can see, I cut eye sockets into the paper mache head and filled them in with masking tape.   At this point I got strange.   Instead of pretending that this project went straight forward with no twists and turns,  I'm going to show you the machinations of a crazy artist.   I decided that he needed more flesh under the chin.   So I cut a slice out of a paper mache ball and used it for the jowls.  Then I had to make the chin bigger (again, used the shell of another extra paper mache ball for this).    I wasn't sure at this point that I liked the face at all.   As an artist, you have to work until you like something.  There is no objectivity to it.   It doesn't even matter whether the client likes it.   I've sold work under deadlines that weren't exactly what I wanted and it haunted me.   I wish I could buy back some of those pieces and use them for parts.   Oh well.
Paper Mache Buddha with Jo- Working on the face Paper Mache Buddha with Jo- Working on the face
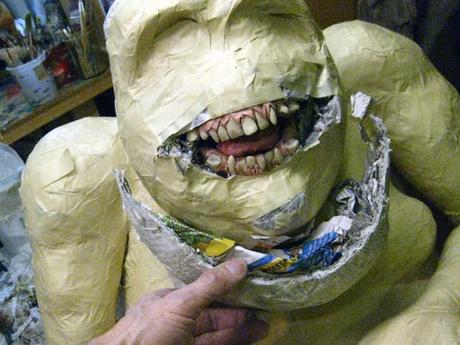
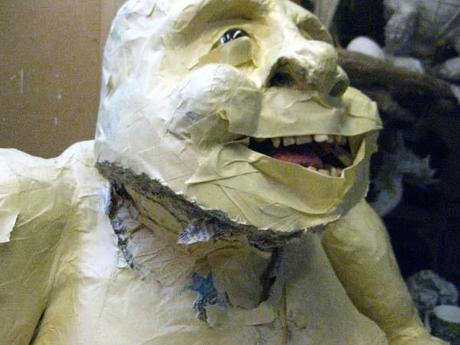
I thought that maybe I just needed a few more details so I added some eyes and cheeks (more paper mache shells).   In this case I added some masking tape eyelids and lips just to get a feel for the finished face.   When I looked at him, all of a sudden I recognized the face.  It looked (to me) like the face of the snowman from the children's book "The Snowman" (the kids used to watch the movie of the same name when they were little.).  I was mortified.   So I cut off the jowls that I added earlier.   And then I cut off the head.  I wanted it lower on the body.   Funny thing, I liked the face more when it wasn't attached.   Go figure.
Paper Mache Buddha with Jo- Working on the face Paper Mache Buddha with Jo- Working on the face
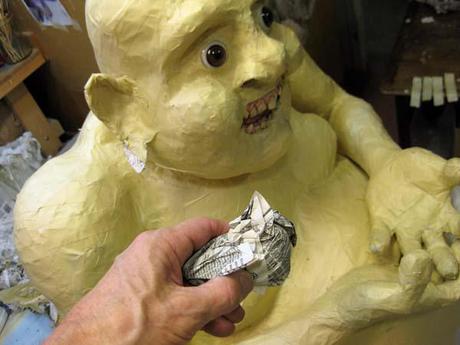
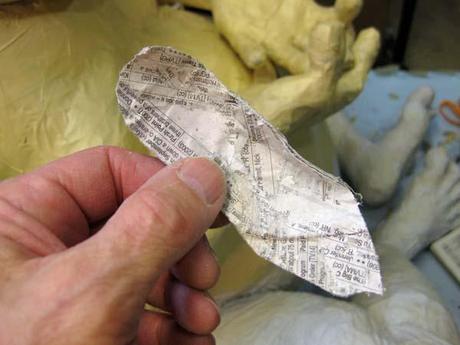
I needed some flashy (fleshy) ears.  I cut a piece of paper mache shell into a rough ear shape and taped it to the head.   I wanted some really fleshy ear lobes.   Rather than try to paper mache some smaller, earlobe balls I just crumpled up some phone book paper.  
Paper Mache Buddha with Jo- Working on the face Paper Mache Buddha with Jo- Working on the face
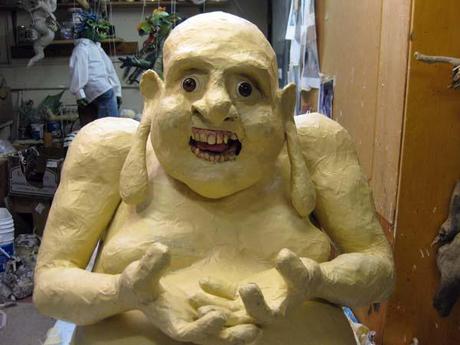
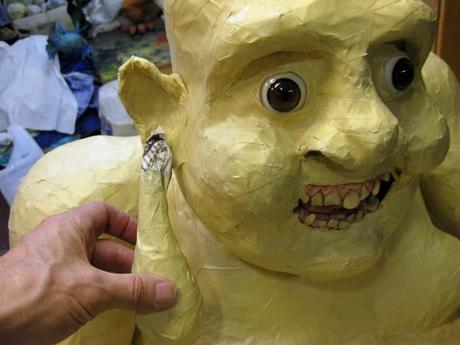
I fashioned long, droopy ear lobes.   I was ready to cloth mache the face and upper torso so I removed the masking tape eyelids and lips.   At this point it didn't look very Buddha-like.   In fact, he looked terrified.   I told him not to worry, that too much caffeine will do that to you.  
Paper Mache Buddha with Jo- Working on the face Paper Mache Buddha with Jo- Working on the face
I will show you some of the cloth mache steps in the next post.  But I didn't want to leave you with that scary face.   So below is the Buddha after I put on the cloth mache skin.   He looks a lot better.
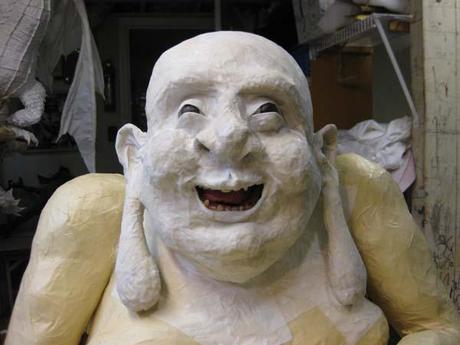
Paper Mache Buddha with Jo- Working on the face
See you soon.

Back to Featured Articles on Logo Paperblog

Magazines