I haven’t been baking much recently. These couple of weeks, instead of over-zealously waking up at dawn to preheat my oven, i found myself relying more on more on my mini toaster.
I find myself buying less of fresh baking ingredients. No more filling up my cart with butter, flour and eggs. Instead, i just grab a pair of tongs at the bakery section of the supermarket and fill my tray with cinnamon rolls, buns, croissant and even cakes.
I guess i just got lazy… But it’s just so tempting to lie longer in bed… Not to mention how much more cost efficient it is to power up a mini toaster as opposed to heating up a full sized oven.
I was quite happy in my lull of baking inactivity. Then a batch of Brazillian Cheese breads from Evan’s blog caught my attention. They sparked me and re-ignited my dormant oven.

Don’t let appearance deceive you. Because plain looking as they are, these mini buns are cheesier than my uncle’s jokes (Don’t worry, he is not reading this).

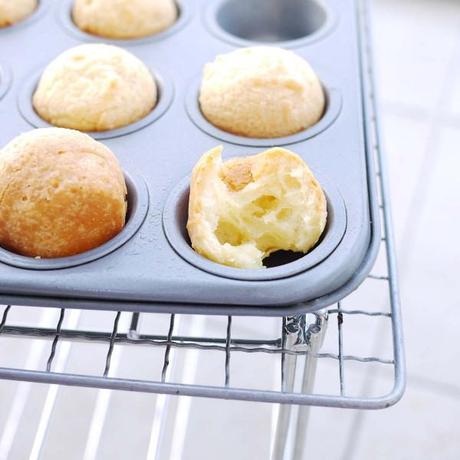
Although they are called “bread”, i think they are more akin to choux pastry in terms of appearance. They puff up when baked, and form these little balls with webbed interiors.
They are also as chewy as can be. And by this, i don’t mean bread-like chewy. They are more like mochi-chewy.

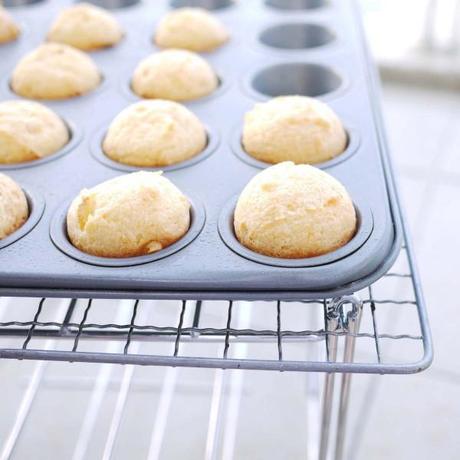
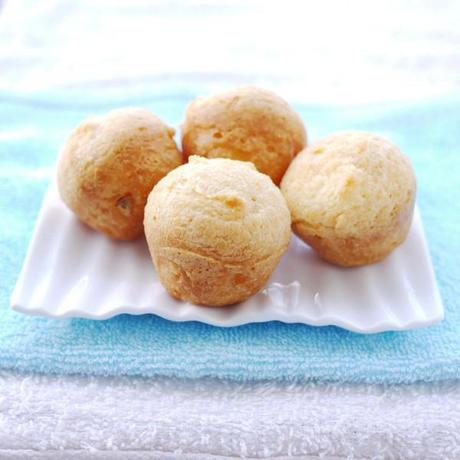
I baked these up in a mini muffin pan. They came out looking like gorgeous balls of golden brown.

They are bite-sized and i find myself popping one after another in succession! They are as good as snacks as they are for breakfast! or maybe even appetizers!
Ps: I stored them in the refrigerator and popped them into my mini oven to eat two days later, and they are still as good as freshly baked!
Brazillian Cheese Bread
Recipe taken from Evan’s kitchen Ramblings
ingredients (makes 24-28 mini cheese buns) :
1/2 cup unsalted butter
1/4 cup water
1/4 cup milk
3/4 tsp table salt or 1 tsp kosher salt
2 cups tapioca flour or gluten-free tapioca starch
2 tsps minced garlic
heaping 2/3 cup grated Parmesan, Romano, or aged Asiago cheese
2 large eggs, lightly beaten
directions :
1. lightly grease a couple of baking sheets or mini muffin pans; or line baking sheets with parchment. put the butter, water, milk, and salt in a saucepan, and heat till the butter has melted and the mixture has come to a full boil. while the mixture is heating, put 2 cups of tapioca flour into a mixing bowl.
2. pour the boiling butter mixture over the tapioca flour, beating to combine. beat at high speed till the mixture becomes smooth and elastic-looking; this will happen very quickly.
3. beat the garlic and cheese into the dough till well combined.
4. stick your finger into the dough. if it’s uncomfortably hot, let it sit for a couple of minutes to cool a bit; you don’t want to cook the eggs when you beat them in. if it seems hot but not burning hot, continue with the next step.
5. with the mixer going, gradually dribble in the beaten eggs, beating till well combined and smooth.
6. drop the mixture in 2-tablespoon balls (about the size of a golf ball) onto the prepared baking sheets, spacing them about 1 1/2″ apart. A level tablespoon cookie scoop works well here. or pour mixture almost to the rim into the muffin tins.
7. bake the rolls for about 20 minutes in a preheated oven of 375F (190C) till they have a freckled appearance (from the browning cheese), and they’re beginning to color a bit. remove them from the oven, and serve hot.

