First task: Making claws and teeth.
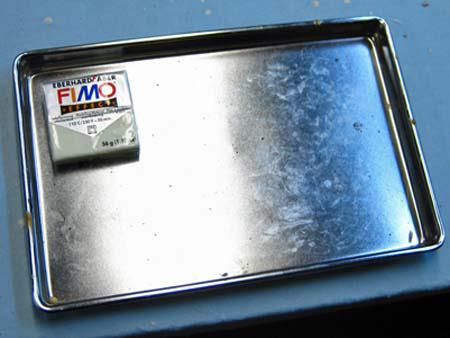
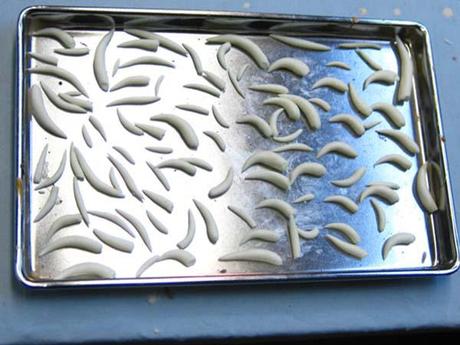
I like Fimo for claws and teeth. There isn't much difference between a tooth and a claw. They are both pointed and slightly rounded. The only difference is in the size.
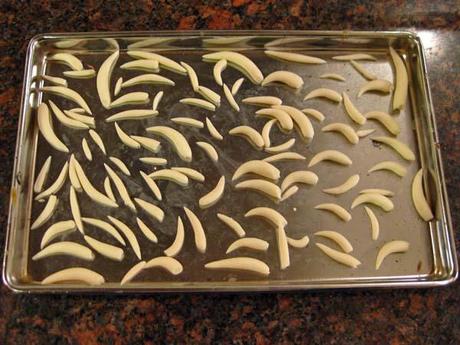
I love it when they come out of the oven. Note the brown tinge, perfect for dragon claws and teeth.
Next I'll make the basic "fingers" for my wings and the toes.
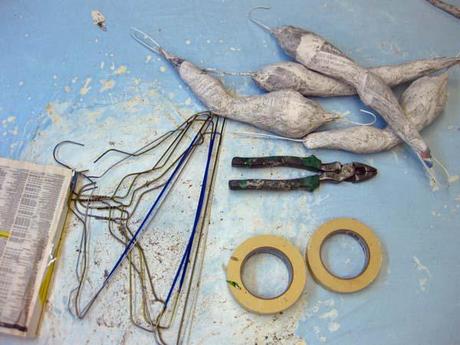
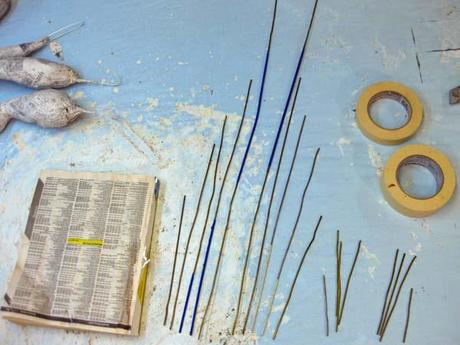
For this I use wire clothes hangers, masking tape, and a phone book. I cut the hangers to size.
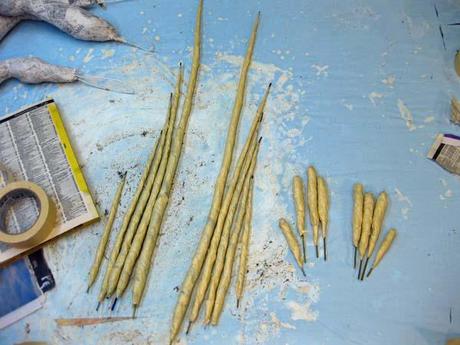
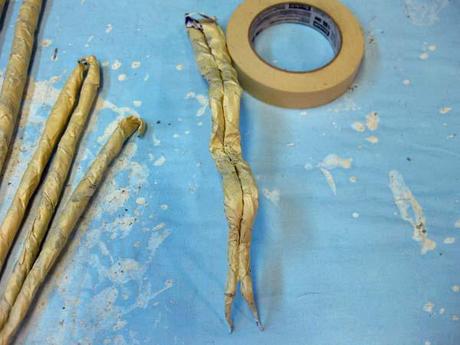
I really like the way phone book paper compresses allowing for a tight taper. I twist the paper around the wire and tape. I have some tricks for this kind of thing. It would take too long to explain them here. I have lots of these tricks and hints in my book (shameless plug). I also make two, thin, tapered pieces for the tongue. I add tape to the back and add a few wrinkles.
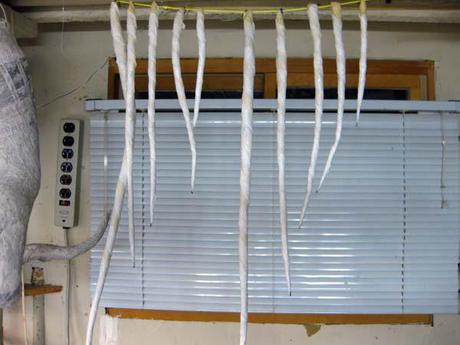
I "cloth mache" the long fingers for the wings in advance. It makes them very strong. They need to be strong to hold the weight of the large, wet cloth pieces I use for draping the wings. I'll show you that next post.
Thanks for stopping by. See you next time.

