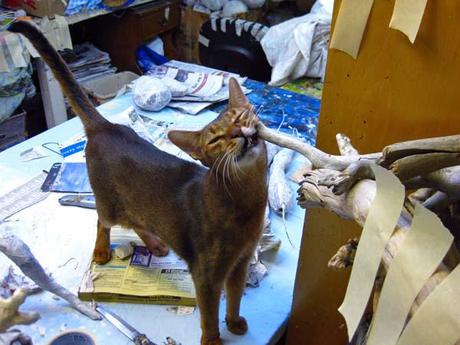
I must admit that much of art is what I call "grunt" work. There isn't a lot of creativity involved with twisting paper around a piece of wire. And the actual paper mache process isn't particularly fun after 40 years. But these parts of making a project have a Zen-like quality to them. I can really loose myself in the more boring parts of making art. I have been known to paper mache for 8 hours straight. It's very satisfying to me to have the mache drying while I sleep or work. Still, I'm always excited when I have all my pieces and am ready to start assembling the project.
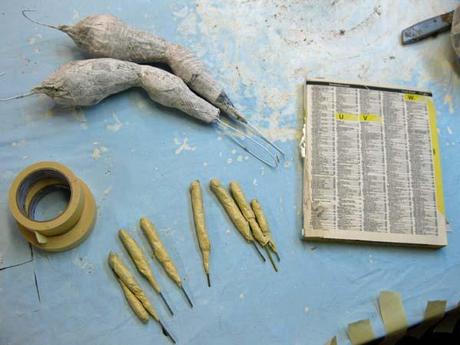
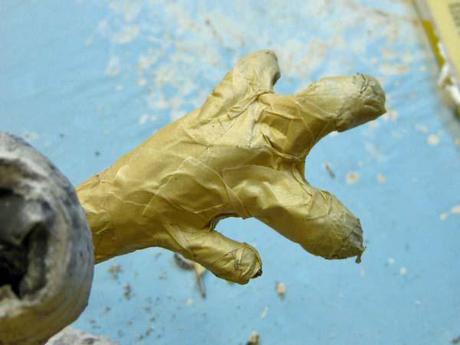
I'll start with the feet and legs. I have my toes, my paper mache legs, a phone book for paper, and a couple rolls of masking tape. I crumple a few sheets of paper and add toes. In this case I wanted four toes.
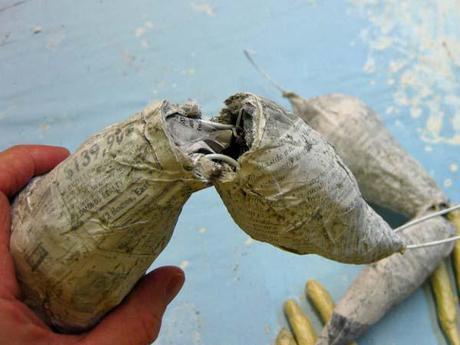
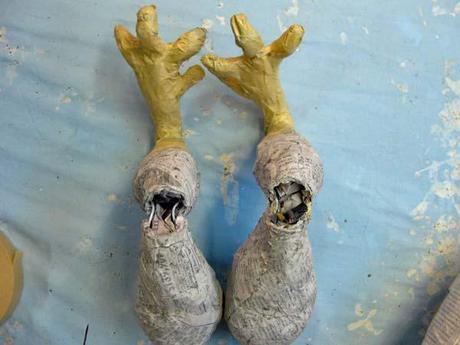
I break the legs at the knees. This is one of the reasons I love having wire clothes hangers in the middle. They hold the legs together after I break them and keep the shape I want.
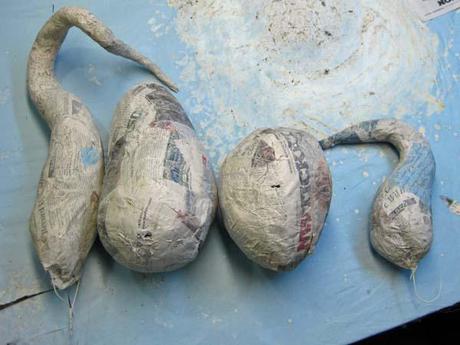
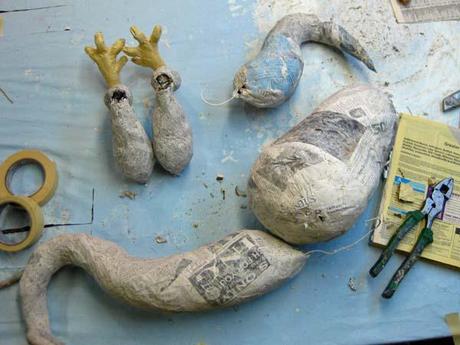
Now I'm ready to do a partial assembly of the body. In the photo on the left you'll see my tail (on the left) and the neck (on the right) and two bodies in the middle. I know what some of you are thinking...why does he have two bodies. Well, it's because whenever I paper mache the bodies and appendages I make extras. (Surely this is a paper mache trade secret.) That way I use up the paste. And if you've read my other entries you'll notice that many times I cut open paper mache balls and pull out the wads of paper inside. I throw the insides into a corner until I do my next paper mache batch. If you've ever looked at my studio (go to my site and check out the 360 degree view) you'll see a pile of paper mache balls and appendages ready for me to use. So...long story short (well, longer actually) I decided to use the more elongated body instead of the paper mache ball I made for this dragon.
See you soon.

