I love putting breast plates on my dragons. This is easy to do with cloth mache. But first, I didn't like the body of this dragon. She didn't really have a waist. This was easily fixed. I just grabbed her in the middle and squeezed. I love paper mache. This is what I mean when I say that it is "forgiving." You can adjust anything at any point. Then I added tape. I drew a line down the length of the body to guide me as I put on the plates. It's easy to loose the middle if the neck or tail has a lot of movement.
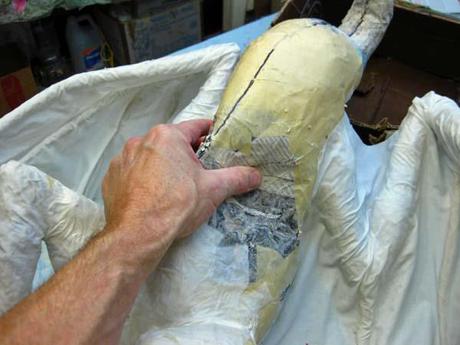
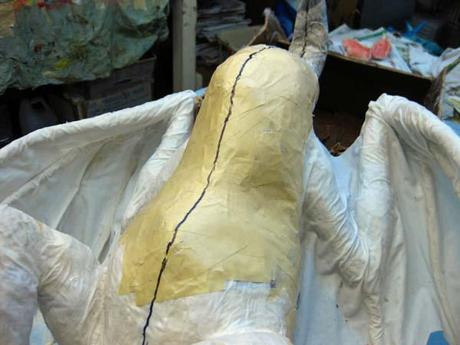
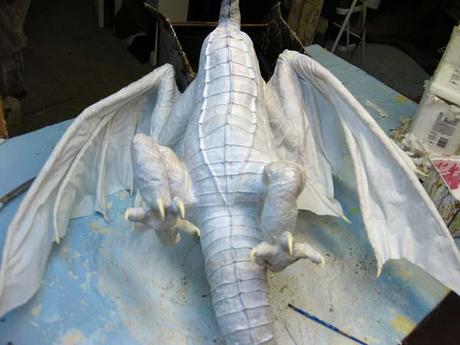
I started at the tip of the tail. I folded pieces of cloth and laid them on top of one another. I pinched them in the middle to make a crease. This time I decided to have the crease split into three segments when it got to the body.
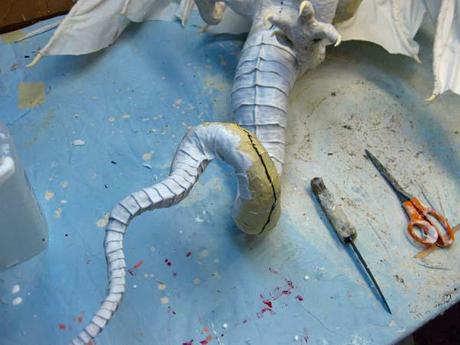
Now it's time to add the head. (This part is for you Don.) Putting a head on a project is a matter of putting the jaws together in a position that you like. Tape the back of the jaws to hold the mouth together in that position. Note that I painted the jaws and tongue first...much easier than painting it once it's on the project.
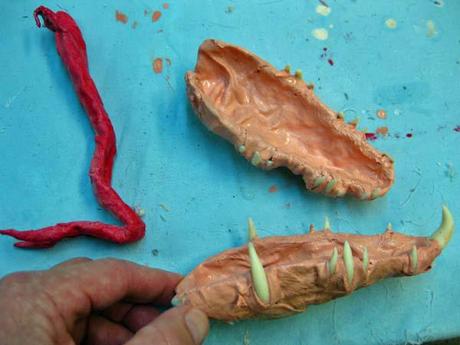
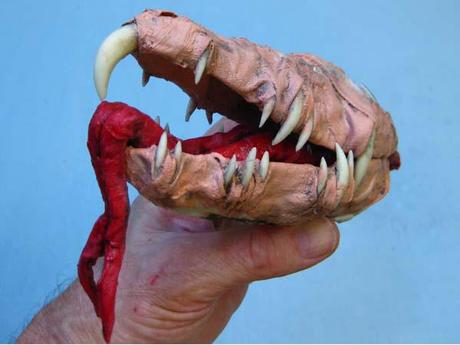
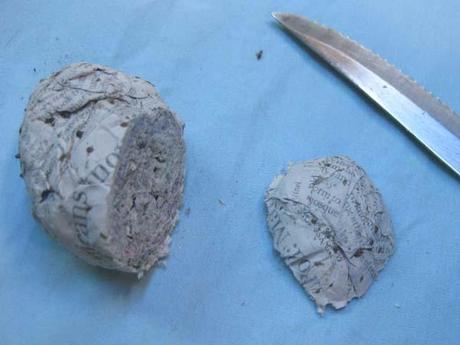
If this were a simple Screamer or monster, I would cut a hole in the body and push the jaw assembly into the hole and tape. This is a bit different because this dragon has a long neck. I just cut off the neck and pulled out some of the paper. This made a hole for me to insert the back of the jaw. Sometimes there are gaps that need to be filled. I use pieces of paper mache balls to fill those holes. I put the paper mache shell over the hole and added masking tape.
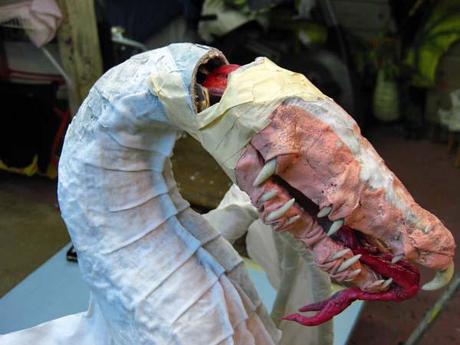
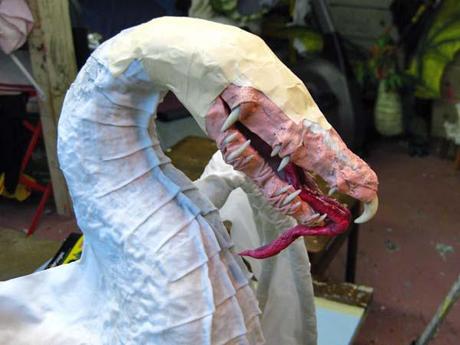
As I've said many times, I use smaller paper mache balls for details. I cut off part of one and added it to the top of the dragon's head. I used my knife to cut a small hole for the eyes which I hot glued in place.
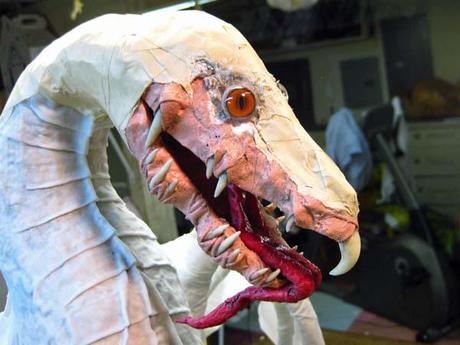
I then crumpled small amounts of paper and wrapped them with tape to add details. In this case I wrapped the eyes to give some depth to the eye sockets. I also use small pieces of paper mache (remnants of the neck in this case) to fashion a nose.
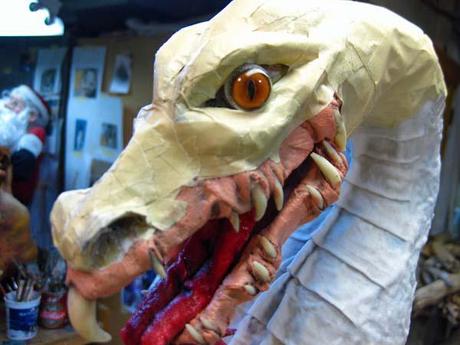
Sorry, I must leave it here for the time being. I'll be back to finish the head soon.

